
It's been a long and busy couple of months since the last deck post. I started a new contract developer job in early December, and we've run the fun but crazy gauntlet through the holidays. I also managed to lose the few pictures I took in the last month of the project. So, this update will have to be long on text, short on illustration.
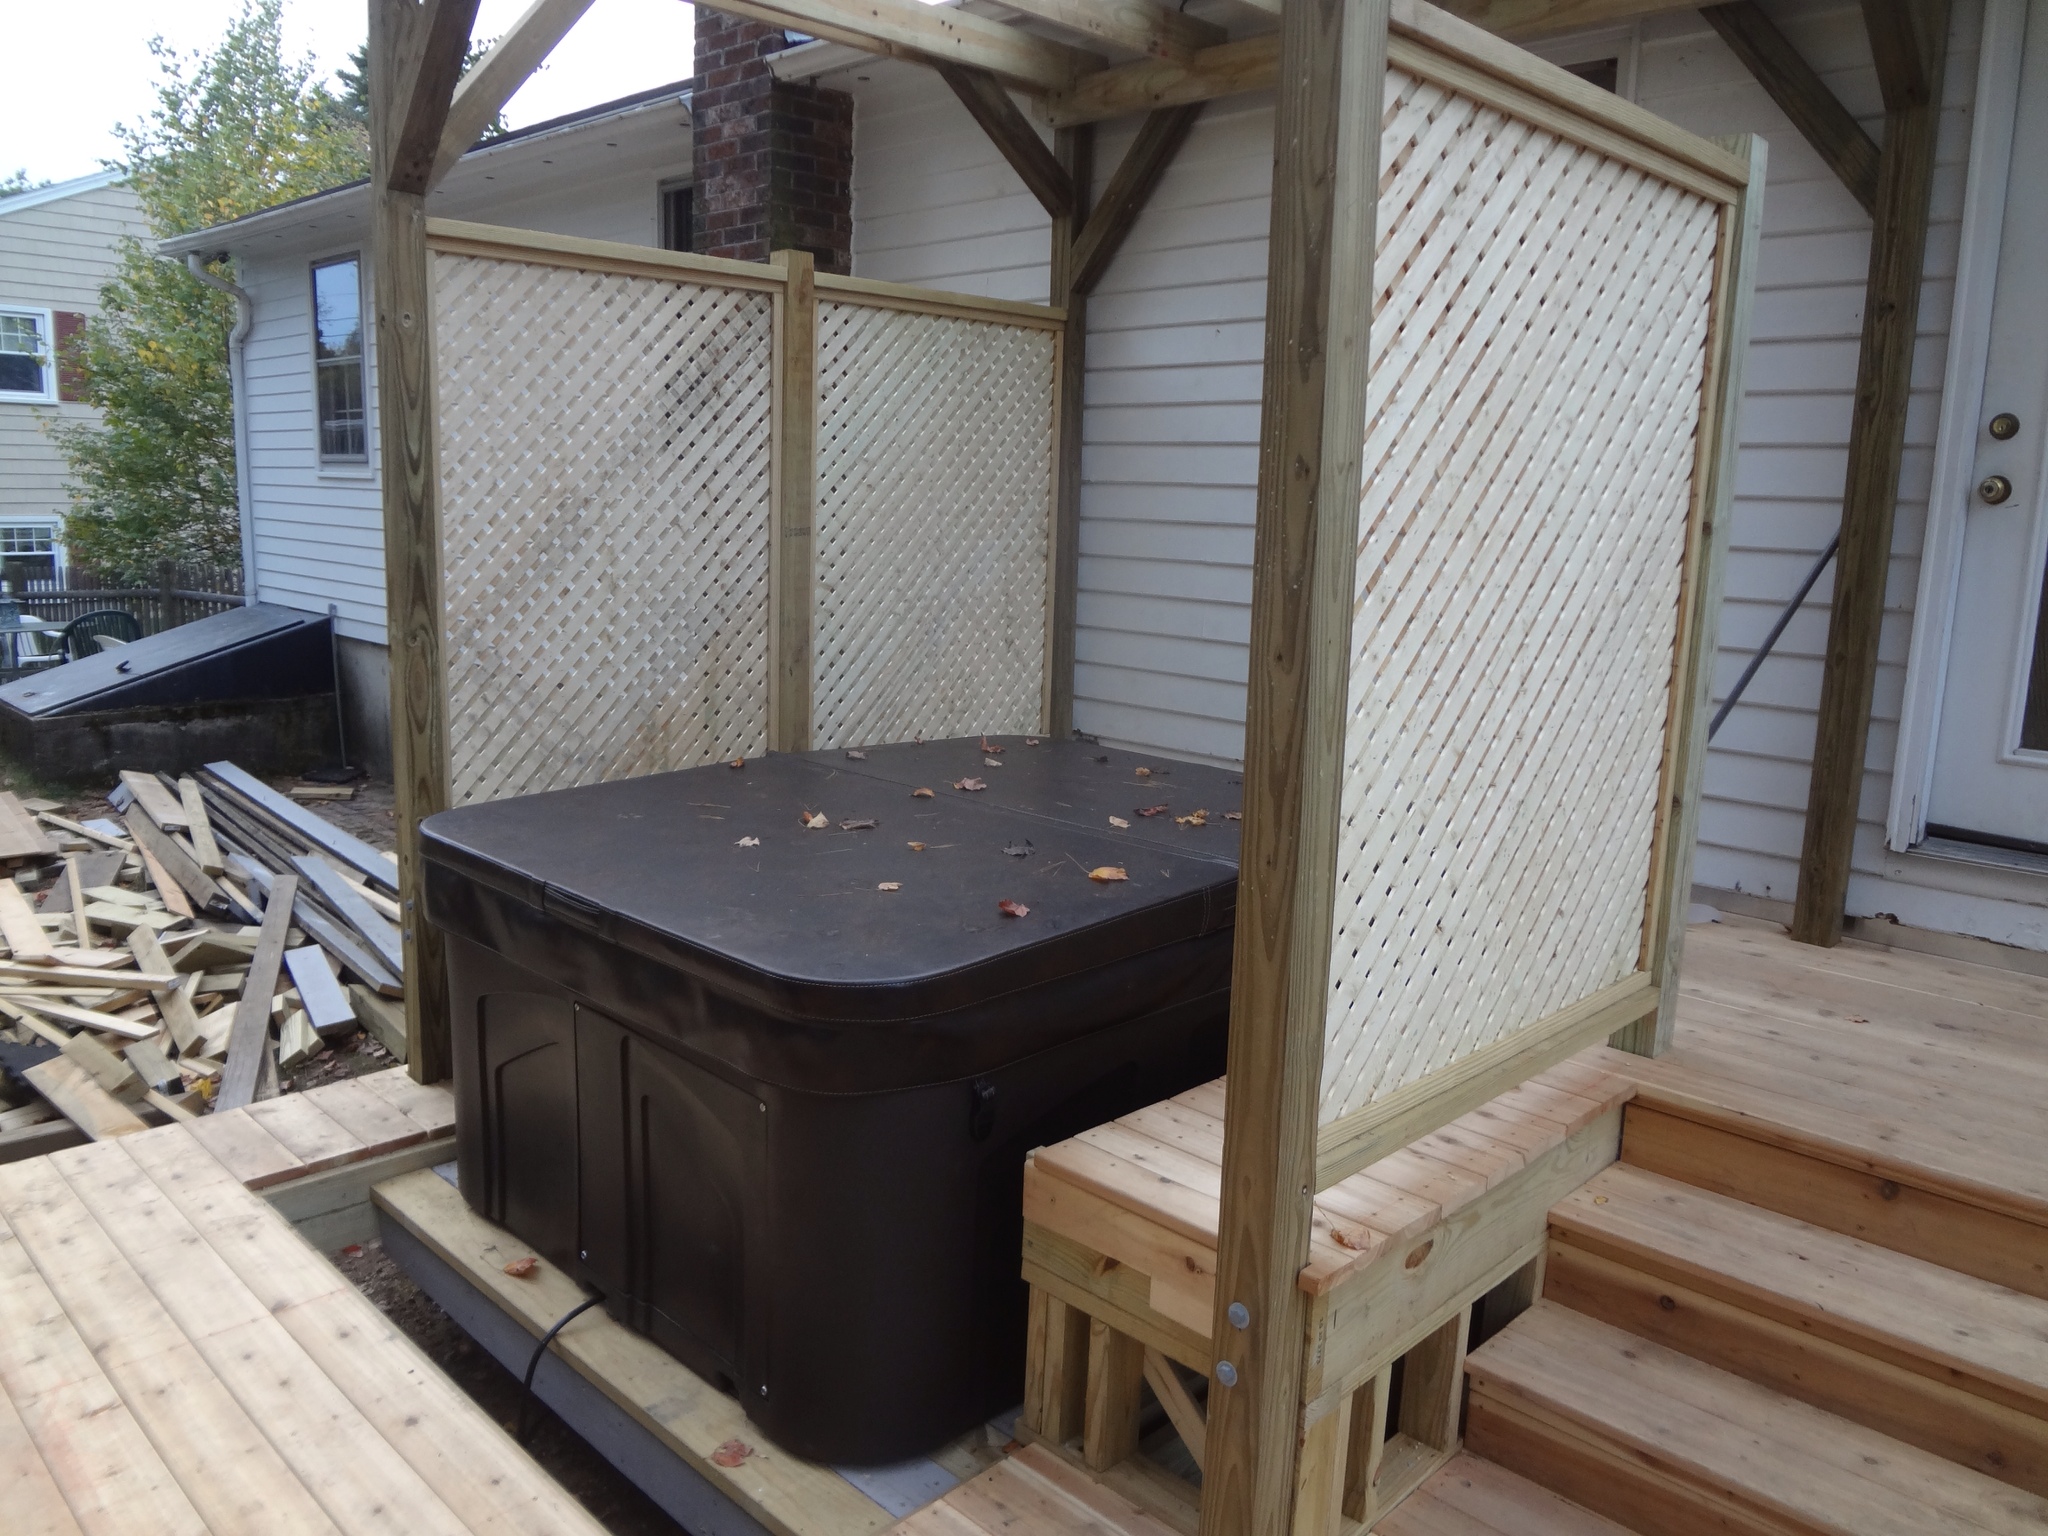
After finishing the privacy screens, Dad helped me with a few more odds and ends, including installing the new light under the pergola. Then it was time for my parents to return to South Carolina. After they left, I worked on filling in the remaining decking around the hot tub. The most challenging part was the cutout area in front. In planning the deck I assumed we'd need a removable section to get to the service panel in the front of the tub, but it turned out to be completely accessible from the front. There is a drainage hose that can only be reached from under the front of tub, but apparently it can also be drained from the top as well. So we may never have to remove it.
Here's a picture before the cutout was filled in:
To fill it, I decided to build a lip around the inside of the cutout that would hold a removable box frame made of 2x4s. The top of the box would sit at the same level as the rest of the deck frame. I cut the the supports for the lip first, held them in place with my trusty clamps, and then cut all of the 2x4s. Once I was happy with the alignment of everything, I screwed the supports into the joists and built the box, making sure it would fit loosely enough to be removable from below. Once the box was in place, I attached decking that was cut to match the surrounding boards.
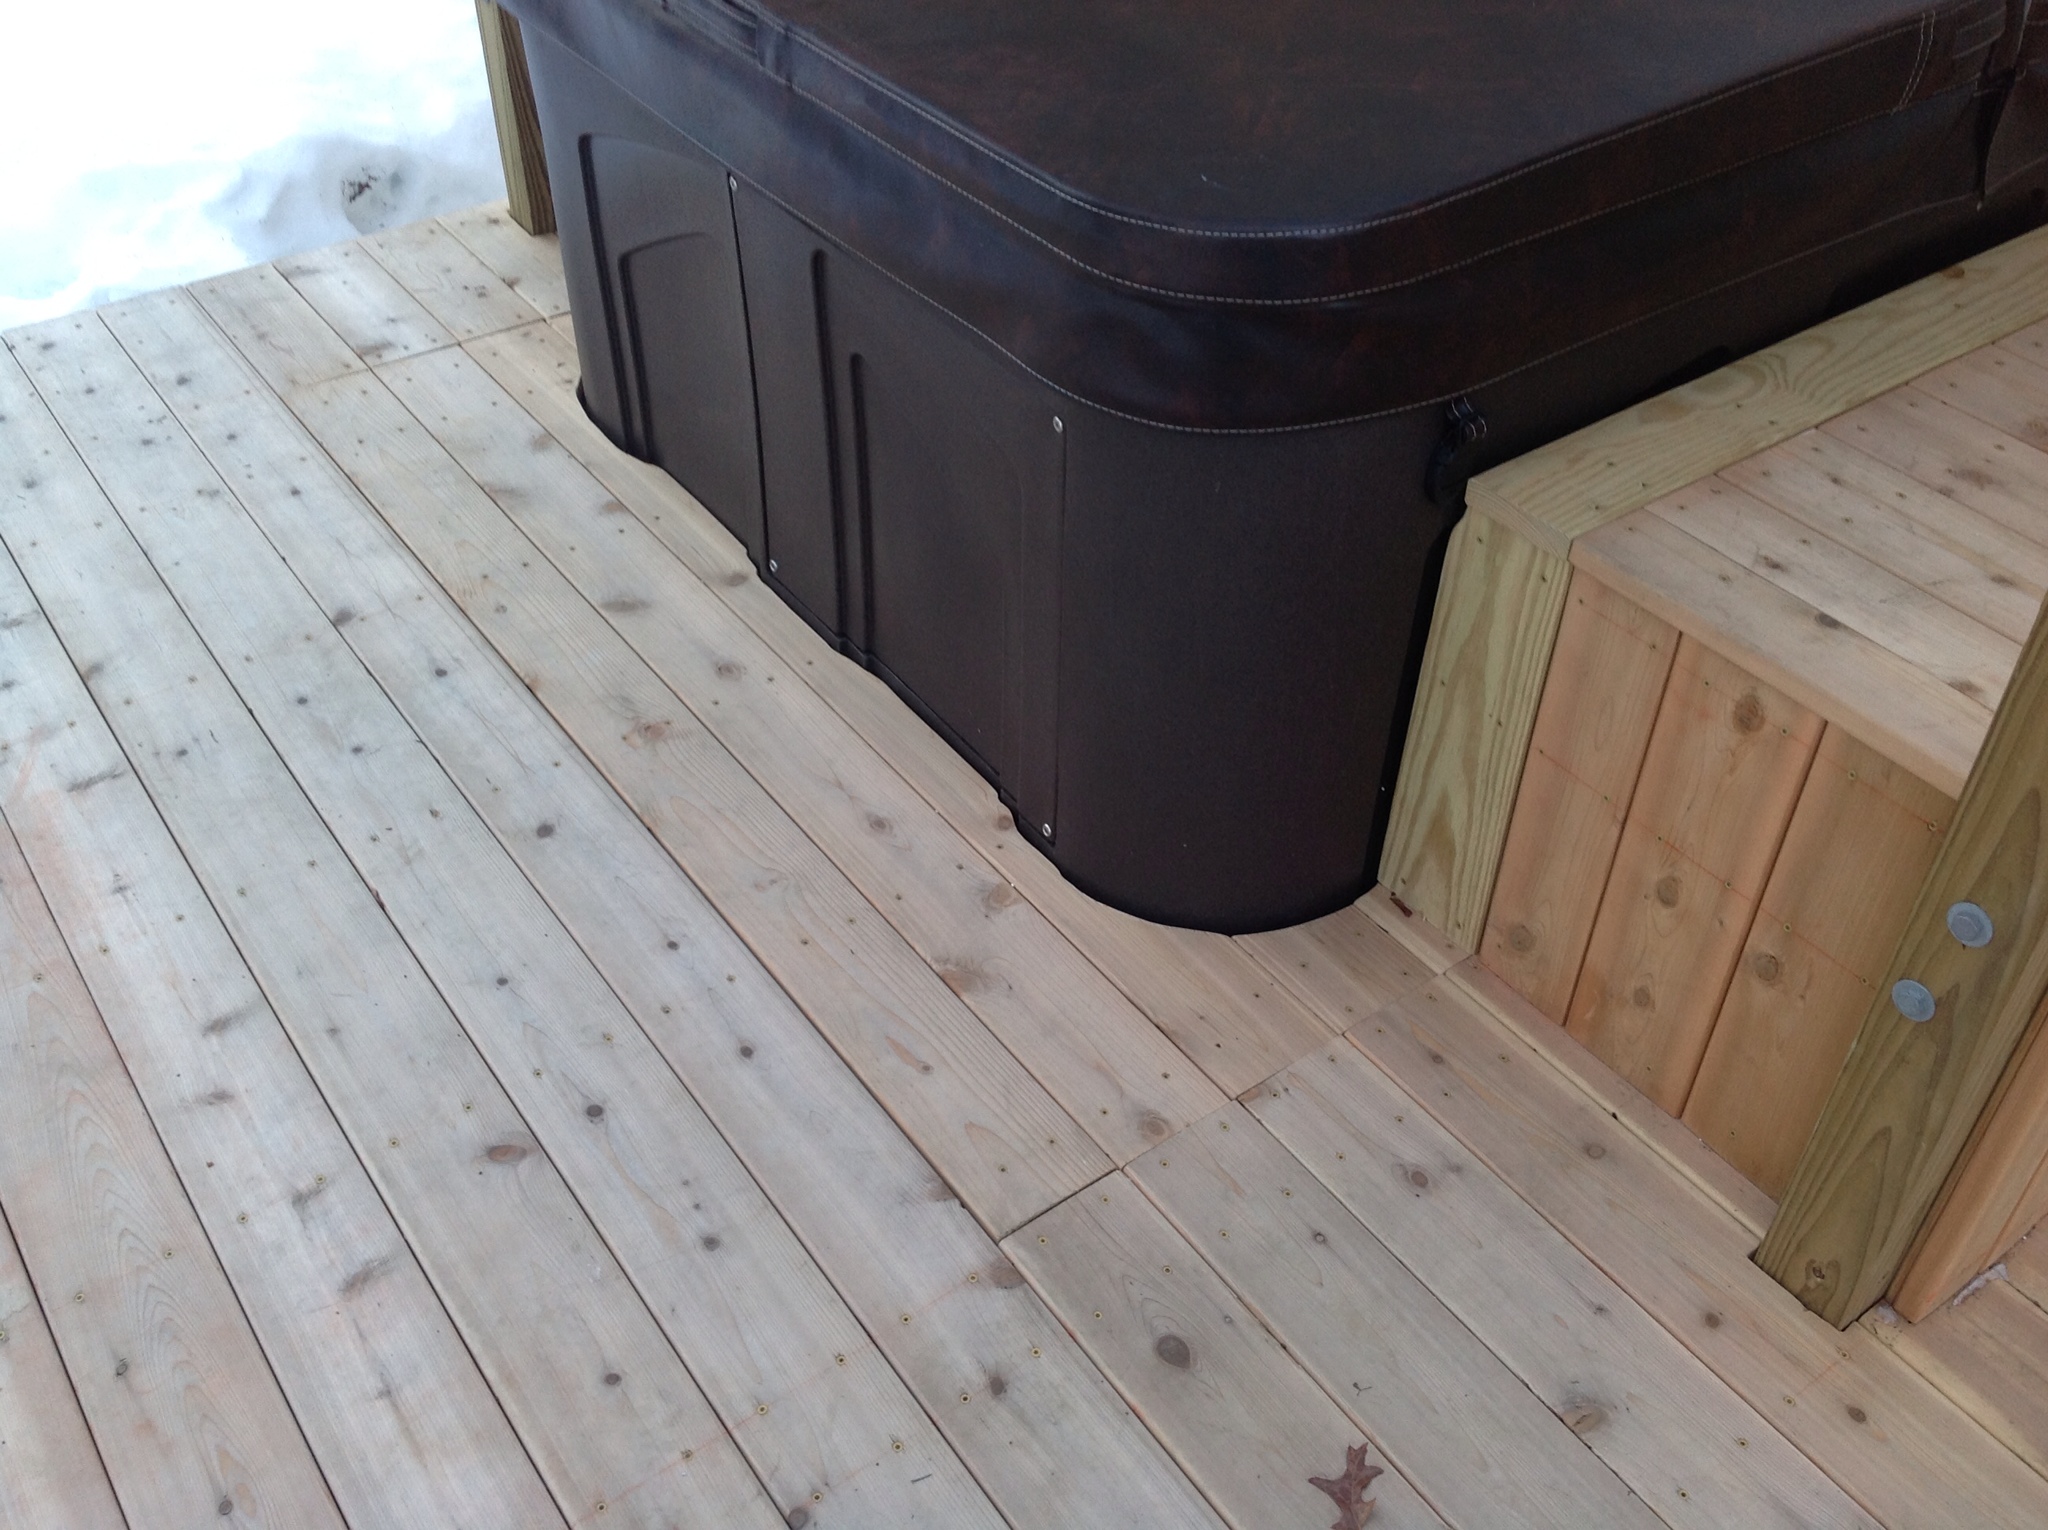
Finally, there were a few more tricky pieces of decking to add around the tub itself. I attached a couple of 2×4 scraps and some shims to the sub-deck under the tub to bring it flush with the main deck. Then I took a long piece of scrap decking and placed it over the front edge of the tub to trace the general shape. I used a jig saw to cut the board and tried placing it. It needed to be cut in a few more places before it was a good fit. Then it could be used as a template for cutting a new board. Finally a few more pieces were cut to fit around the sides. Here's what the final product looks like:
Next it was time to tackle the railing. The first big decision was whether to notch the posts. The professional consensus these days is to avoid notching, but I wanted to match the look and placement of the old deck's railing and felt the it would be strong enough given the height of our deck.
To notch the posts, I tried out two techniques. For the first one I used the skill saw to cut a series of 1″ deep slits where the notch would go, and then used a hammer and chisel to break out the pieces. The other method was to use the miter saw to cut the notch on each side, finishing with a hand saw. Both approaches had their challenges but I ended up preferring the miter/hand saw method. I had to spend a lot of time lining up and clamping the posts in place to do the cuts, but the end result was cleaner.
Once the posts were notched they had to be attached with 1/2 inch bolts to the rim of the deck. Then 2x4s had to be cut to fit between them at the bottom and the top. It was pretty tricky working with the stairs and the various code requirements to line things up in a visually acceptable manner. Here's a picture of the work mid-process:
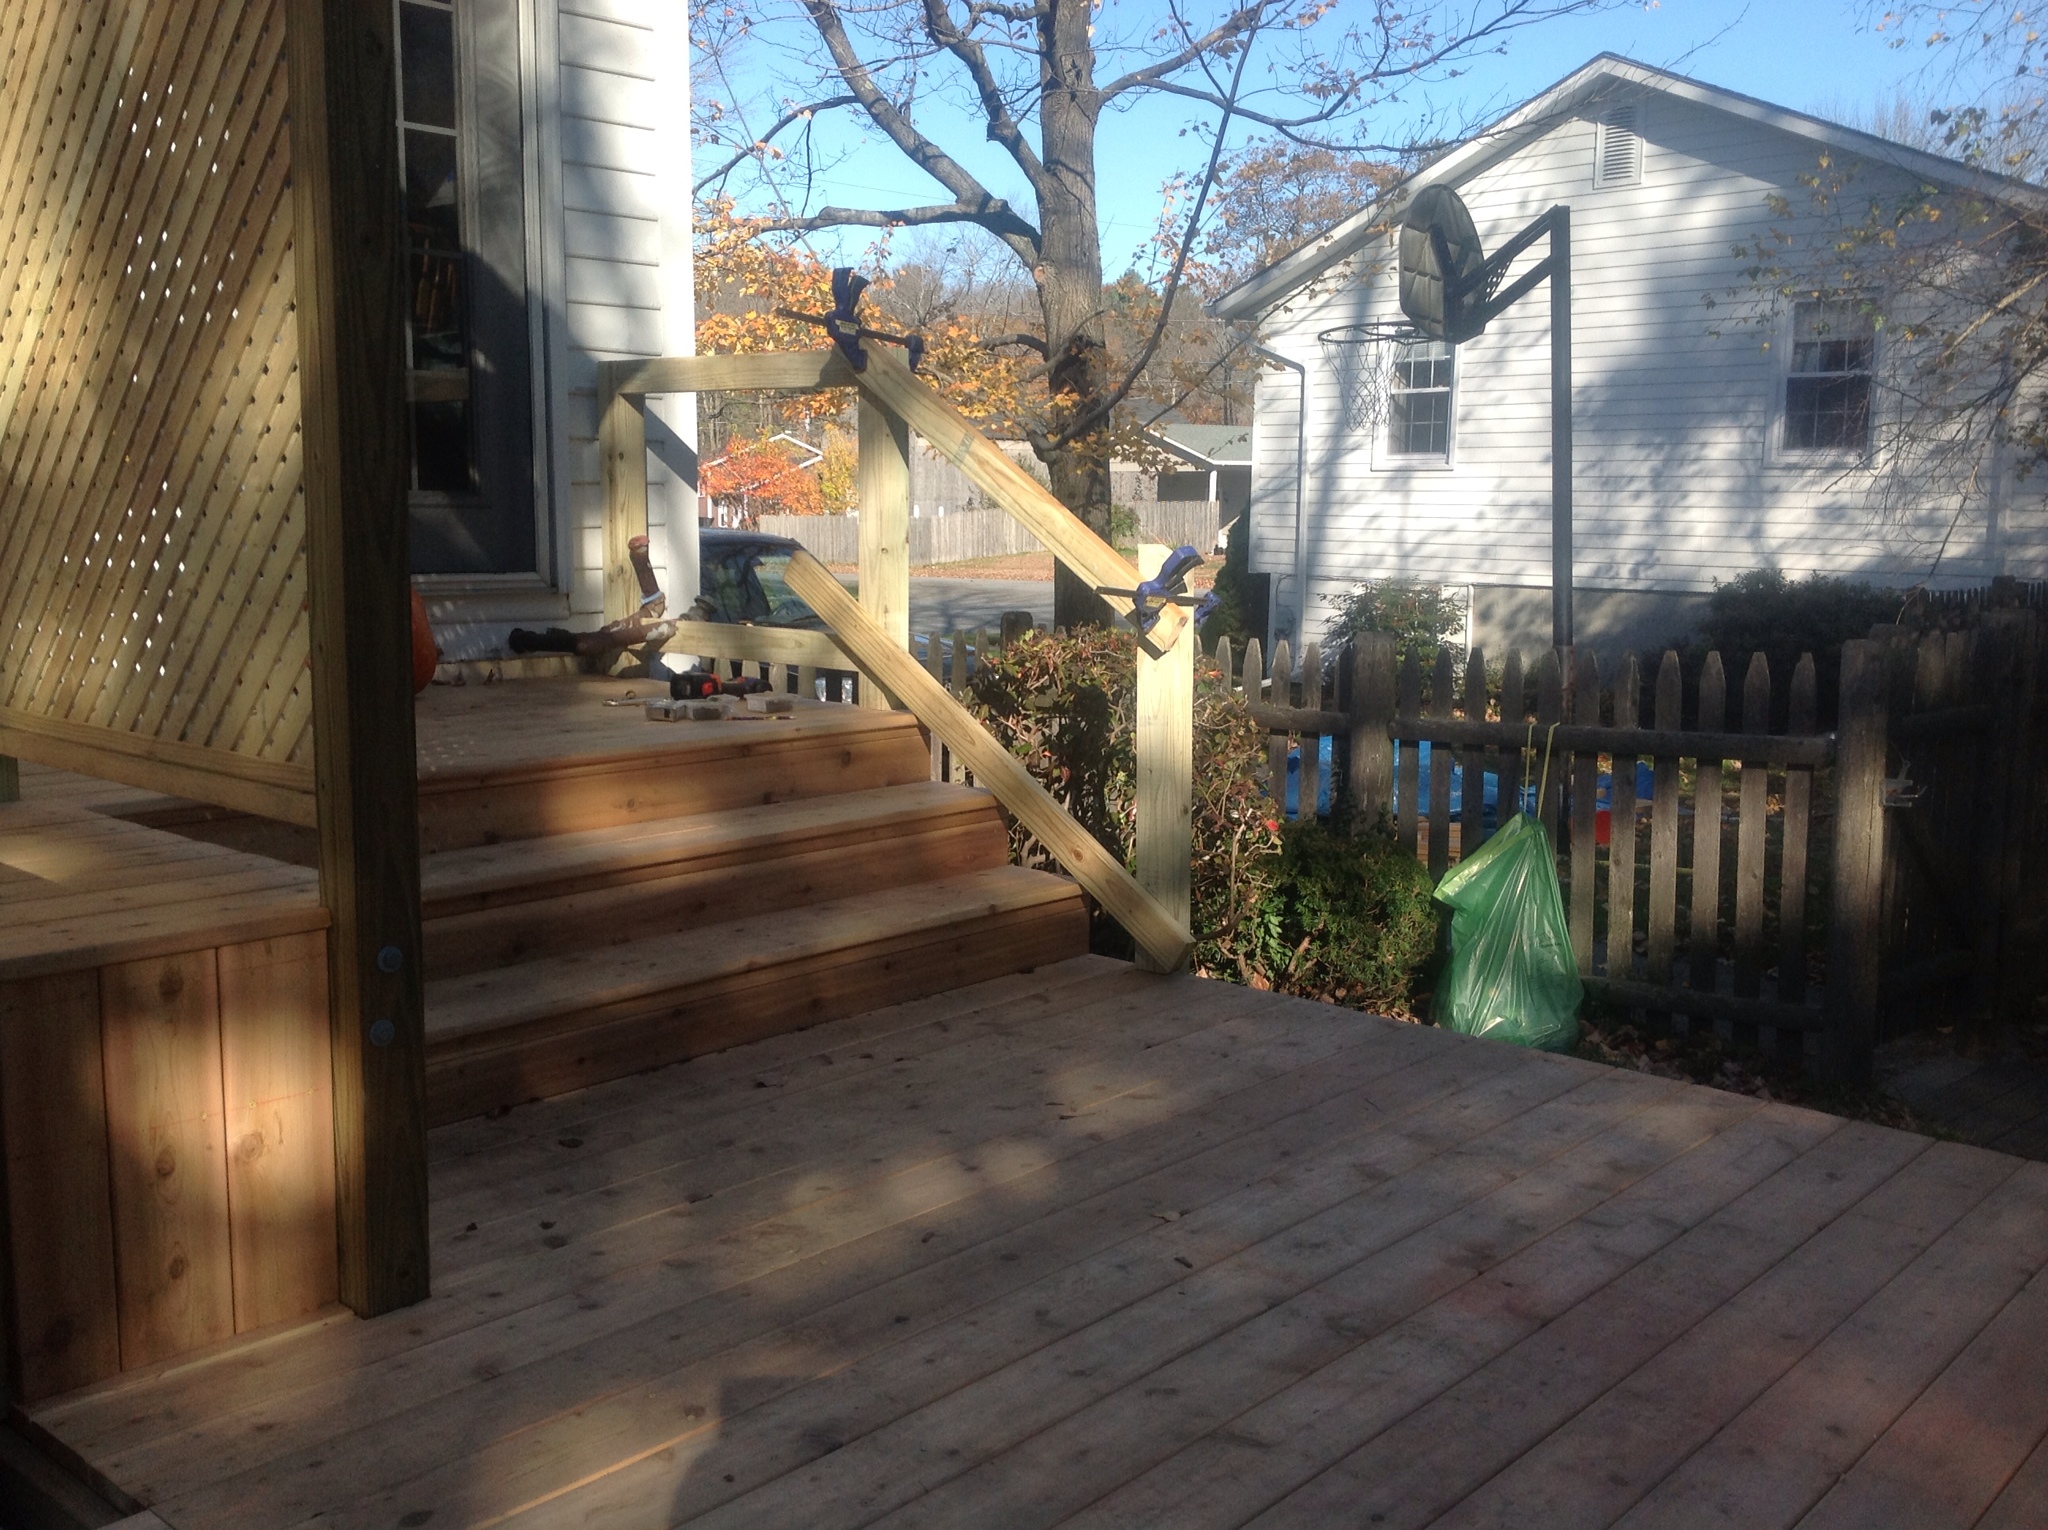
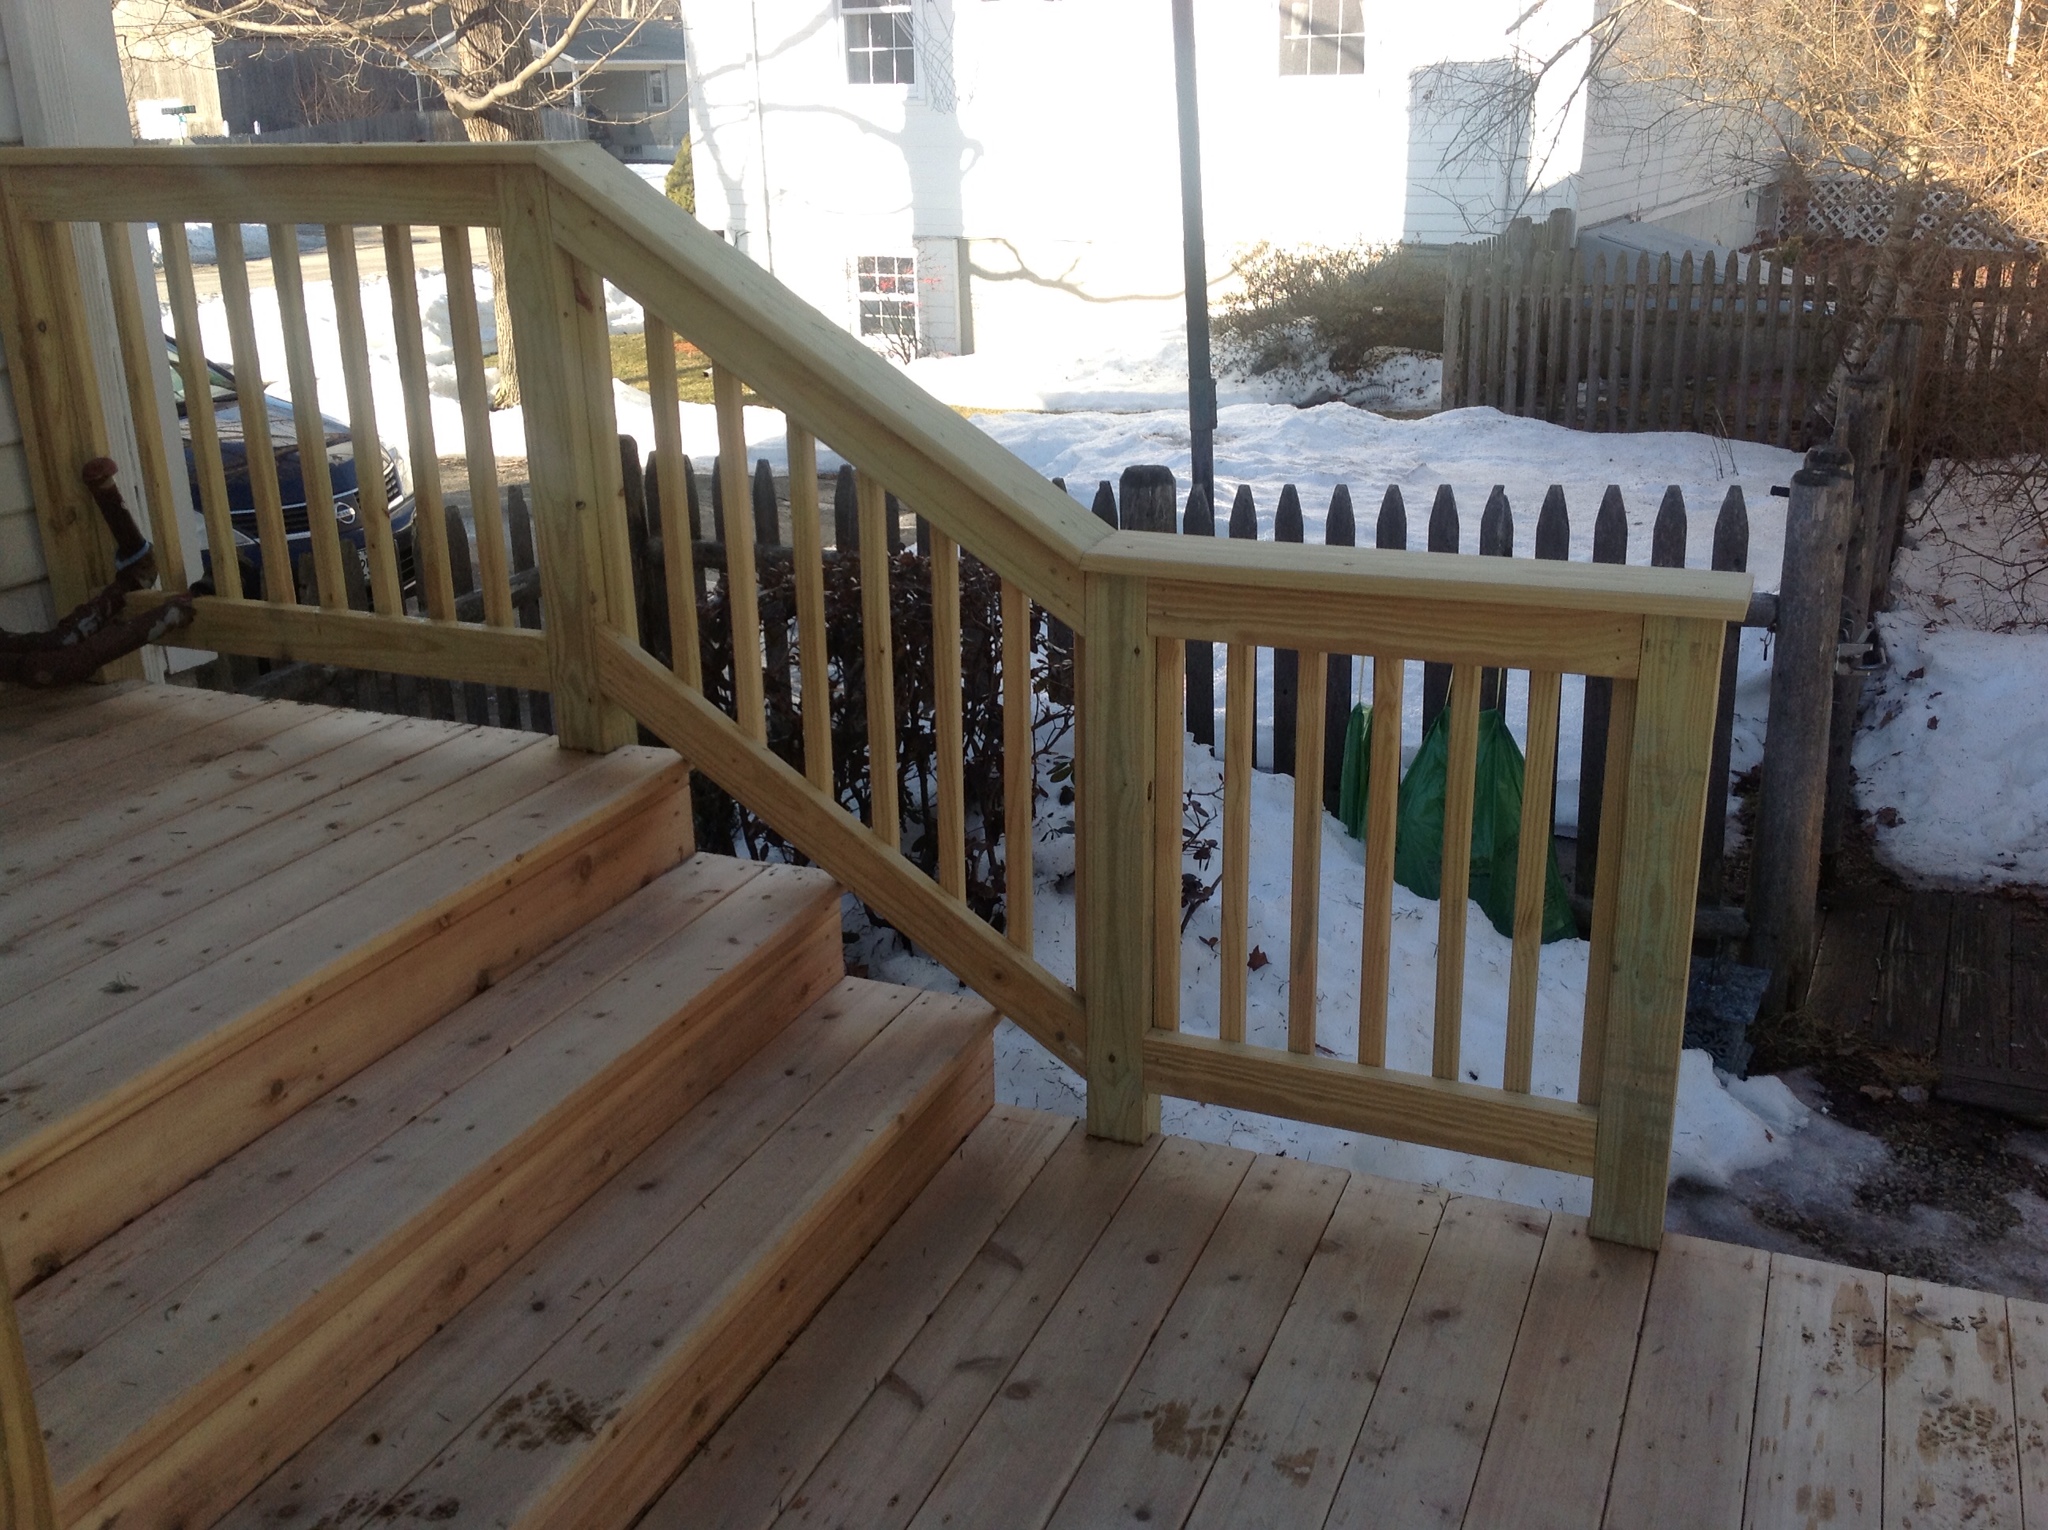
I had to do a fair amount of rework on this part of the job. I originally assumed that the post at the bottom of the stairs should be angled at the top, but realized that it needed to be flat in order for everything to be at a uniform height. Once that was fixed, the balisters and railing could be installed. Getting the balisters uniformally spaced while dealing with the oil pipes and the run down the stairs took a fair amount of trial and error. The final challenge was figuring out the angles to cut the top rails so they would line up in a continuous fashion.
In the end this work took me almost five days to complete, but I was pretty happy with the final result:
The last piece I needed to complete before the inspection was the stairs from the ground up to the lower deck. I went through a lot of research in how to approach this. I finally found one suggestion on an online forum that seemed like a good fit. This would required building more box steps and digging two new footers to anchor them to the ground.
As with the other steps, this approach involved ripping some 2x8s to get them at the right height. Once the boxes were built, I placed them where they would be installed to find the location of the footers. Once those were dug and poured, I laid down planks of 2x12s and then attached the bottom stair from within to pieces of 4×4 posts bolted to the footers. The top stair was then attached to the bottom with metal straps and screws. The two stairs were also built to fit under the rim joist and attached to the back with more scrap 2x8s. I bored some 3/4″ holes in the back of the stairs and through the 2×12 base to allow airflow and water to drain. Then I attached decking and finished with 2x8x1 pressure treated boards around the edge. Here's what they look like now:

Finally, everything that needed to be completed for the inspection was done. That turned out to be pretty much a non-event. The inspector was on site for about 20 minutes and found no issues. The next day, the hot tub guy arrived to fill the tub, and the spa was officially opened.
The one other thing I'd hoped to complete this fall was treating and staining the deck. Unfortunately I ran out of time before the weather turned too cold, so we'll will have to wait until the spring to do that along with the other remaining work (benches, skirting, etc). Still, it's been great to complete it to the point of using the tub. Here are a few pictures where you can see the railing, stairs and some happy spa customers:

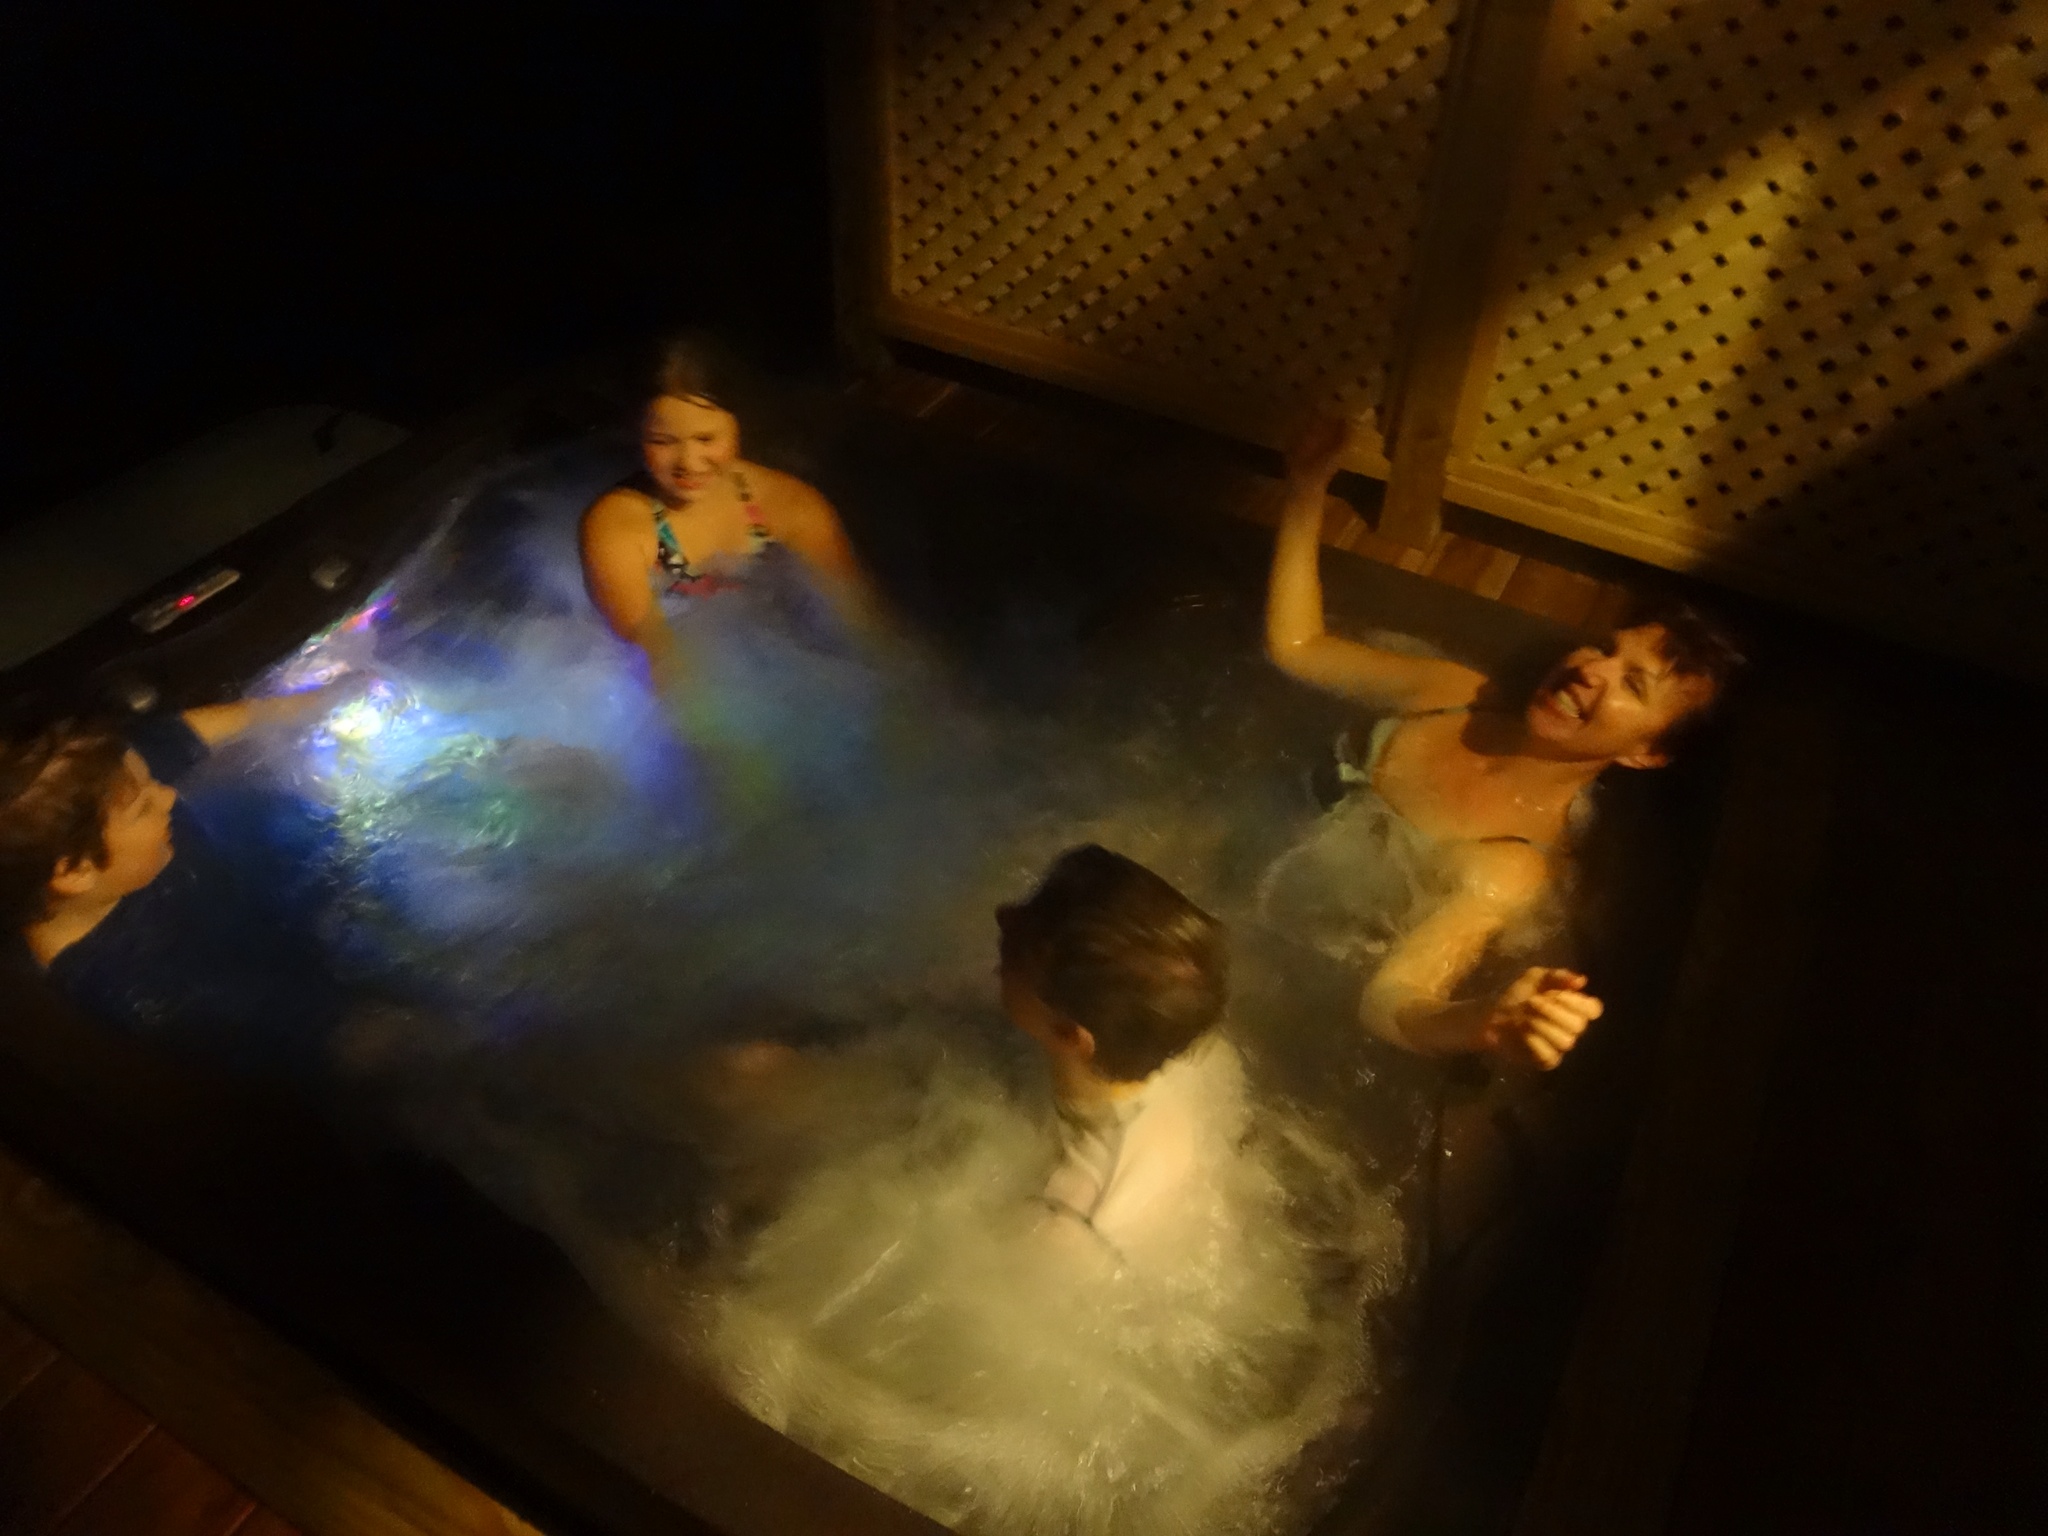
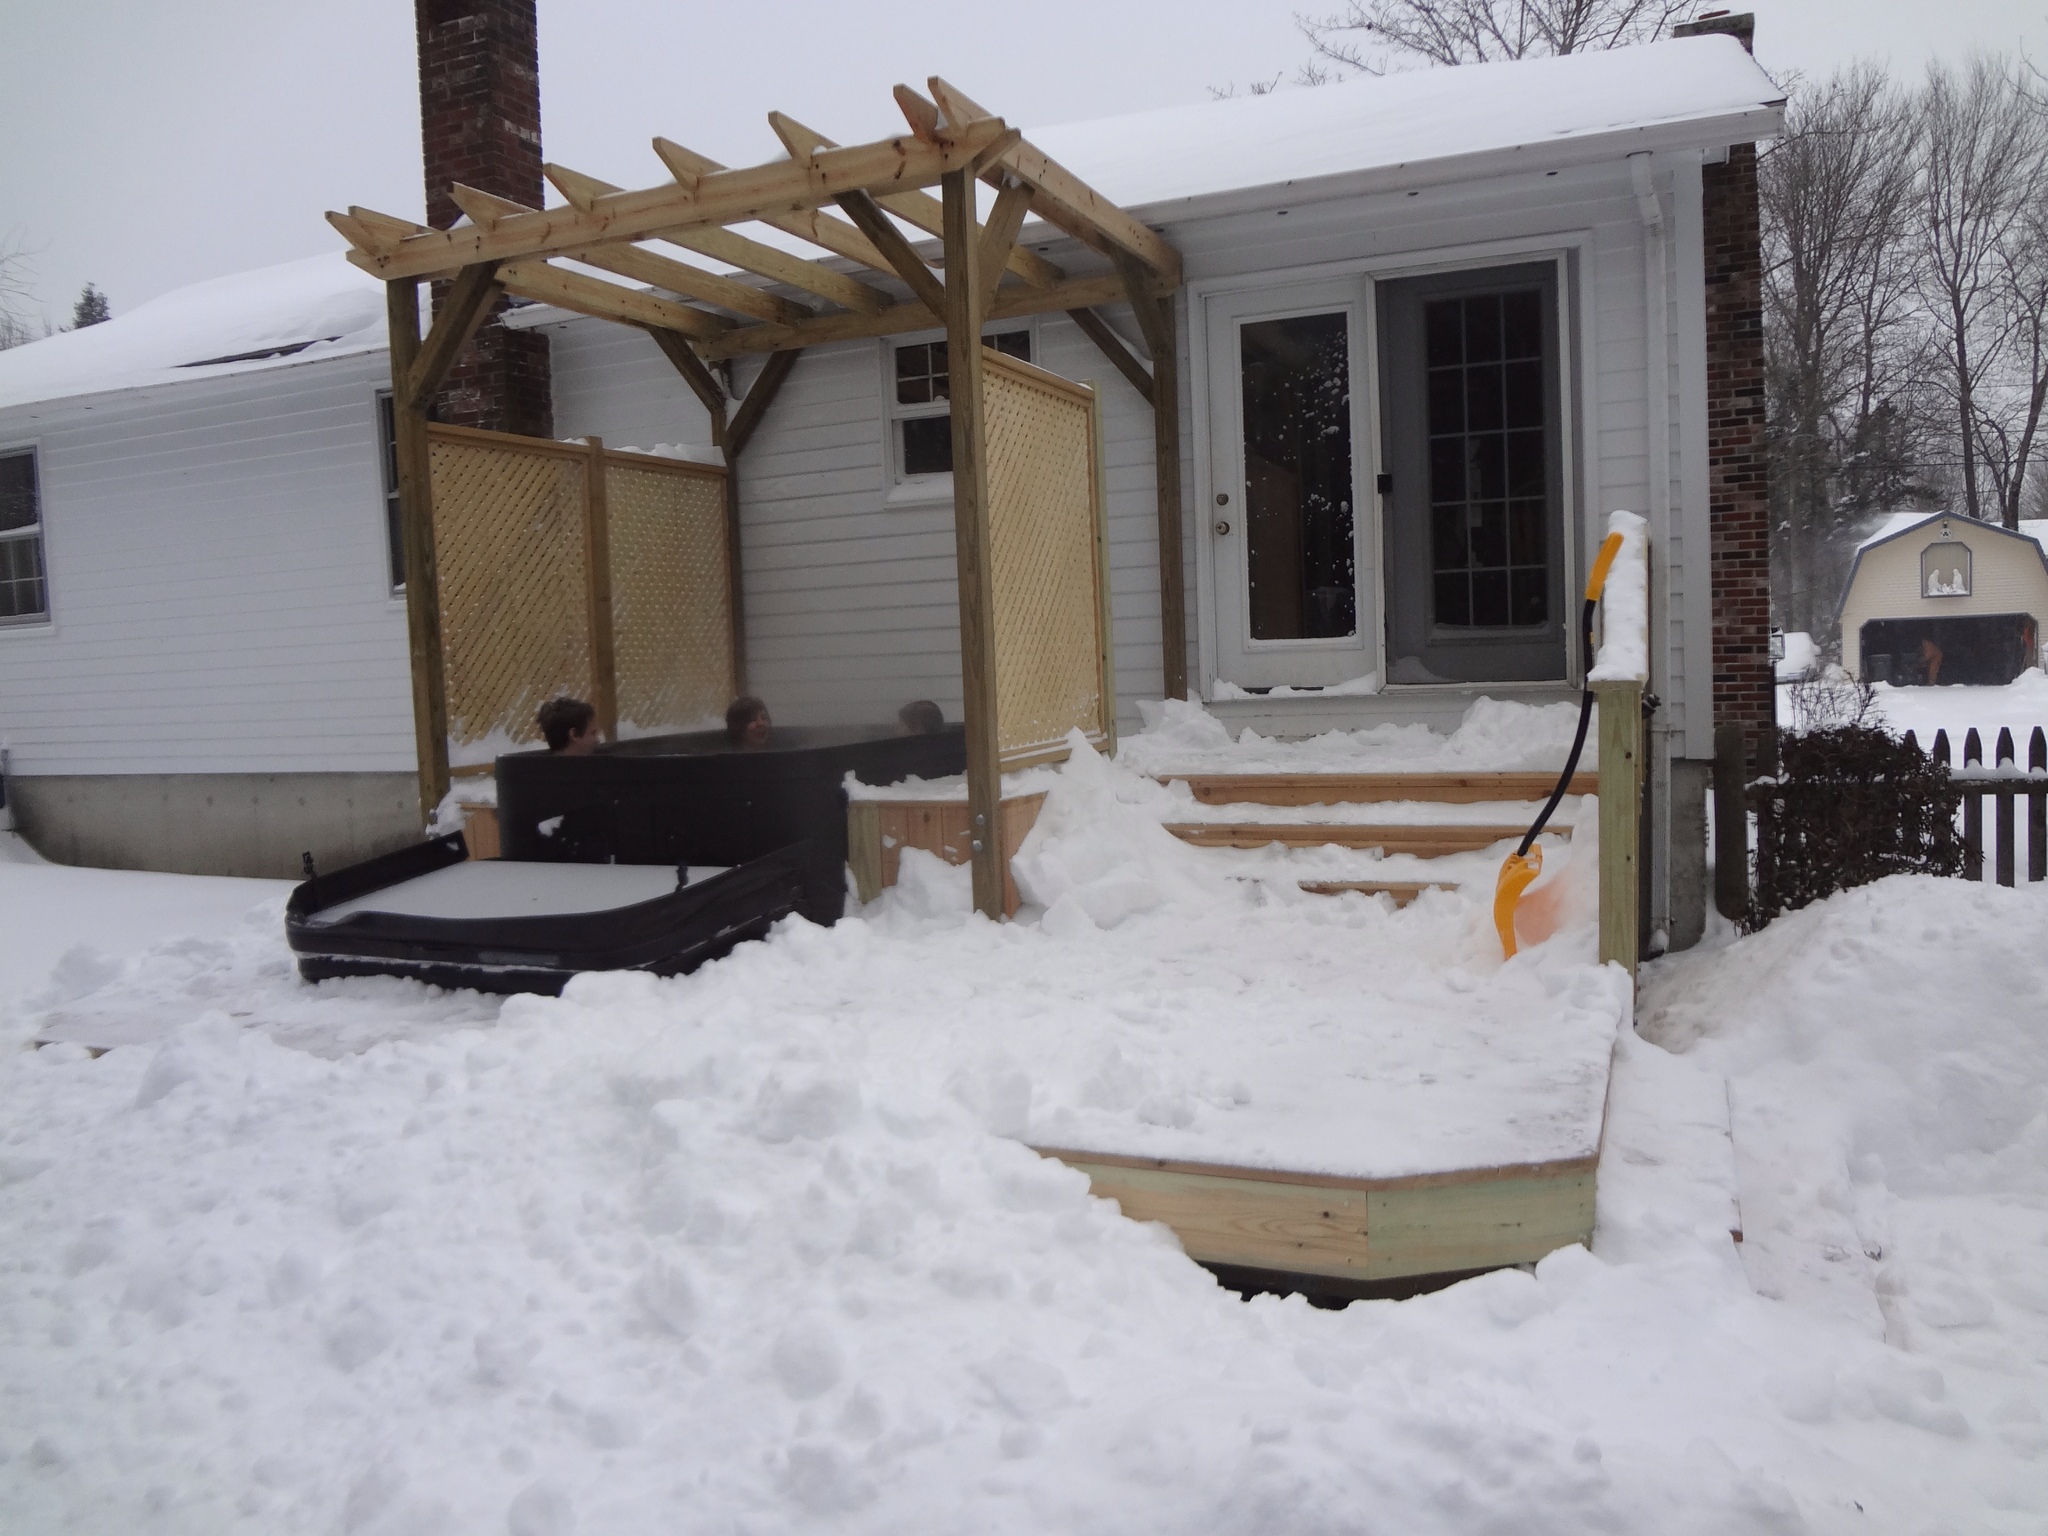
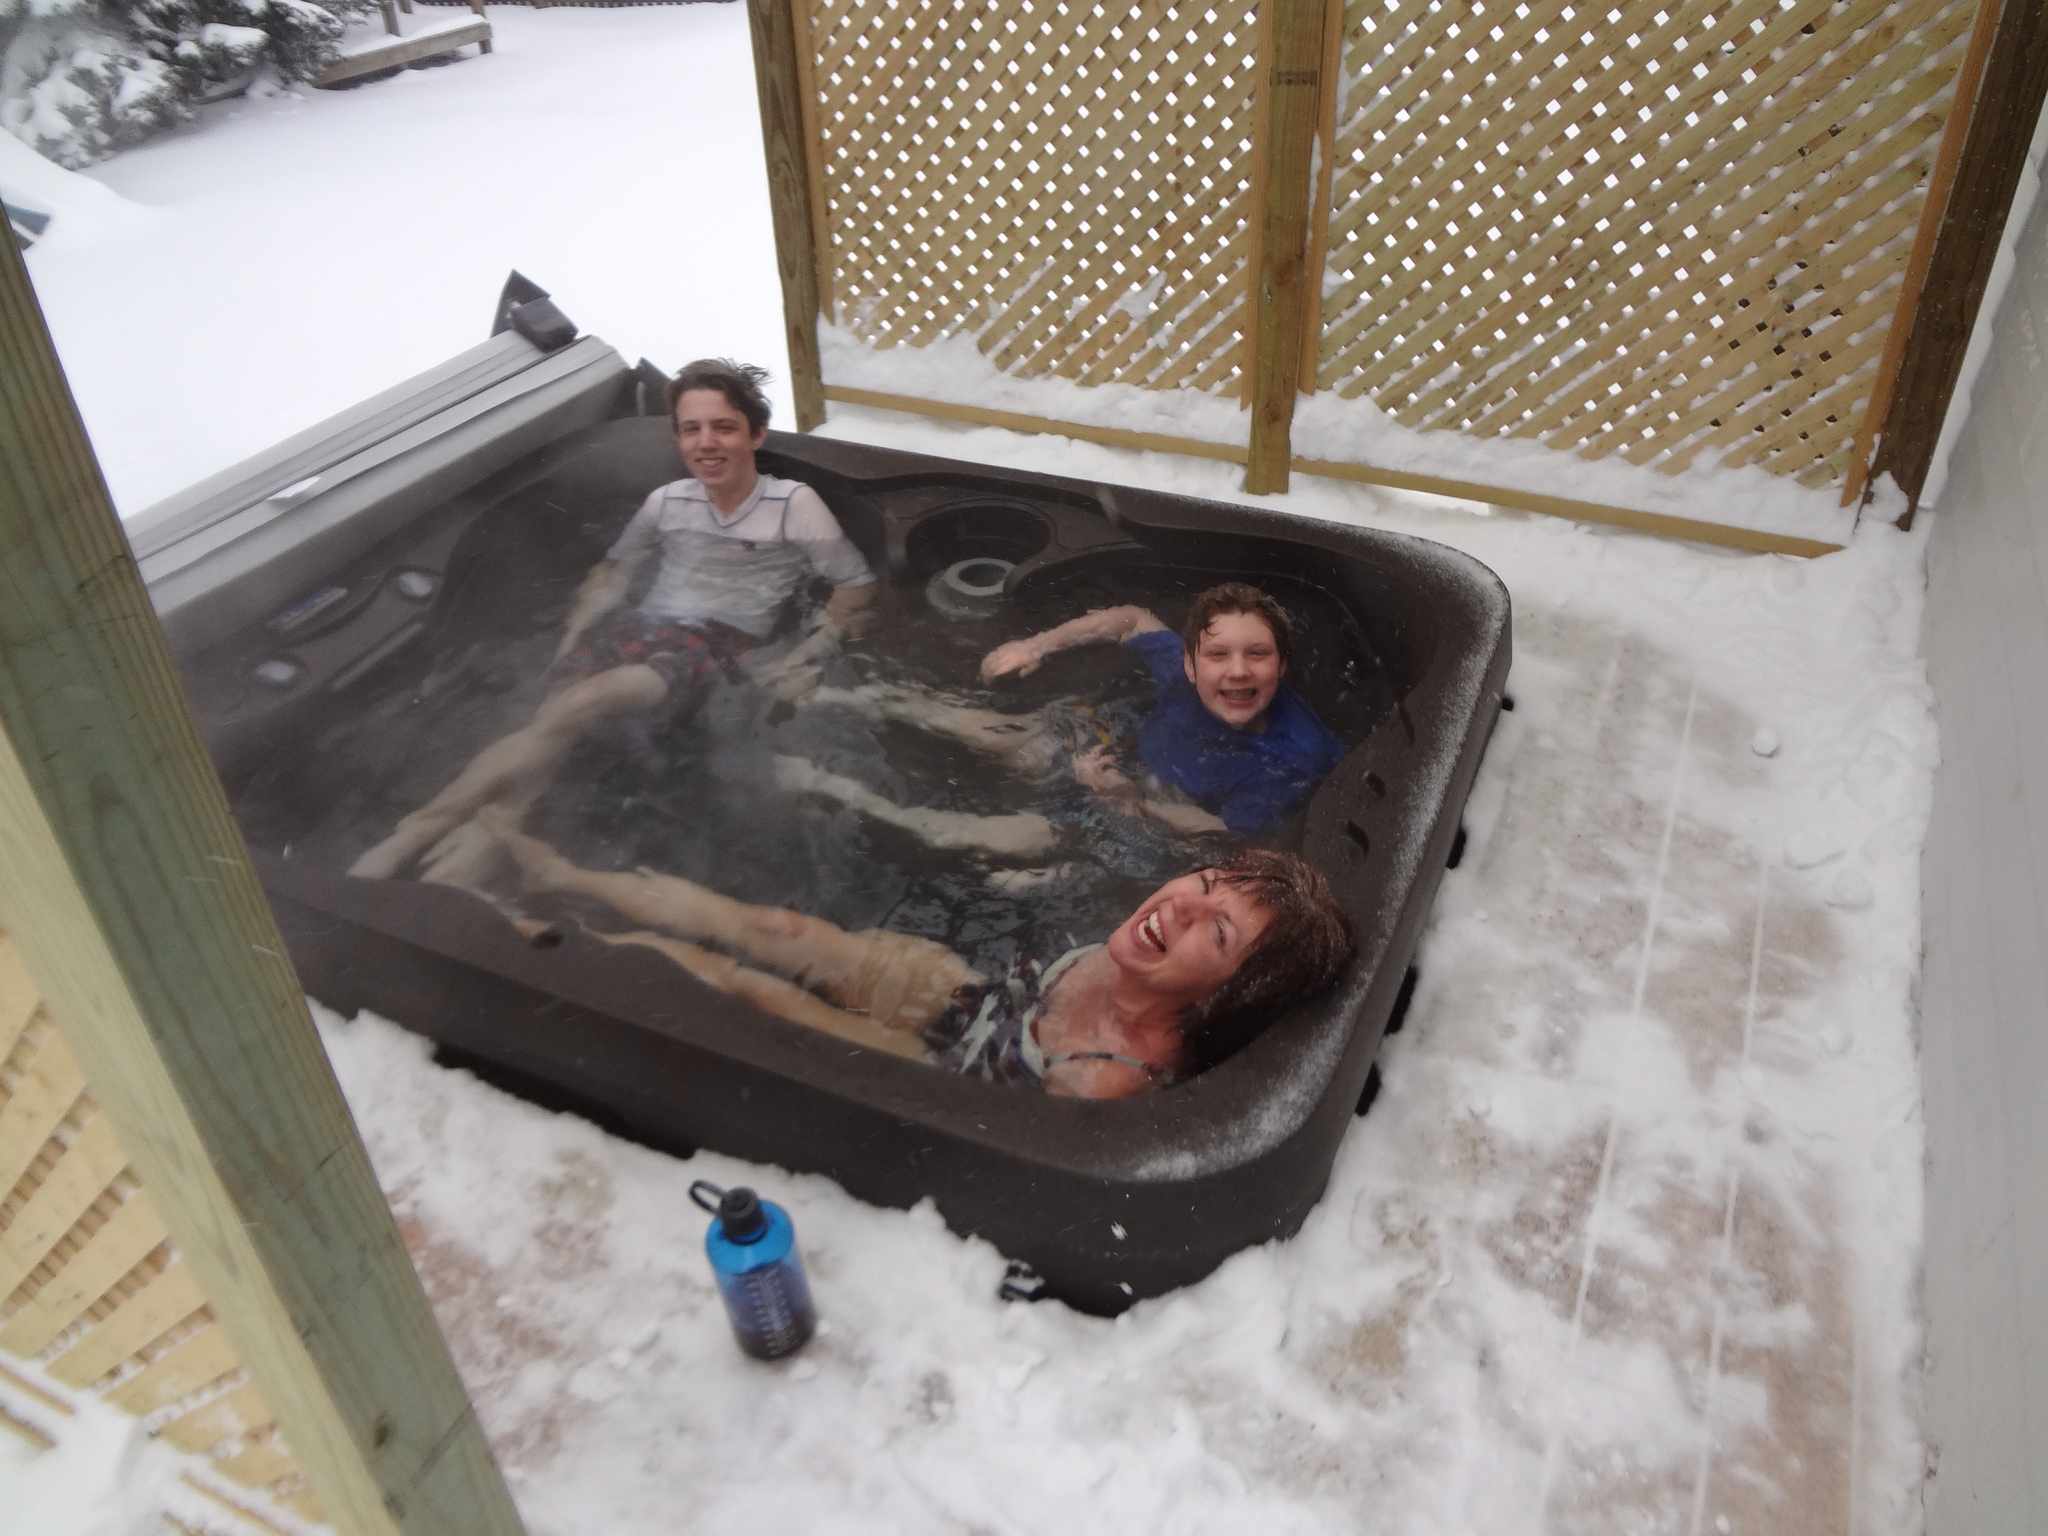
Can't wait for more fun in the spring!
Yay!!!
Looks so good! Good work Chuckie!!!
Awesome job Chuckie! 😉 Truly, it looks great, and your narrative was entertaining. Next time have the kids video tape the project as an instructional! 🙂 Wish all the best in the New Year – have fun!