
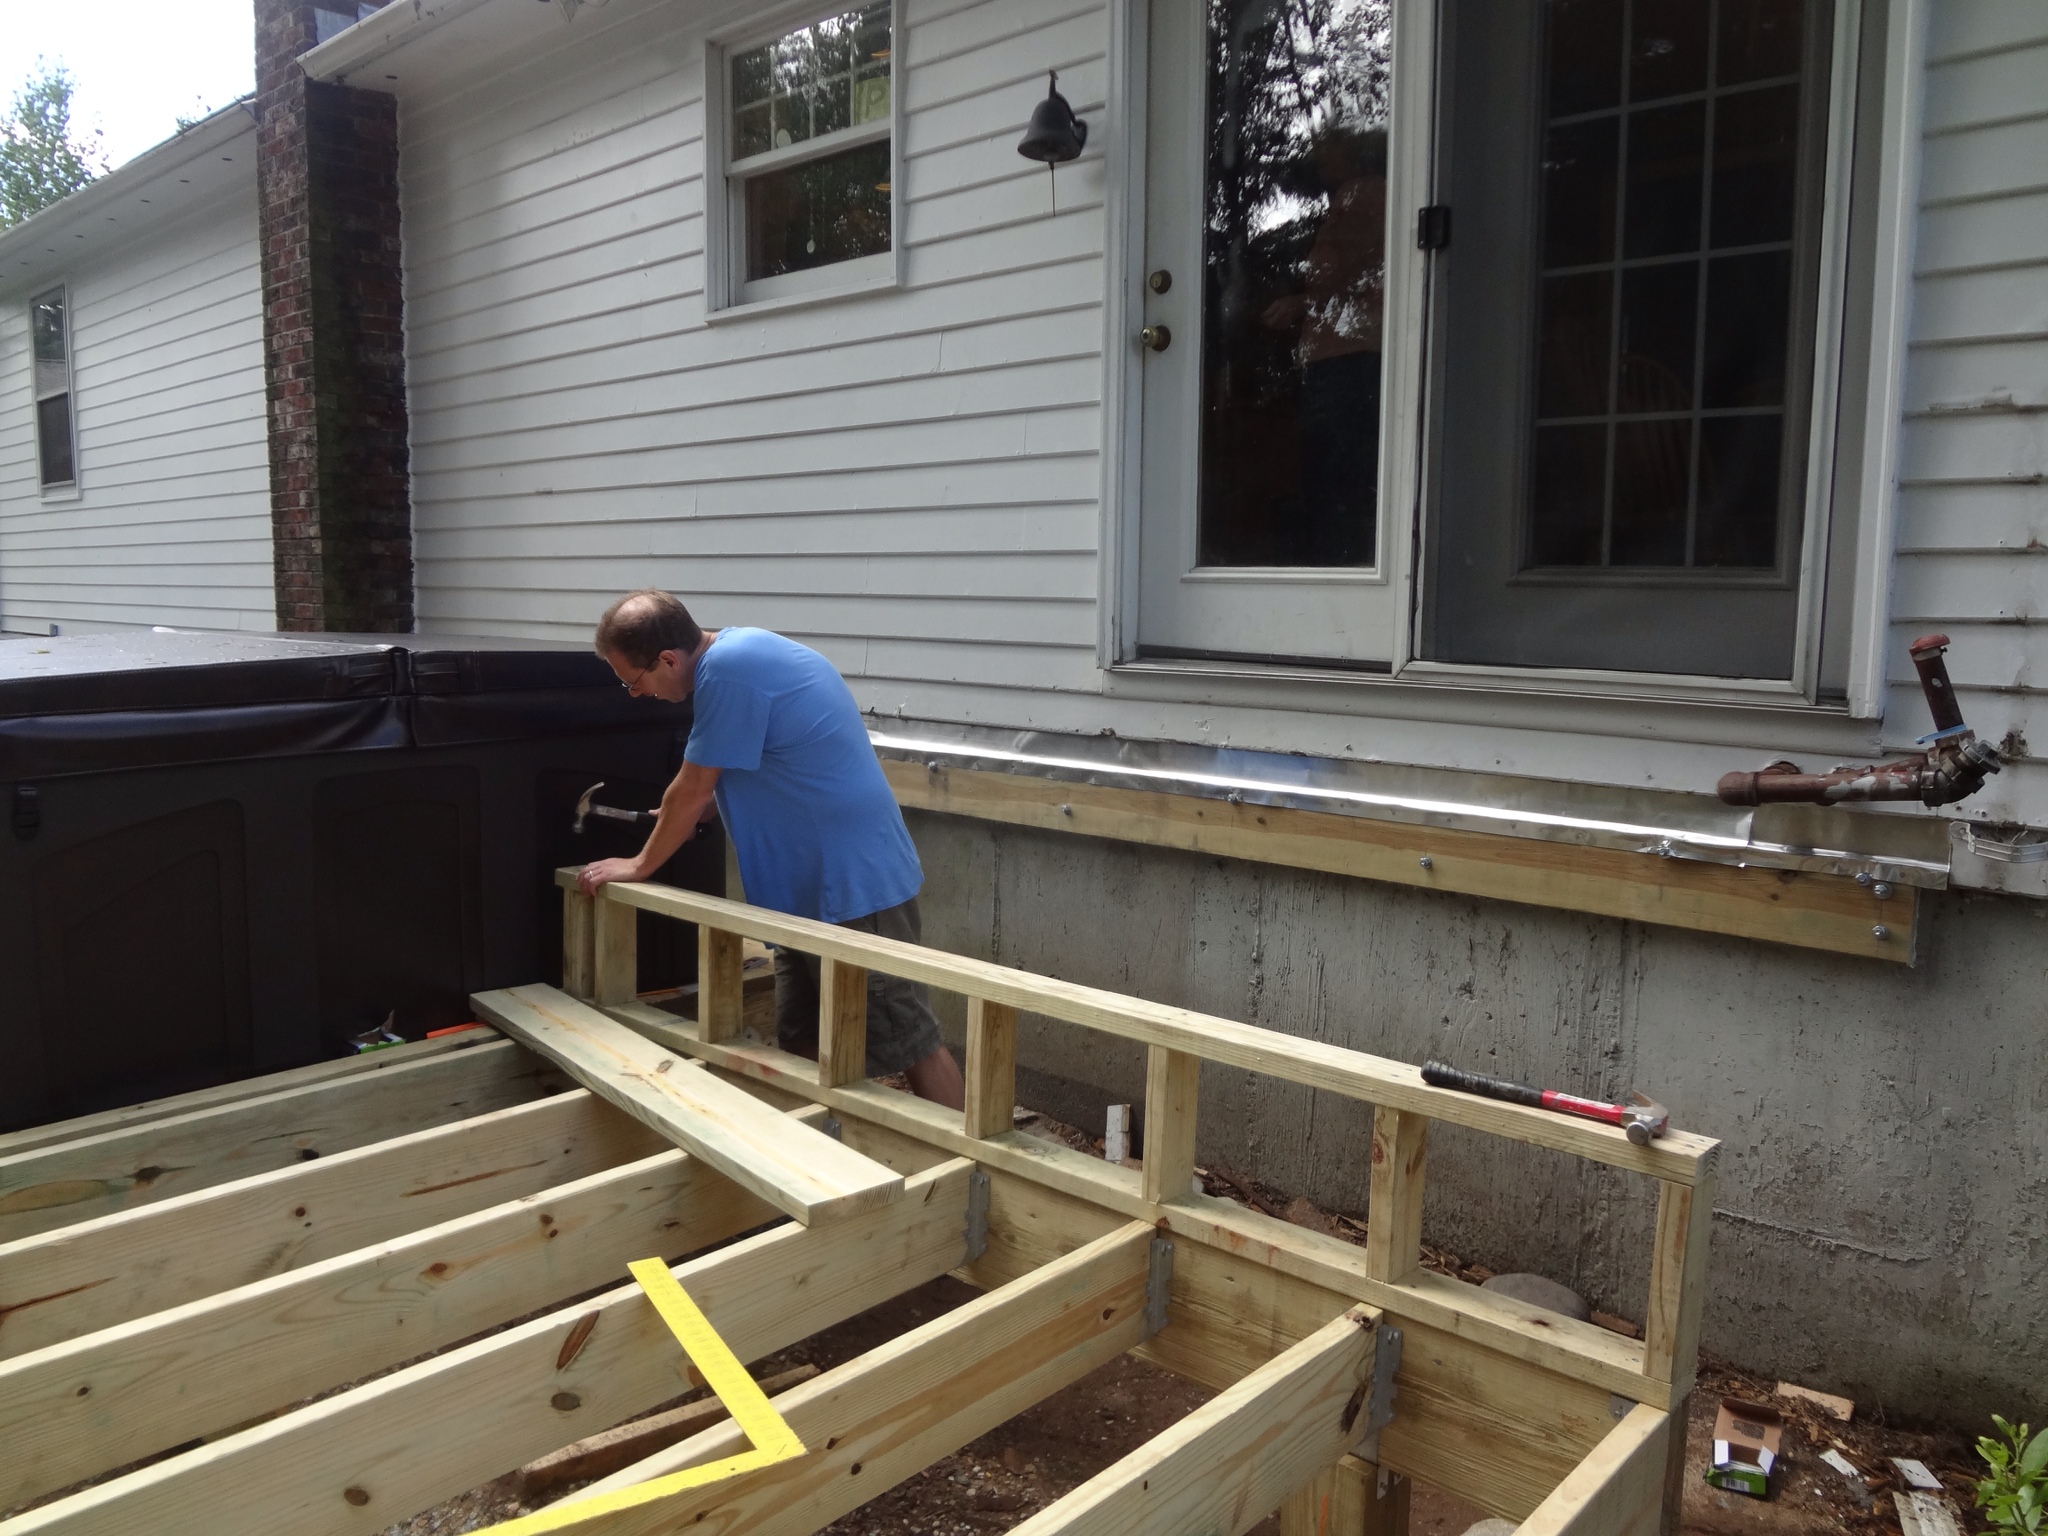
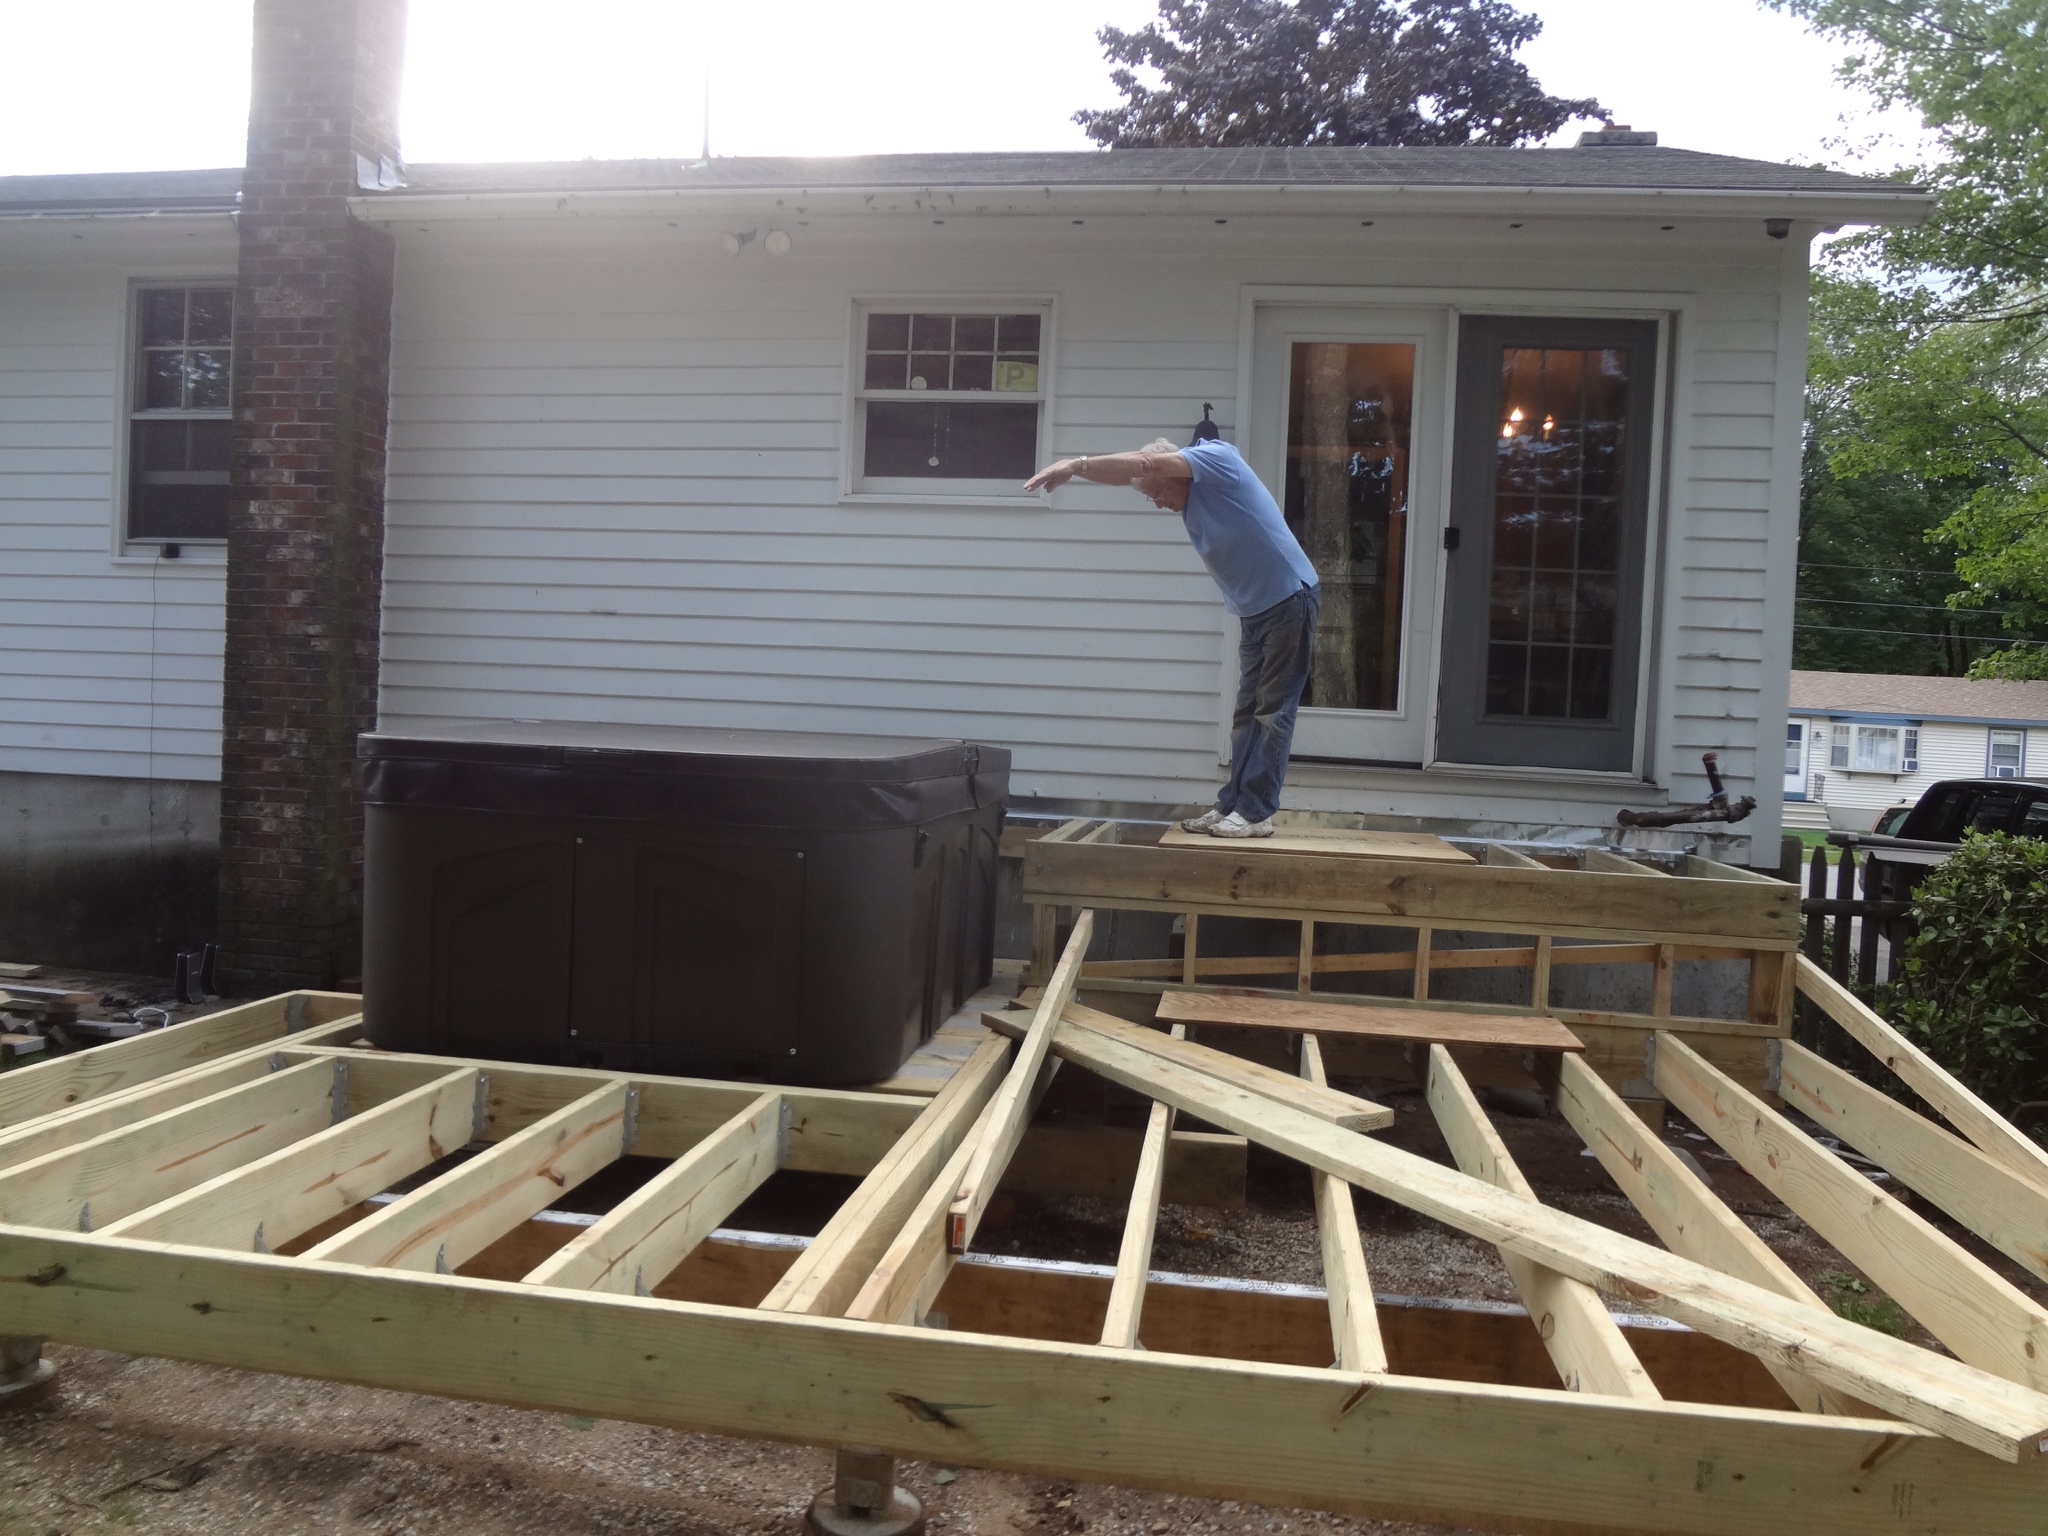
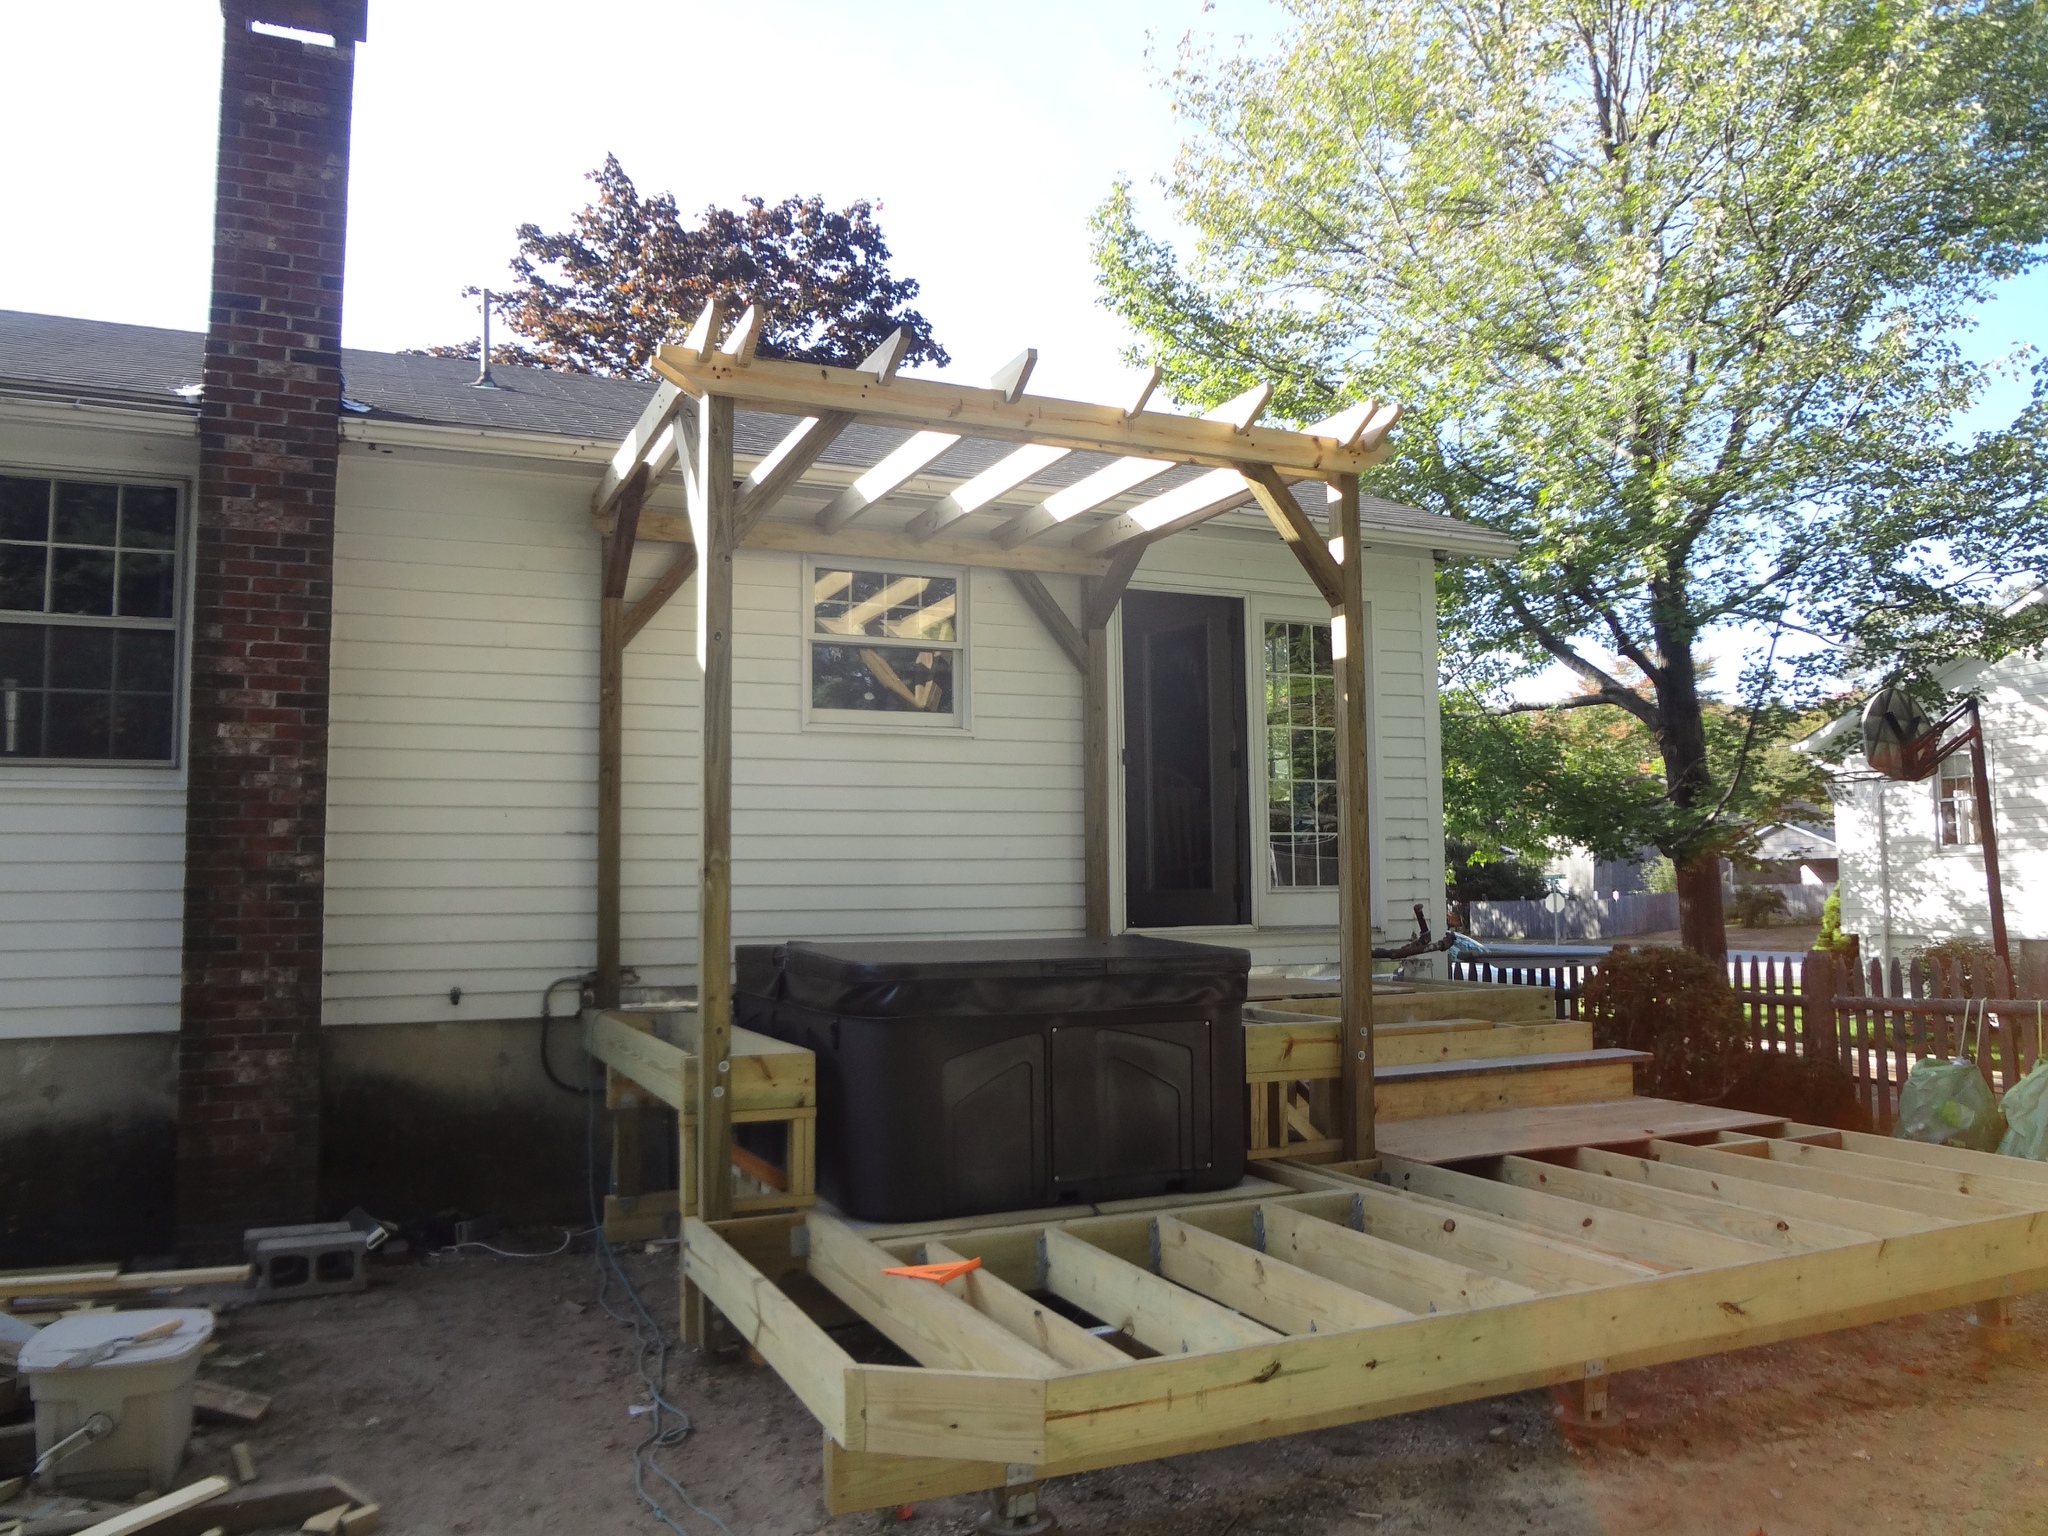
Once the wall was completed it was nailed onto the beam and then a sway brace was added to the back. Then the upper-level joists were attached to the ledger with hangers and set on top of the support wall. Finally, a rim board was nailed into the front of the joists and some brackets installed to further secure them to the support wall. At this point the platform was ready to support the staging of a classic gag photo:
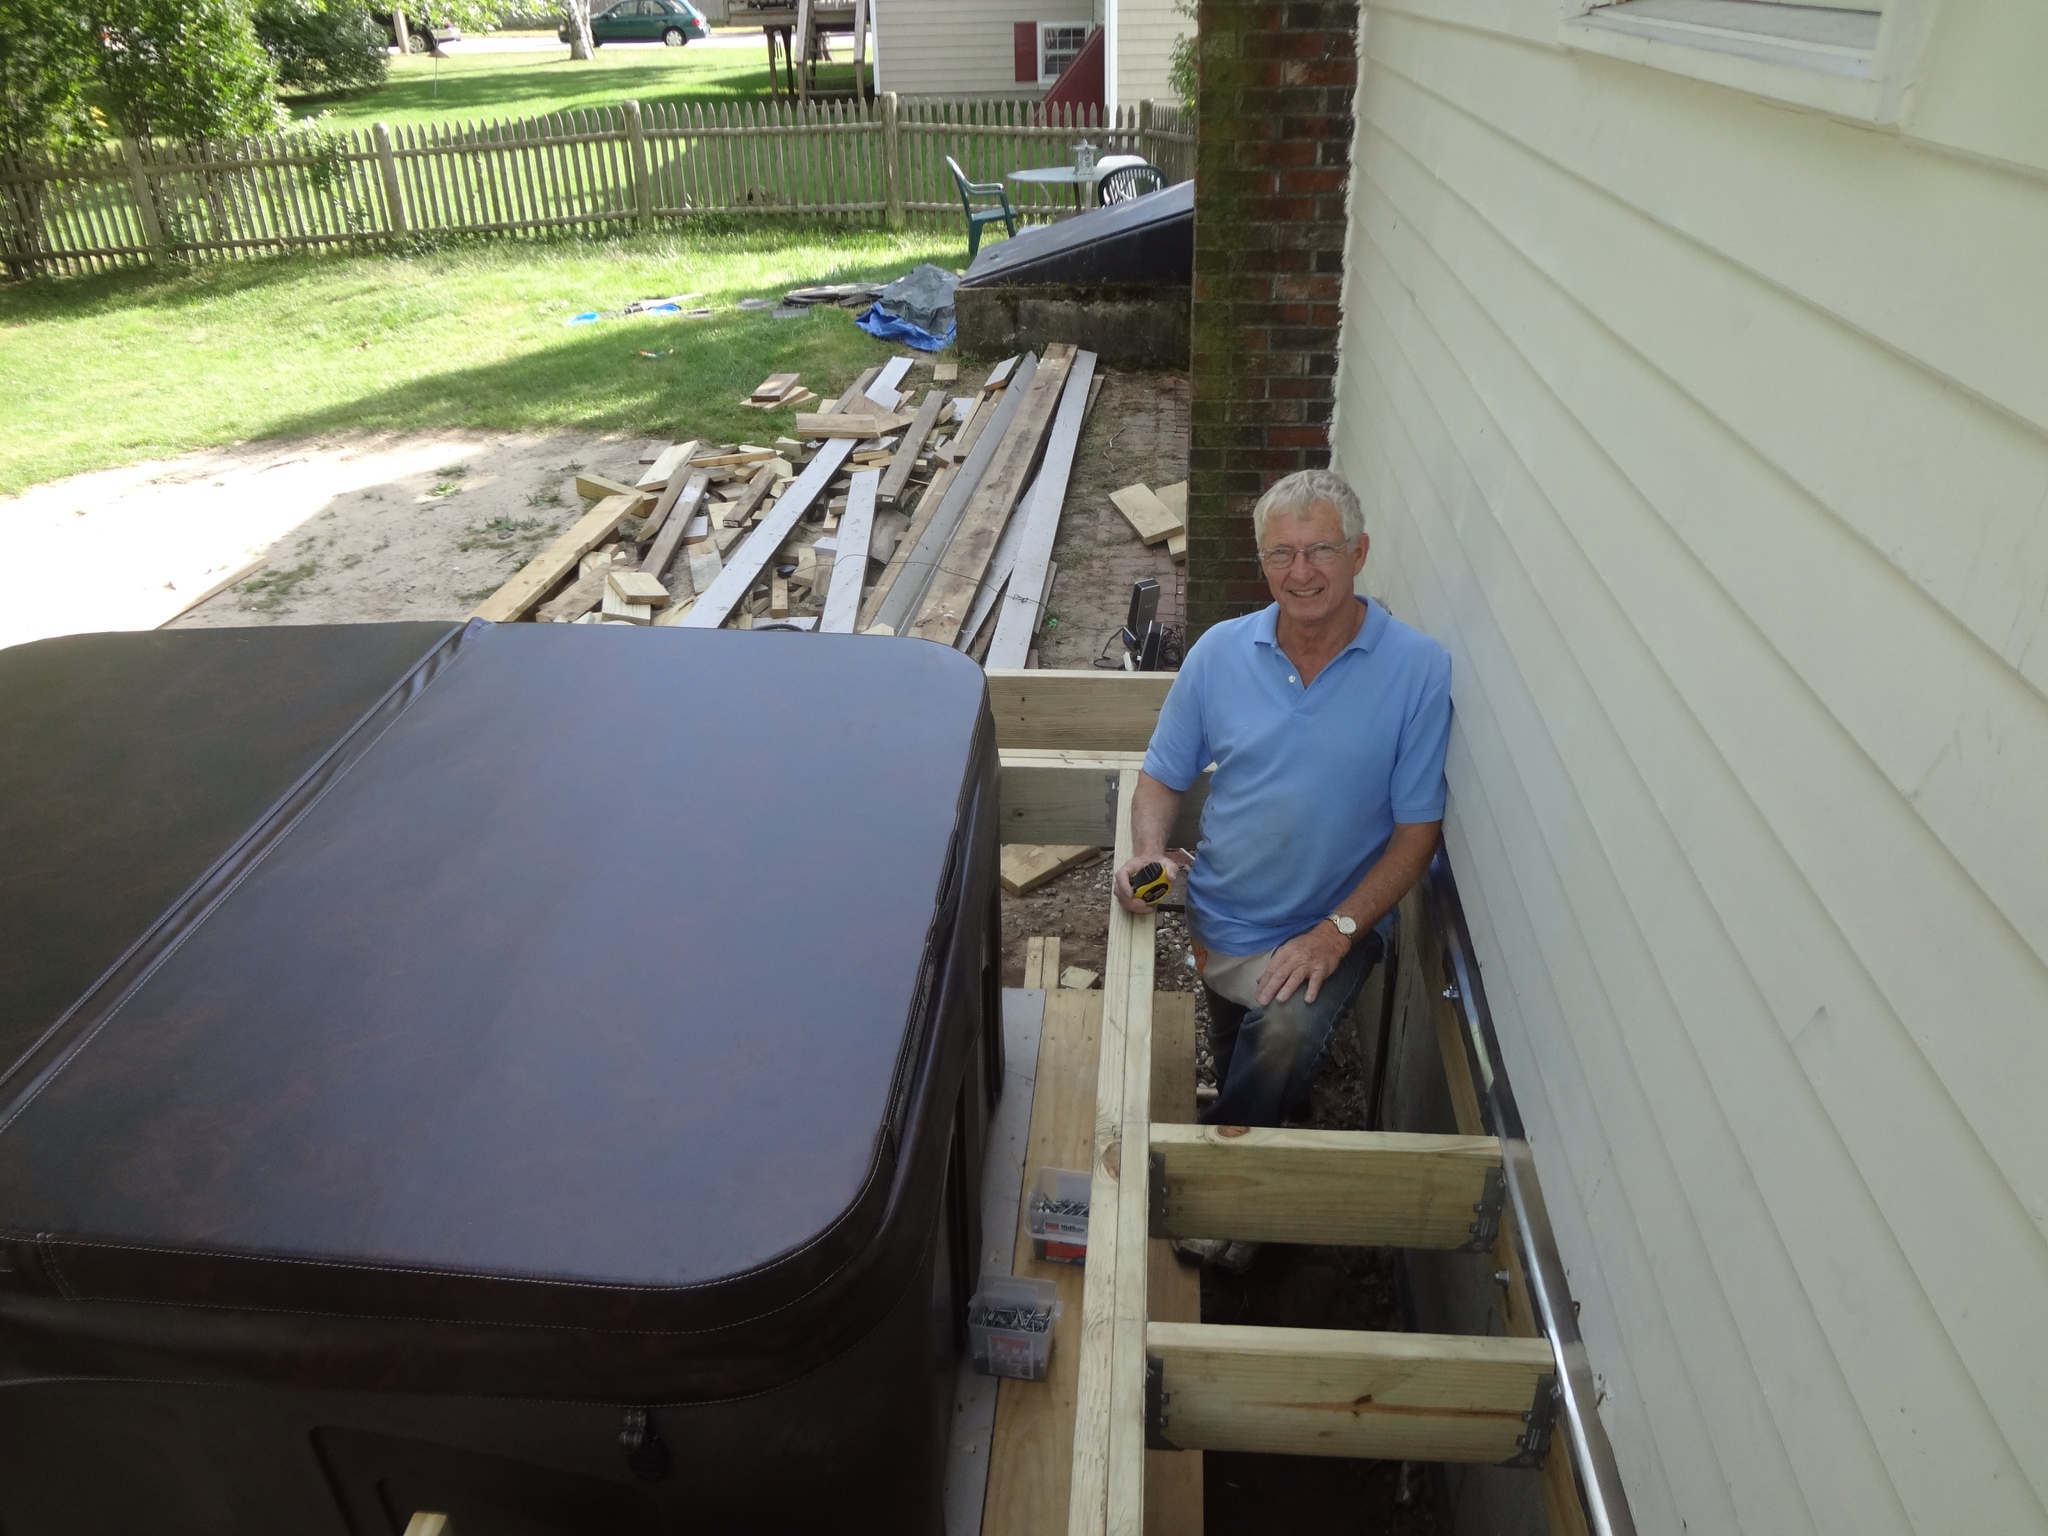
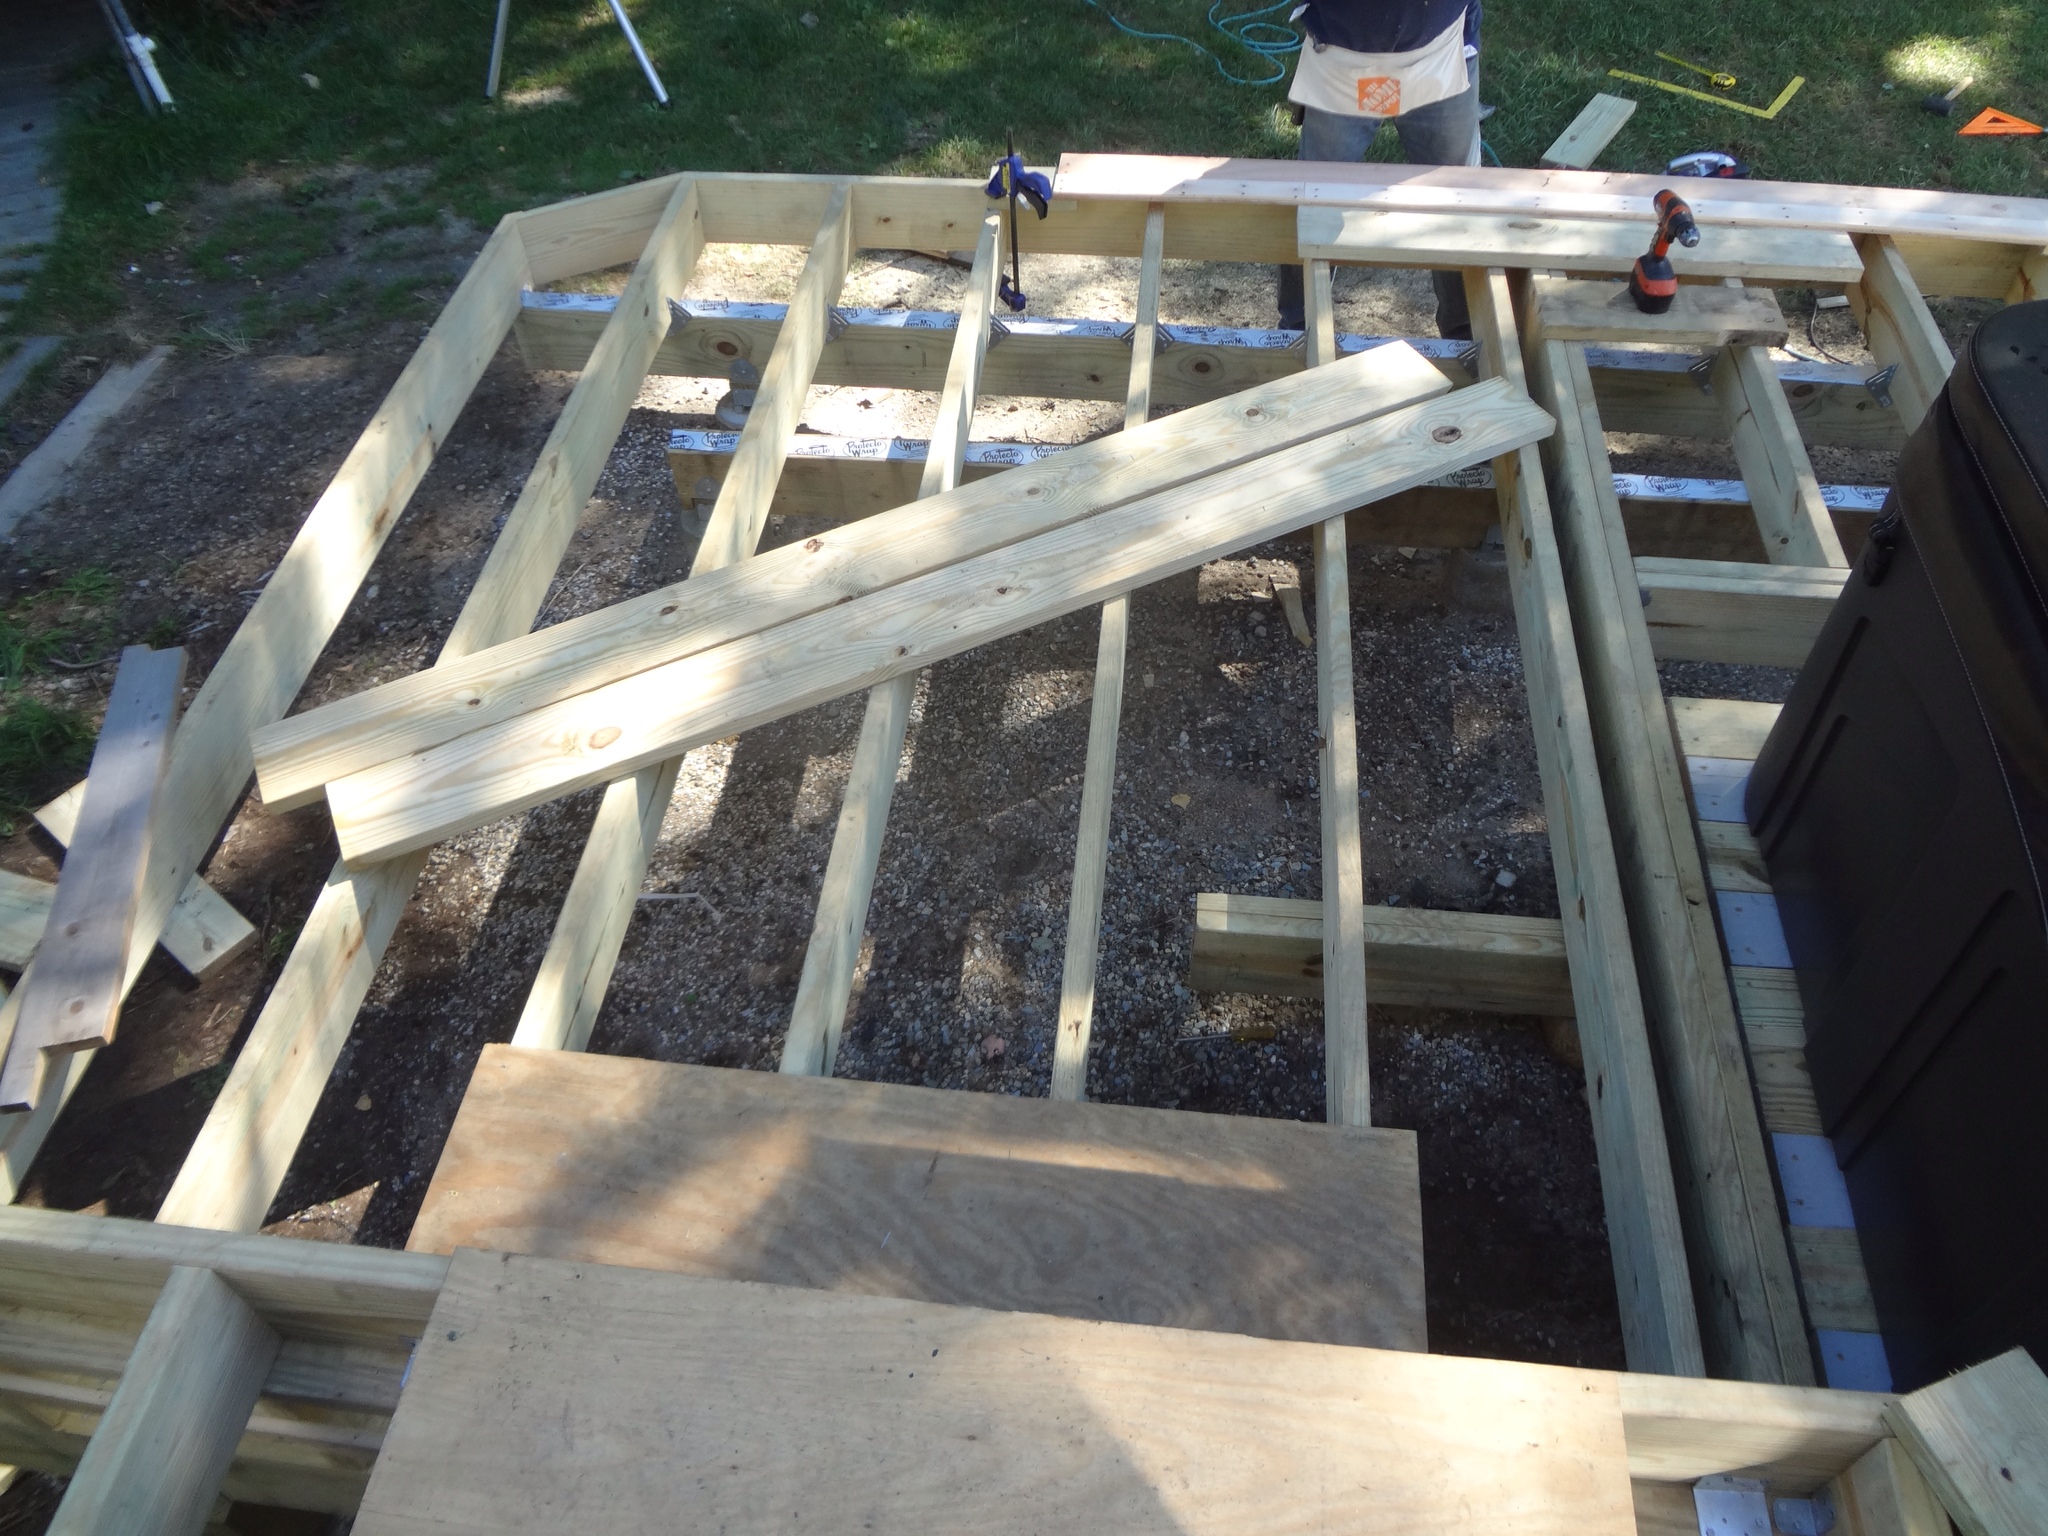
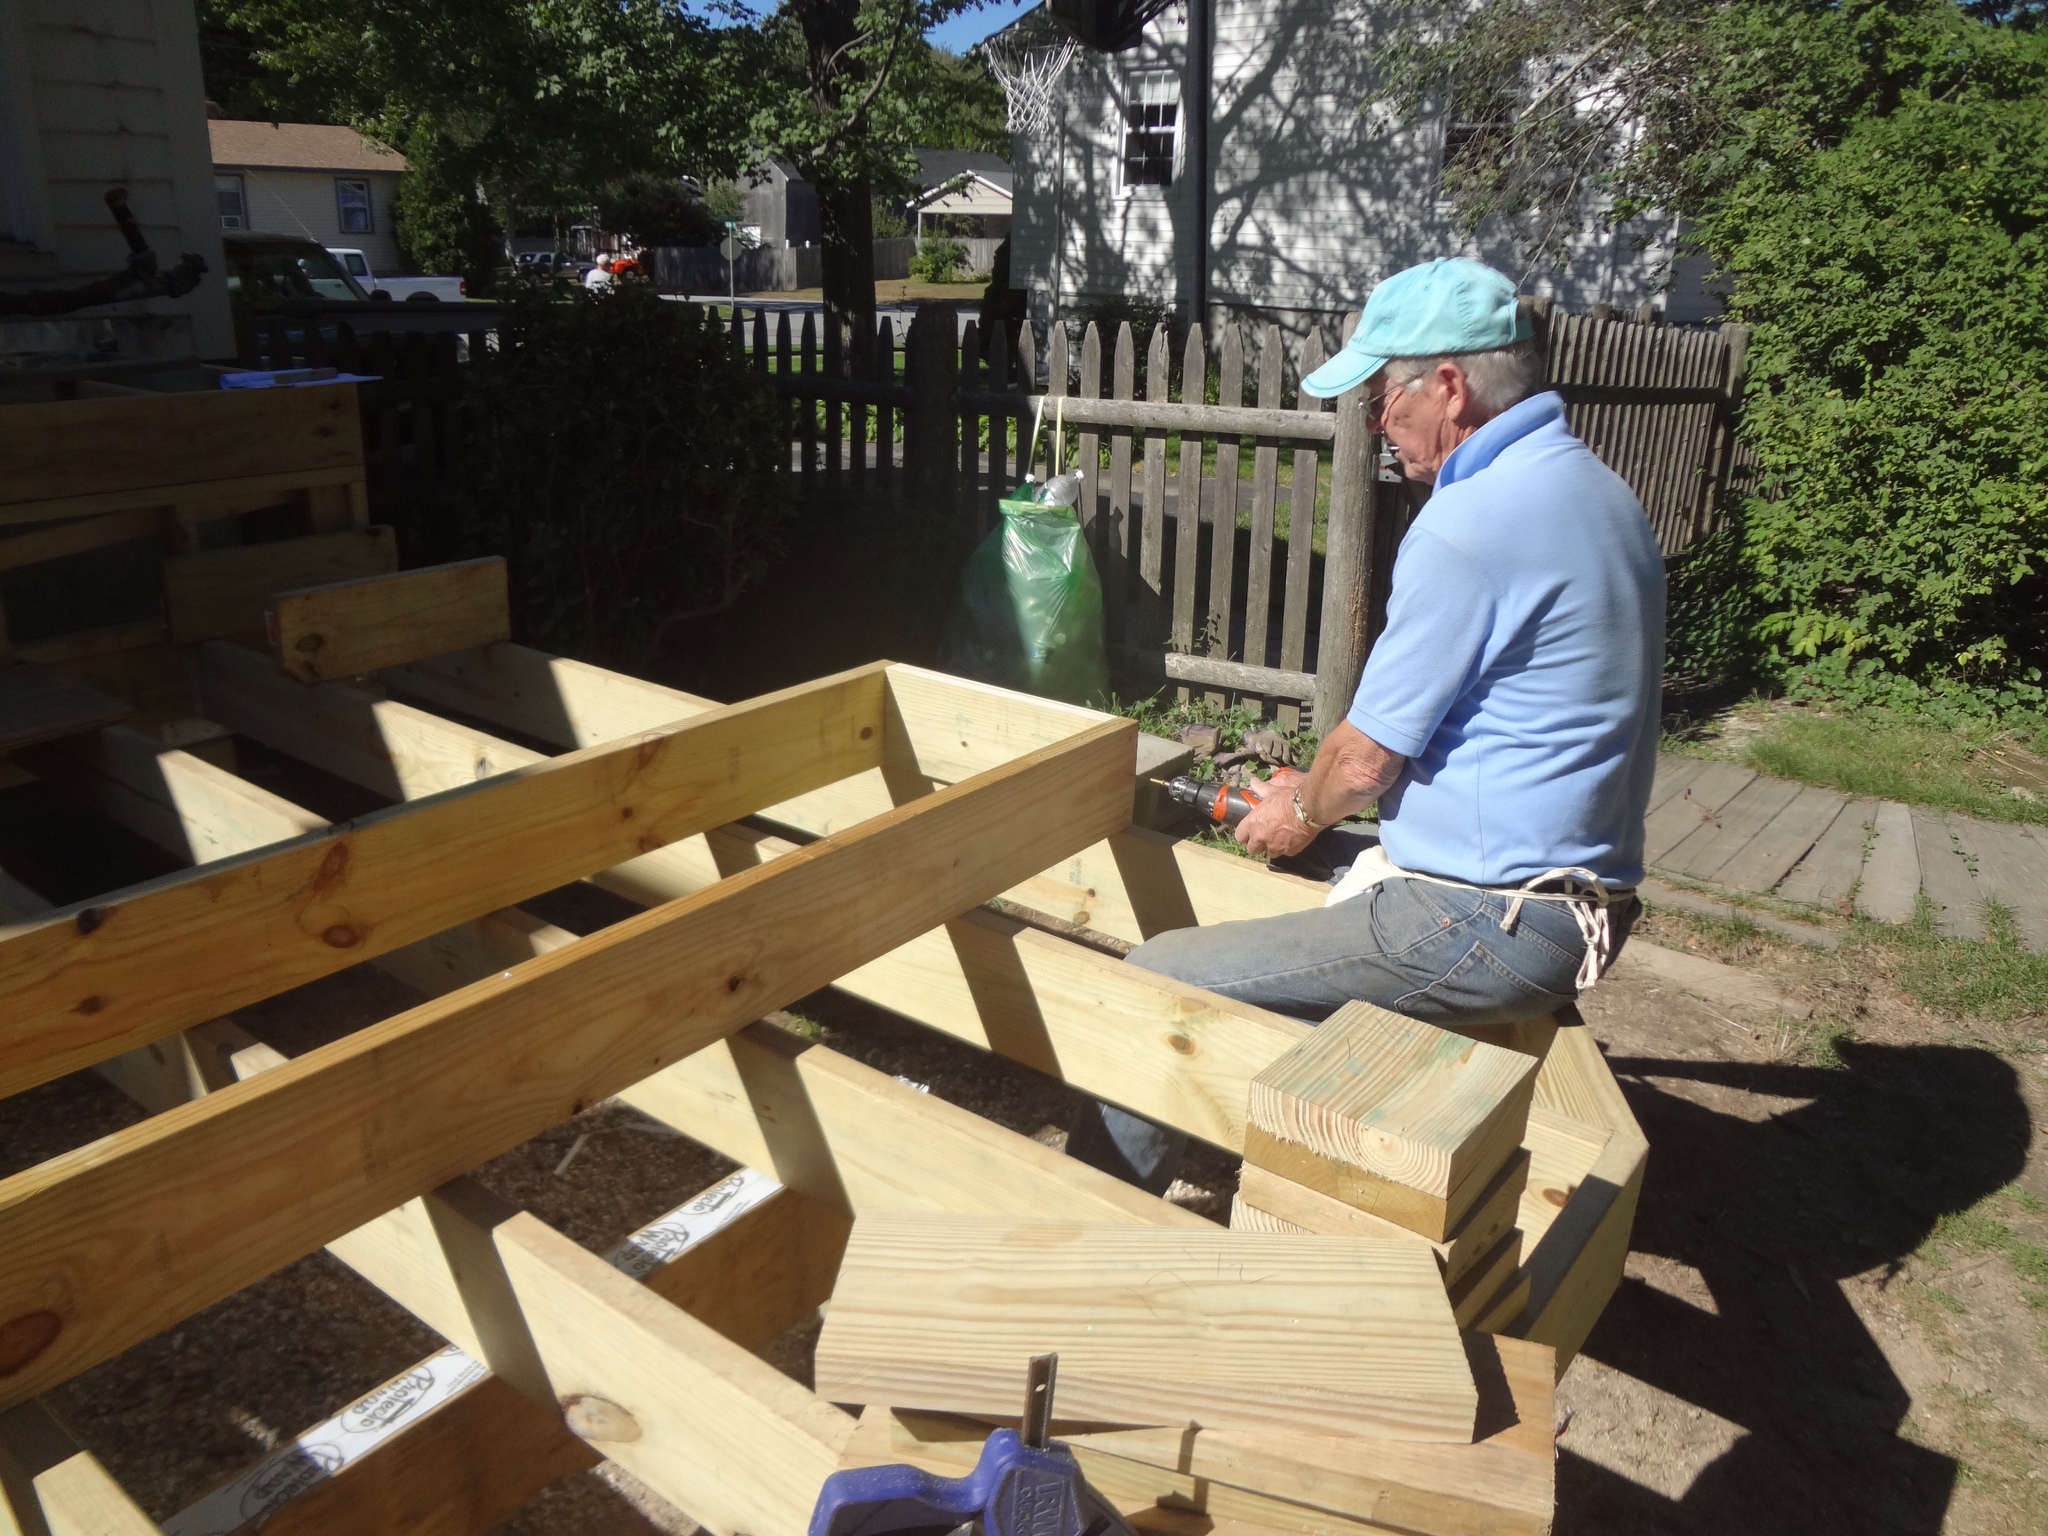
Next we built a much smaller wall around the other side of the hot tub and hung joists in the same fashion. This provided the necessary support for the inset framing around the back of the hot tub.

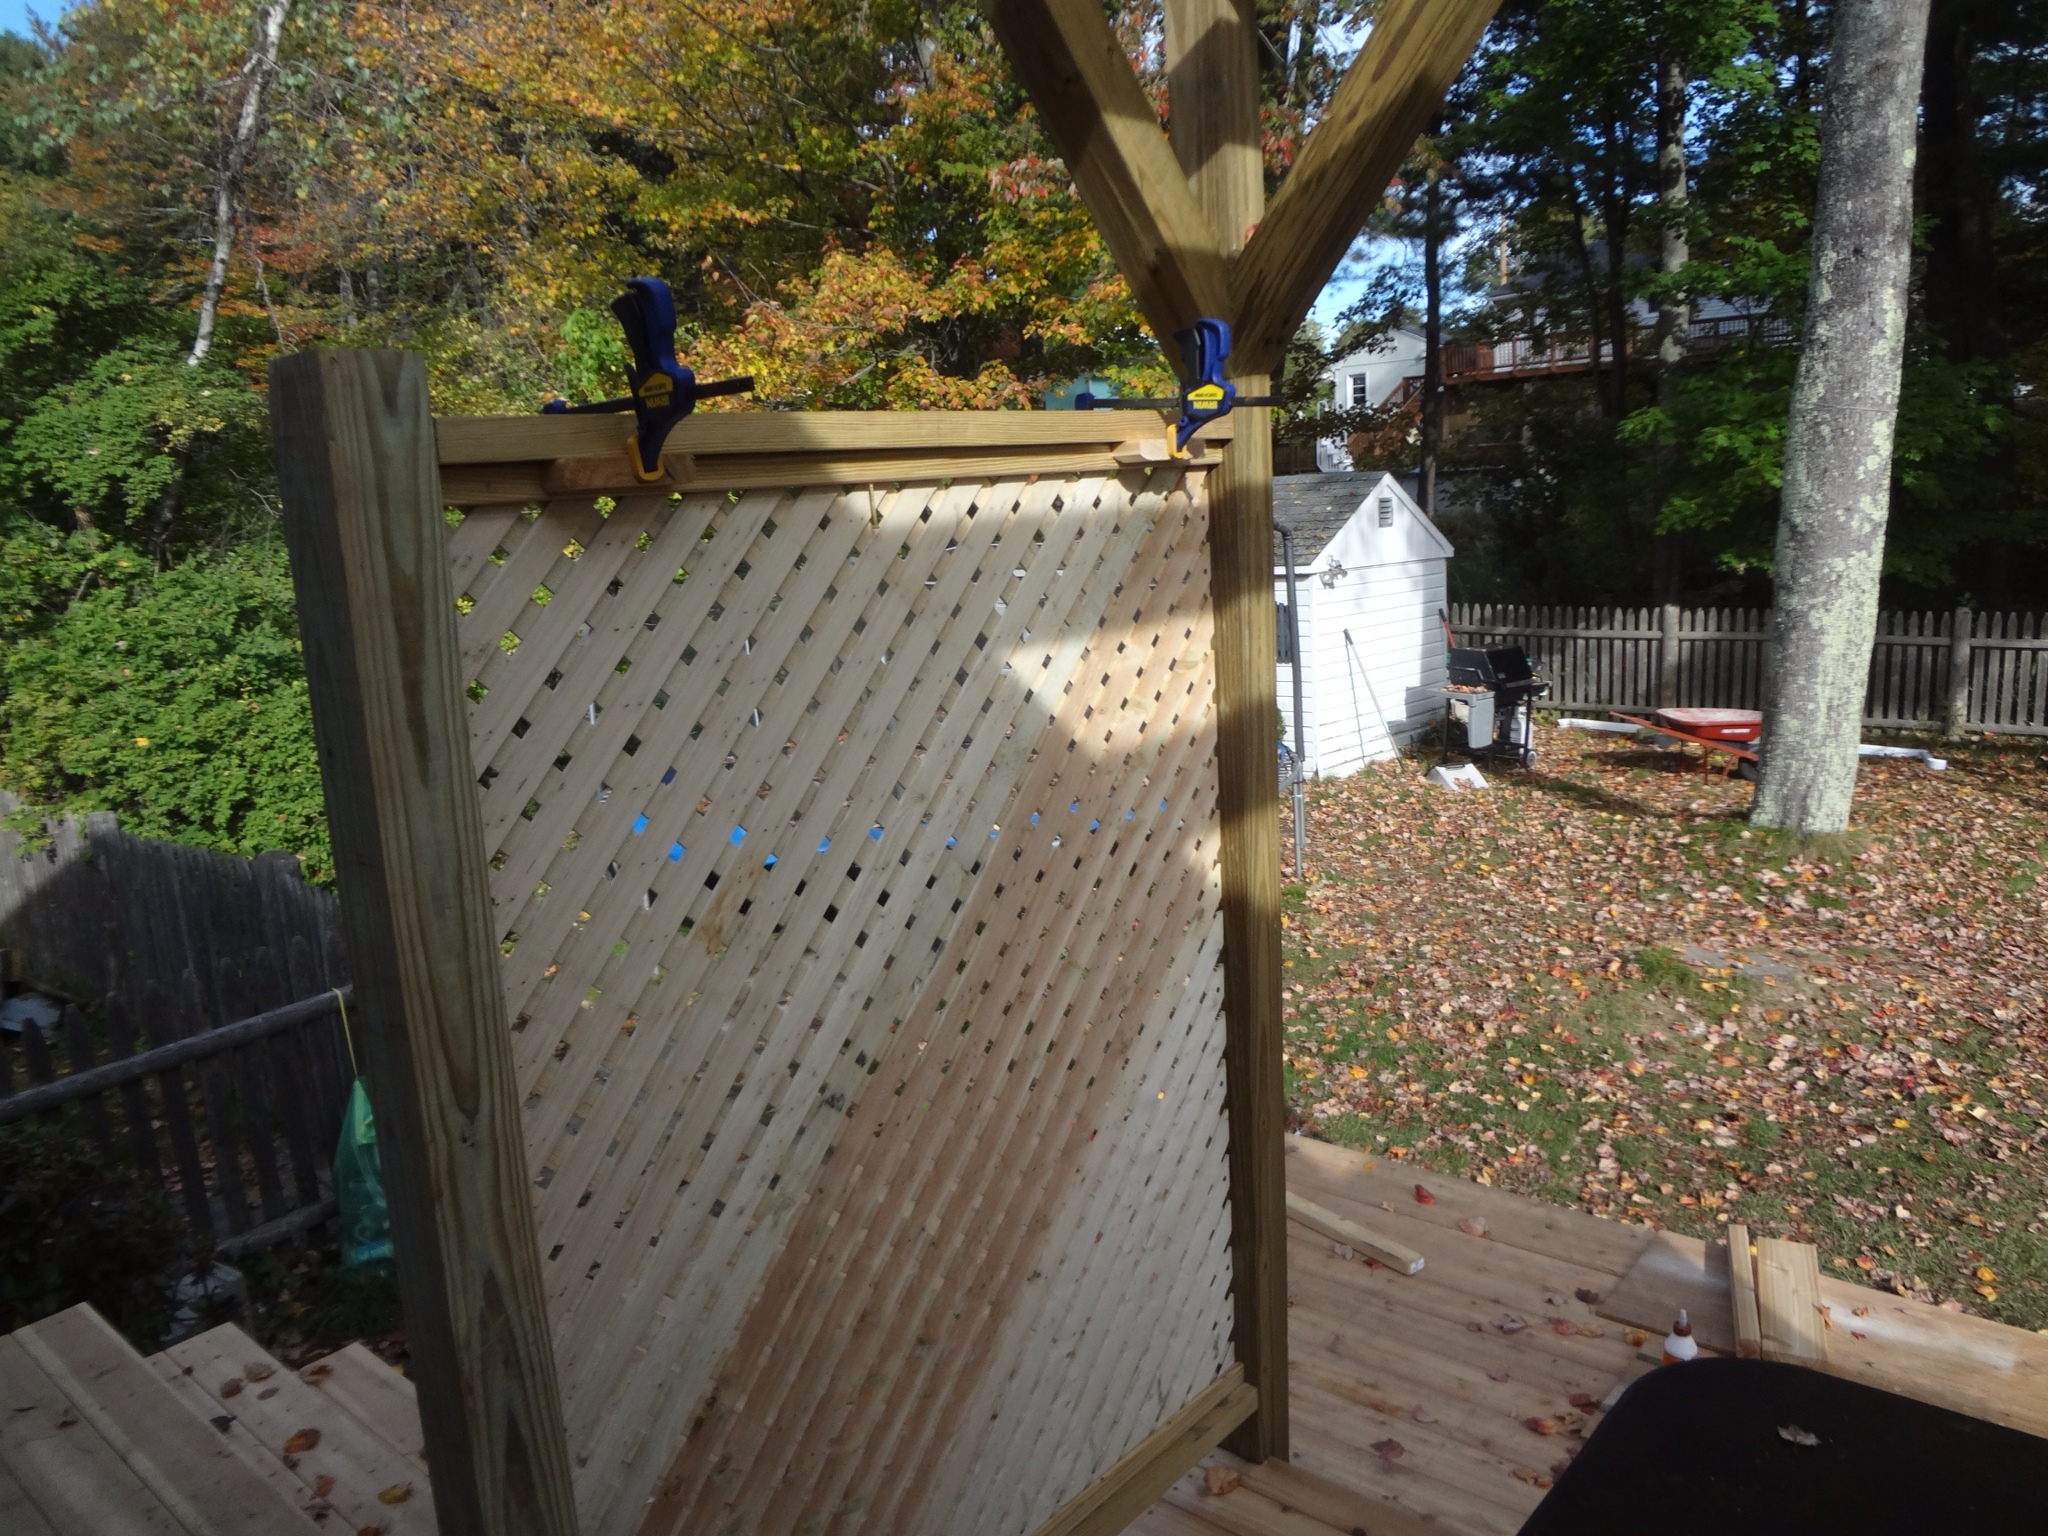
Here's a picture of the joists being attached behind the hot tub. In addition to using double joists around the tub, we also built up the beams on either side of the hot tub deck to add additional support.
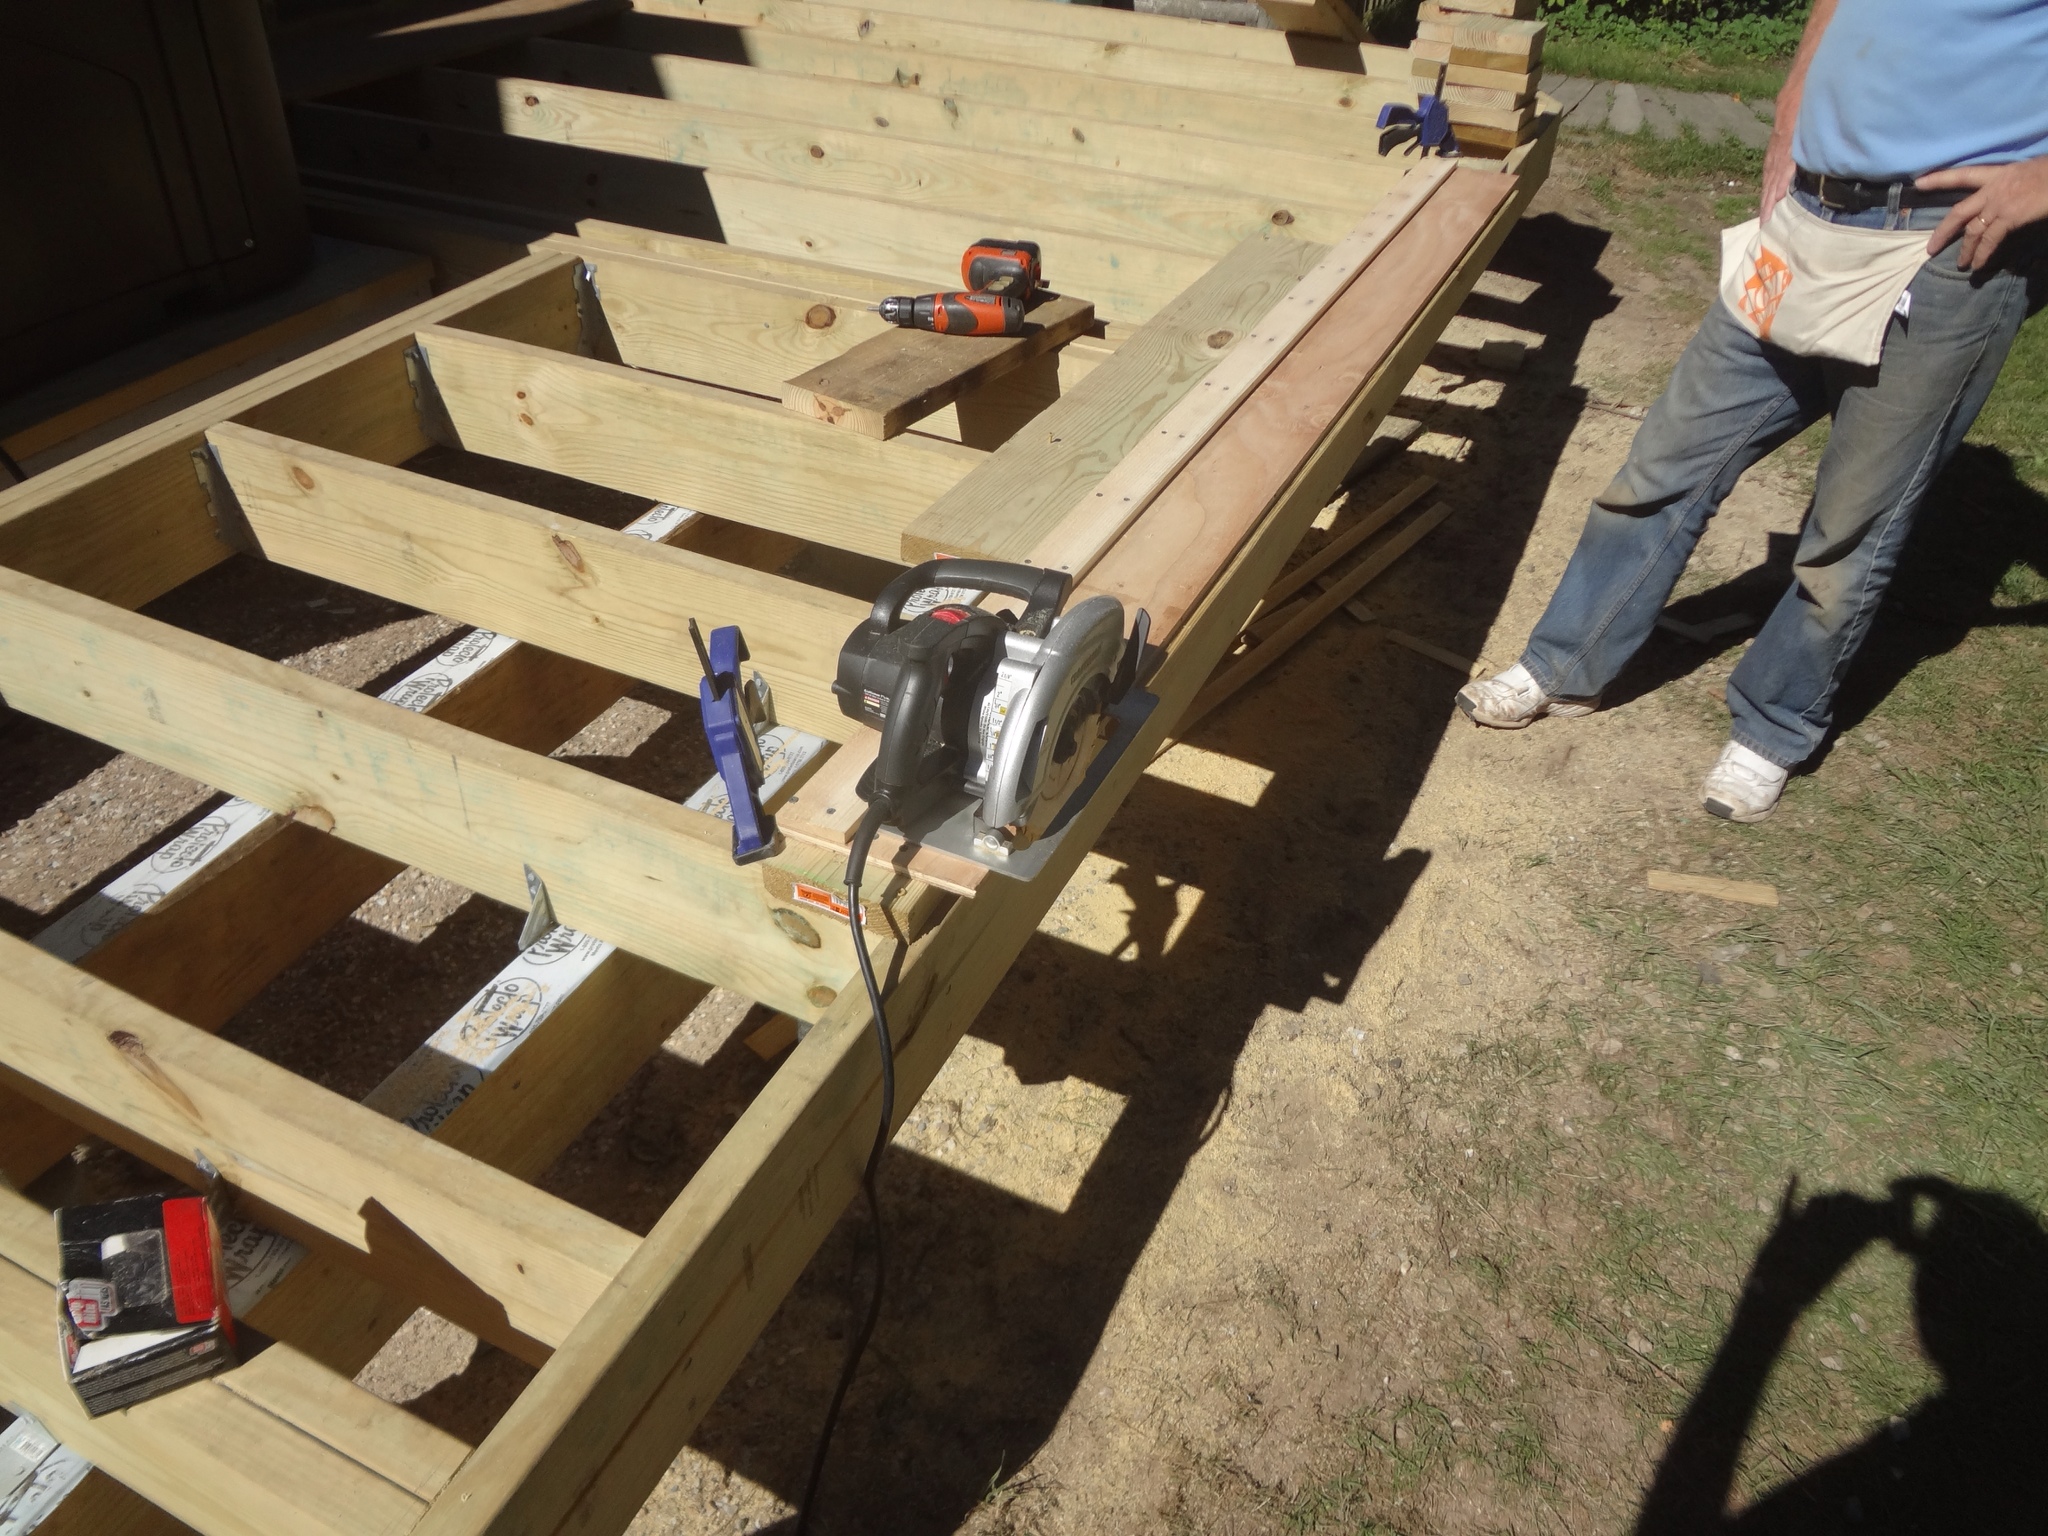
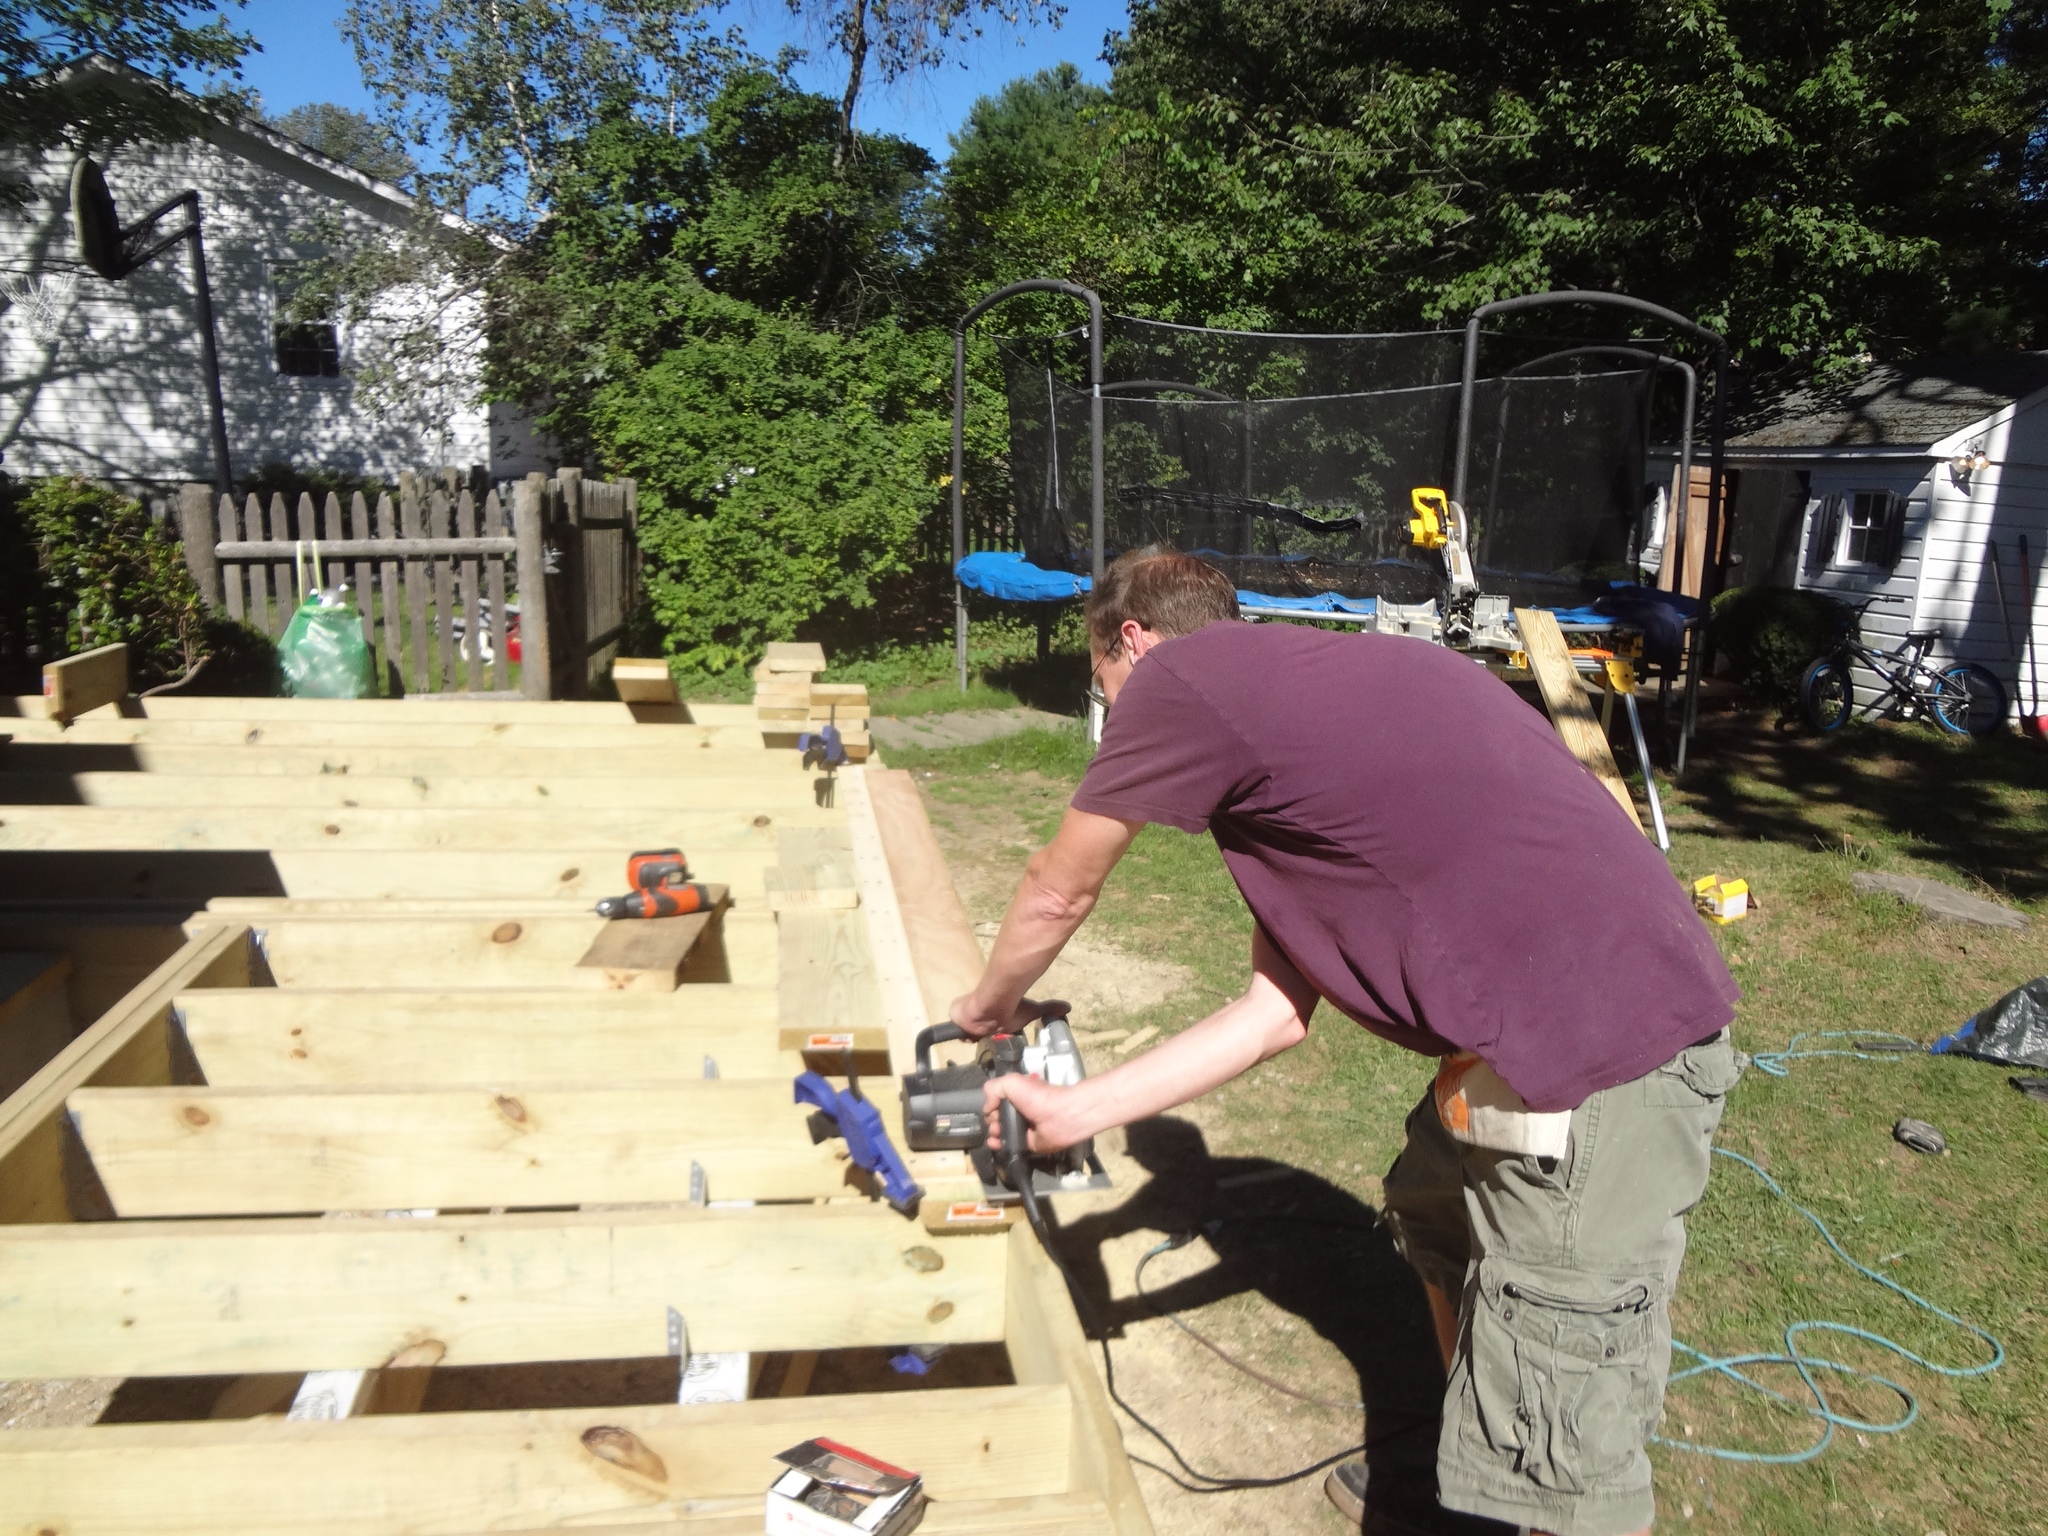
Once the upper deck framing was completed, the next thing we tackled were the steps between the two levels. These would be box steps, basically small platforms stacked on top of each other. We had to spend a lot of time figuring out the dimensions, taking into account the decking and back plates of the steps as well as the various code requirements. A big requirement was that the steps have a uniform height, which ultimately required both steps be built with boards of a non-standard width. This meant that we would need to rip a lot of 2×8 boards to the right width.
Next up was the pergola. At first I thought we could just install the posts and then do the rest once the decking was up. Once we started working with them it became clear the whole structure would need to be built first.
All of the posts are secured with 1/2 inch lag and through bolts from the front and sides, with additional blocking added to extend the support to a second joist. The front posts are attached to a beam. The ones next to the house are attached to the ledger. Originally I had planned to attach those to the siding as well but we had problems finding studs. With all of the anchoring bolts and braces in place, I'm pretty confident that the weight is sufficiently supported as is. I am curious what the builiding inspector's opinion will be, however.
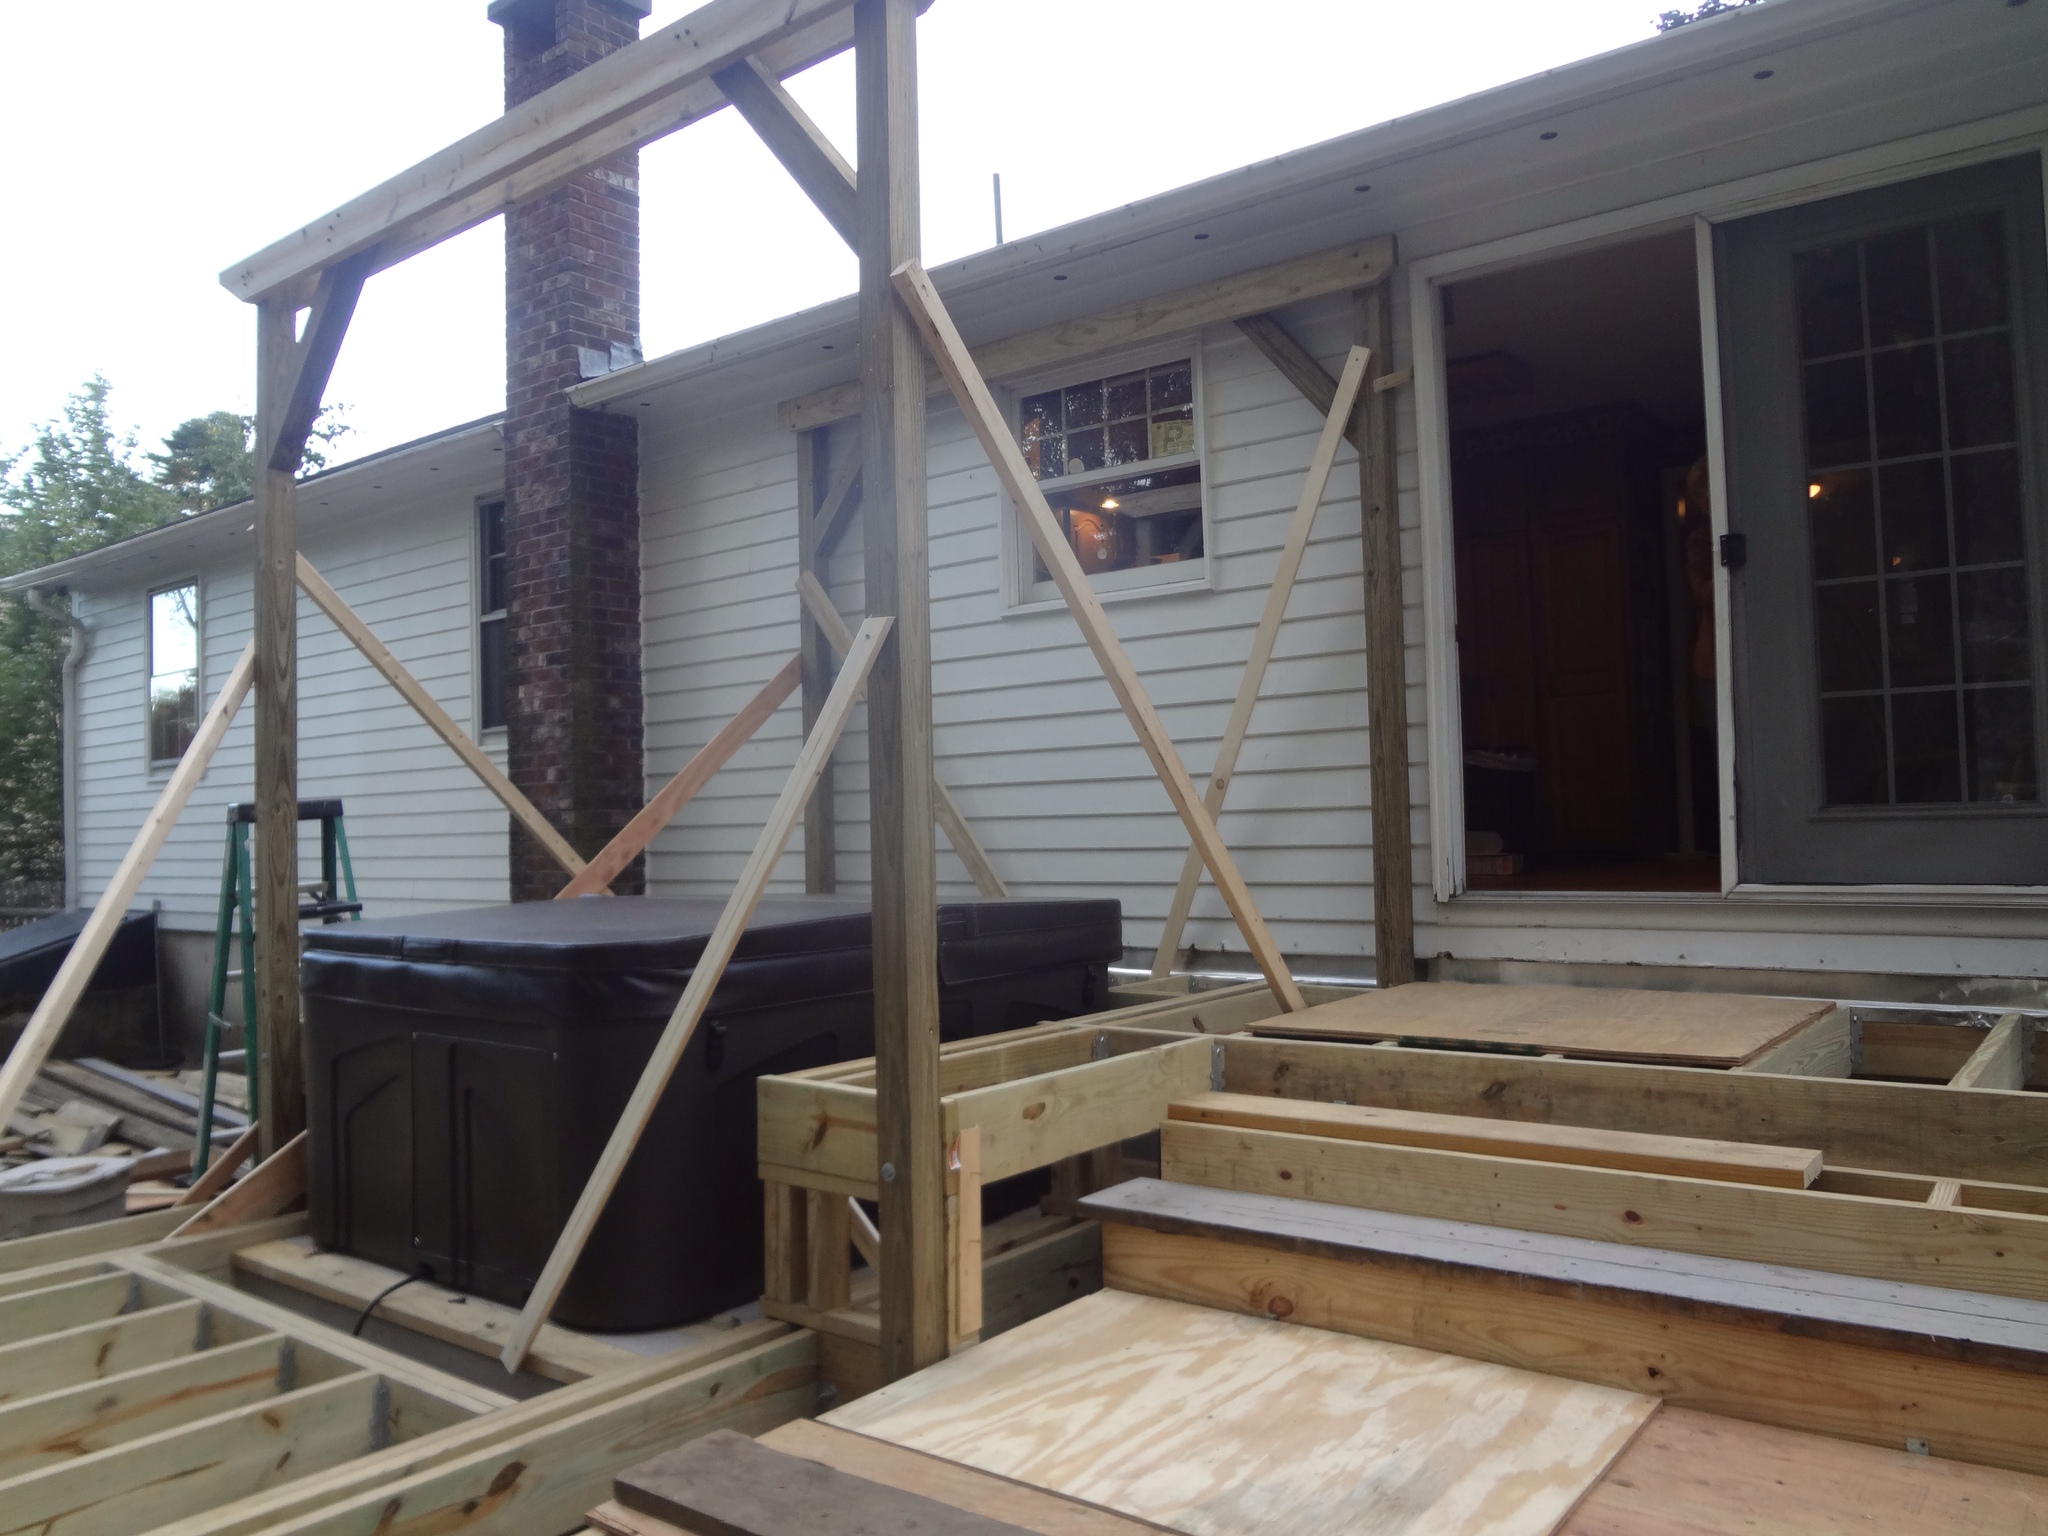
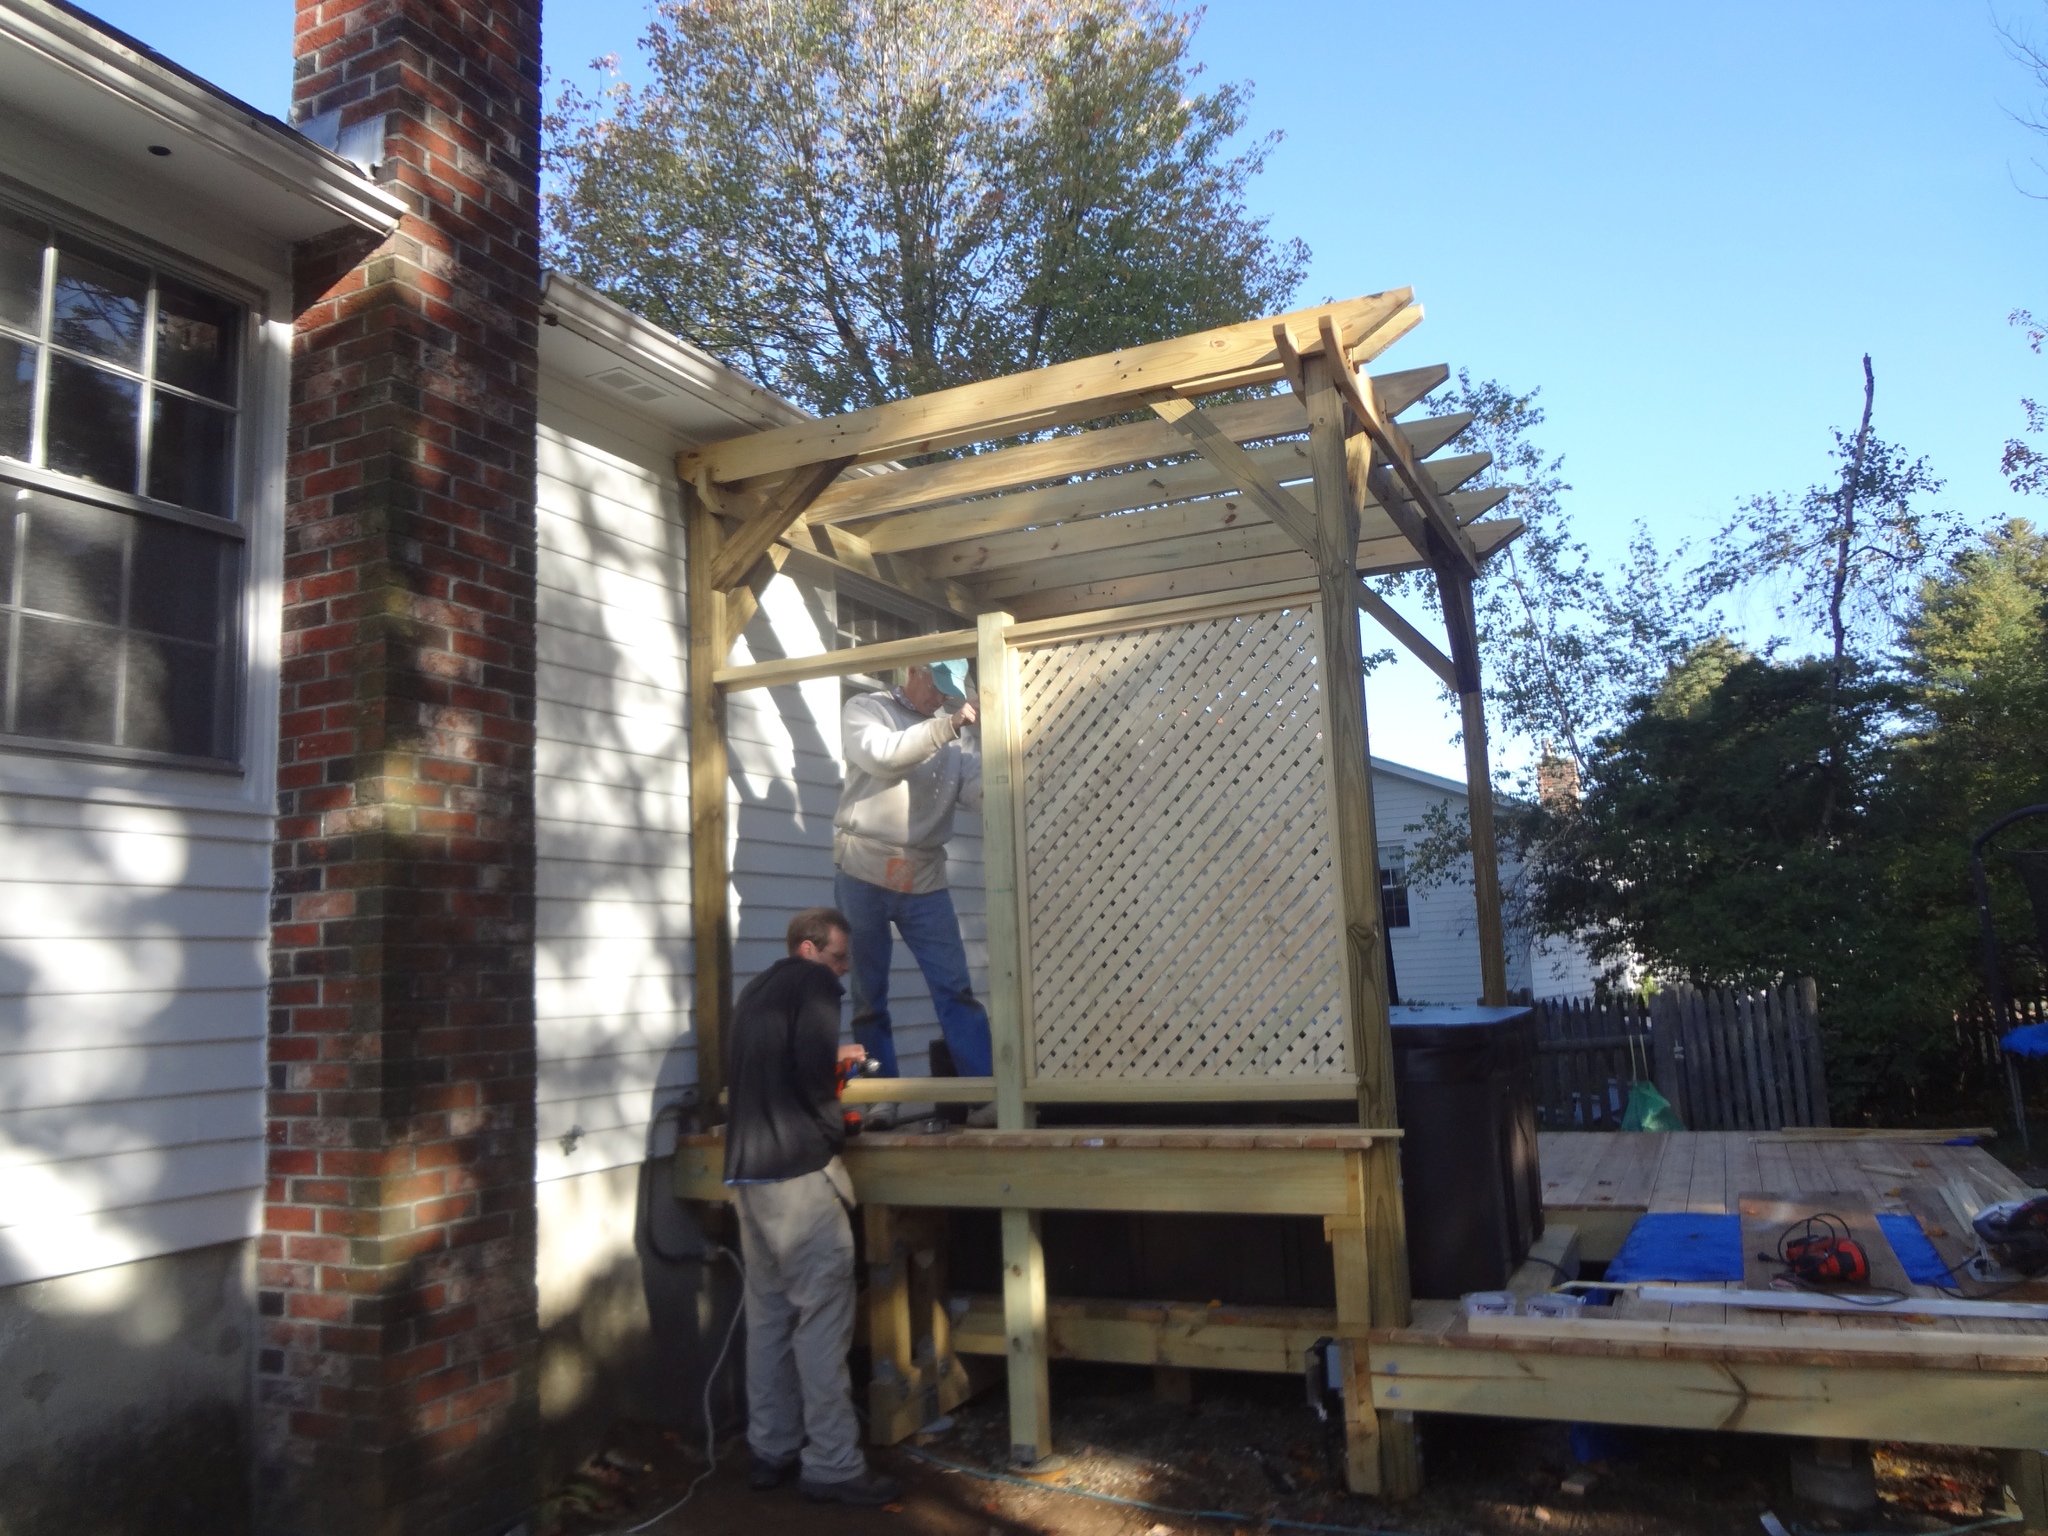
Building the pergola was probably the hardest part of the project so far, at least for me. It required a lot of ladder work, repetitive notch-cutting and repeated testing and removing of rafters to get the measurements right. The design was based on this and this. I found this article useful in validating the support structure. Here's what it looked like nearly complete:
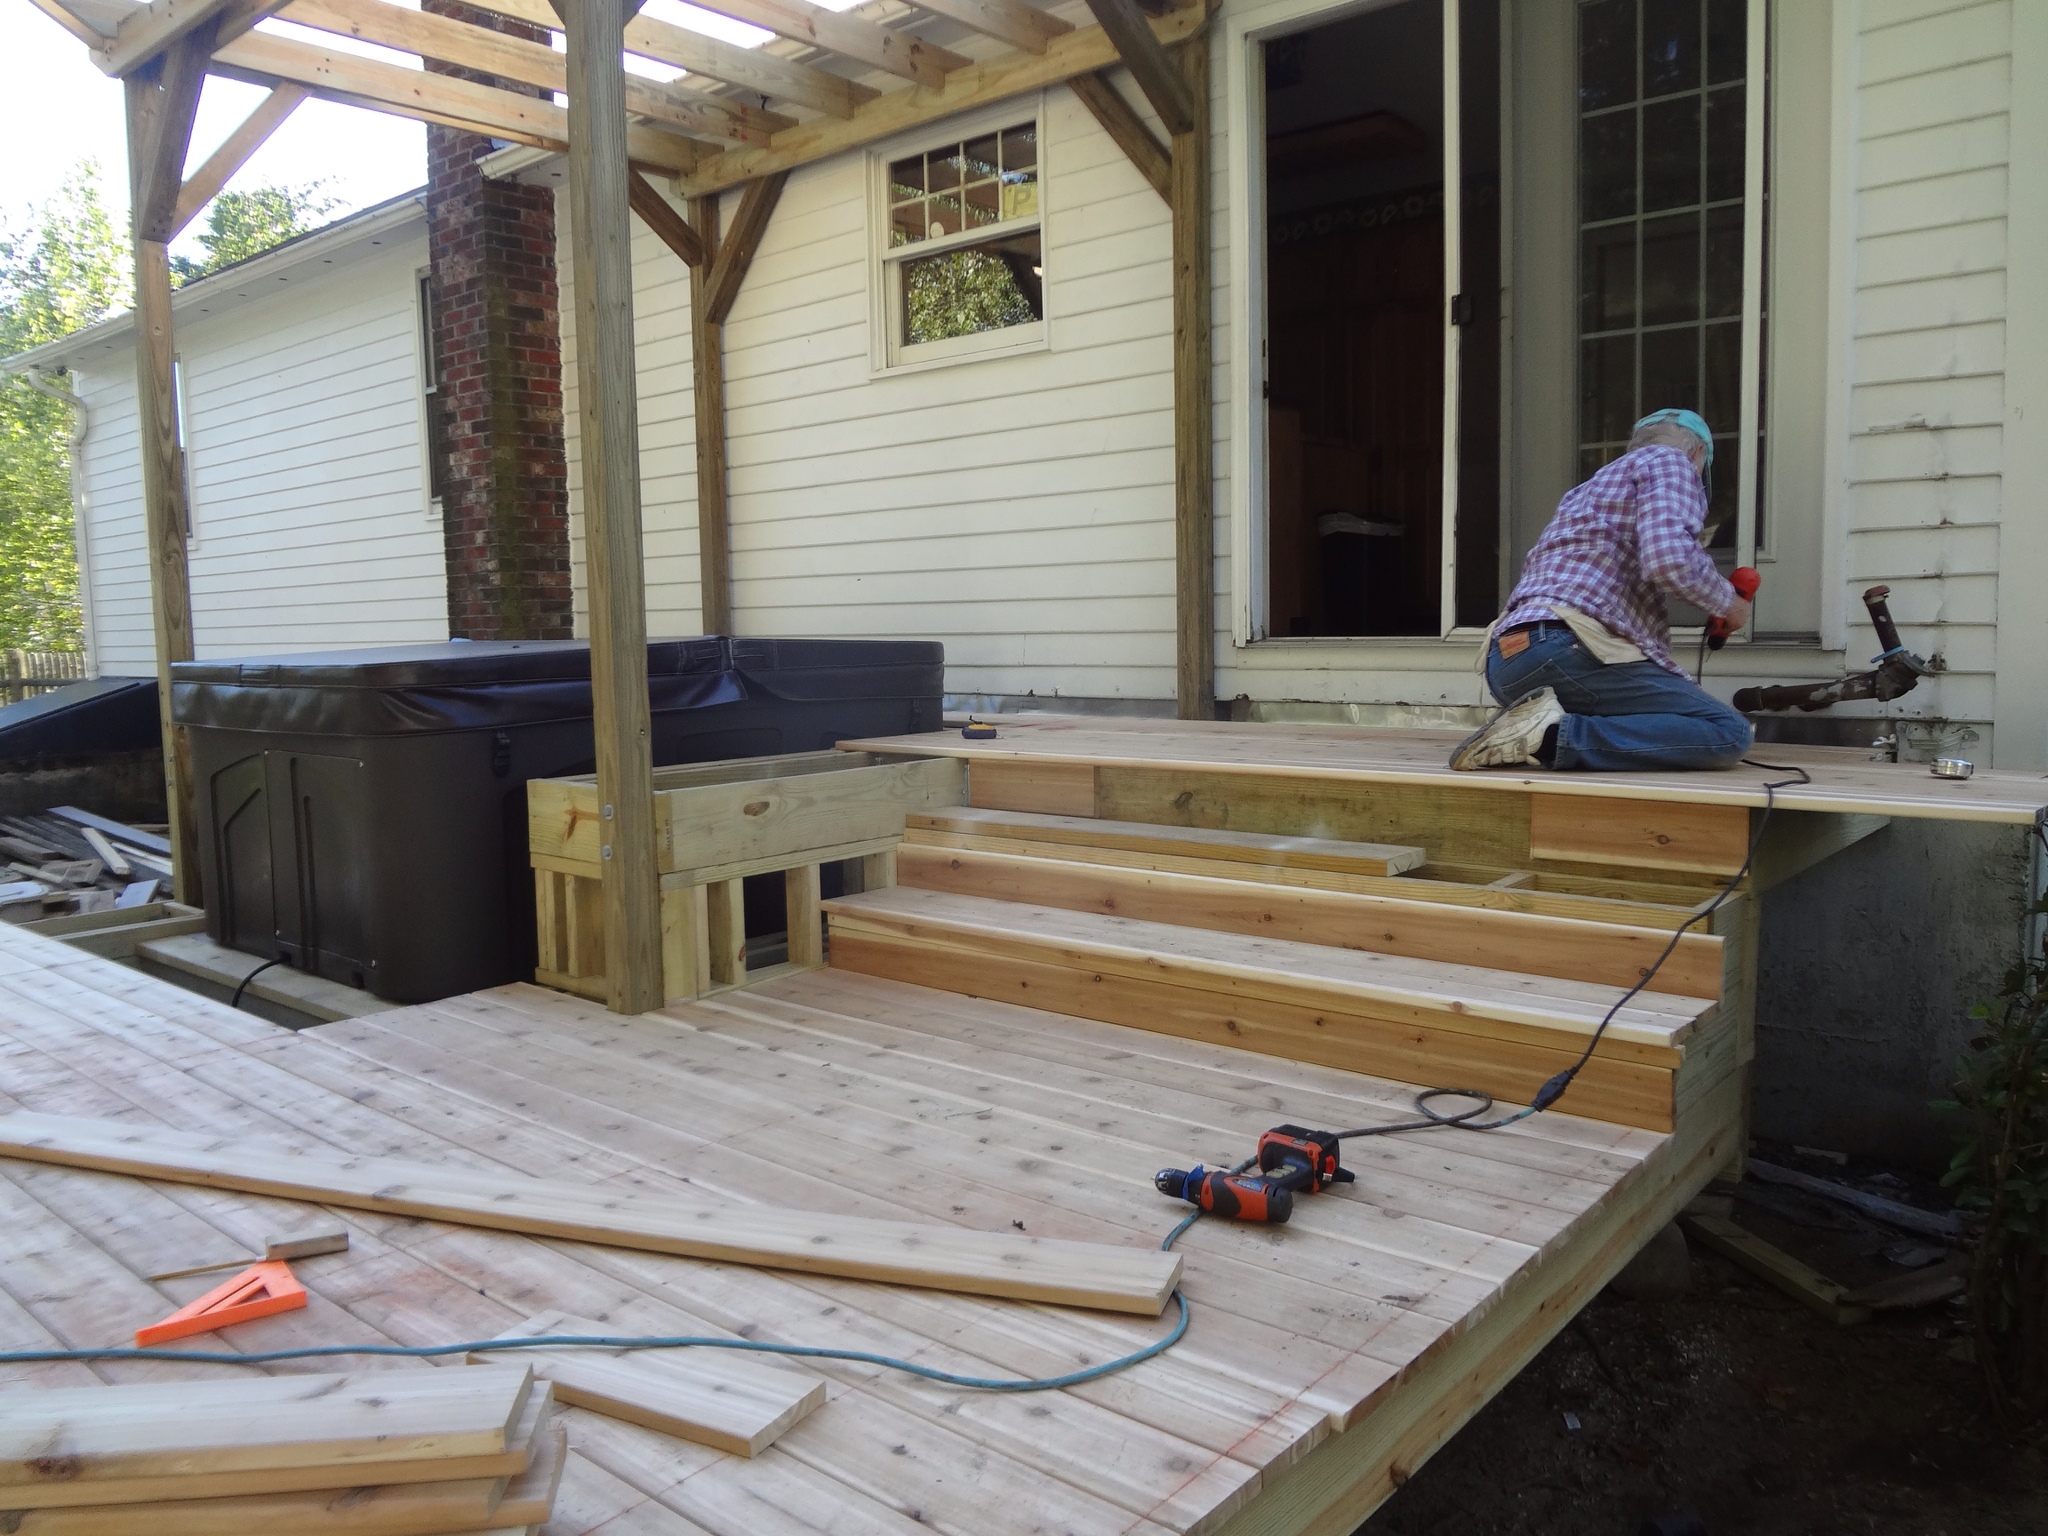
Finally it was time to install the cedar decking:
For the one near the door, we cut a hole in the deck and dropped a post in where it could be attached to a beam:
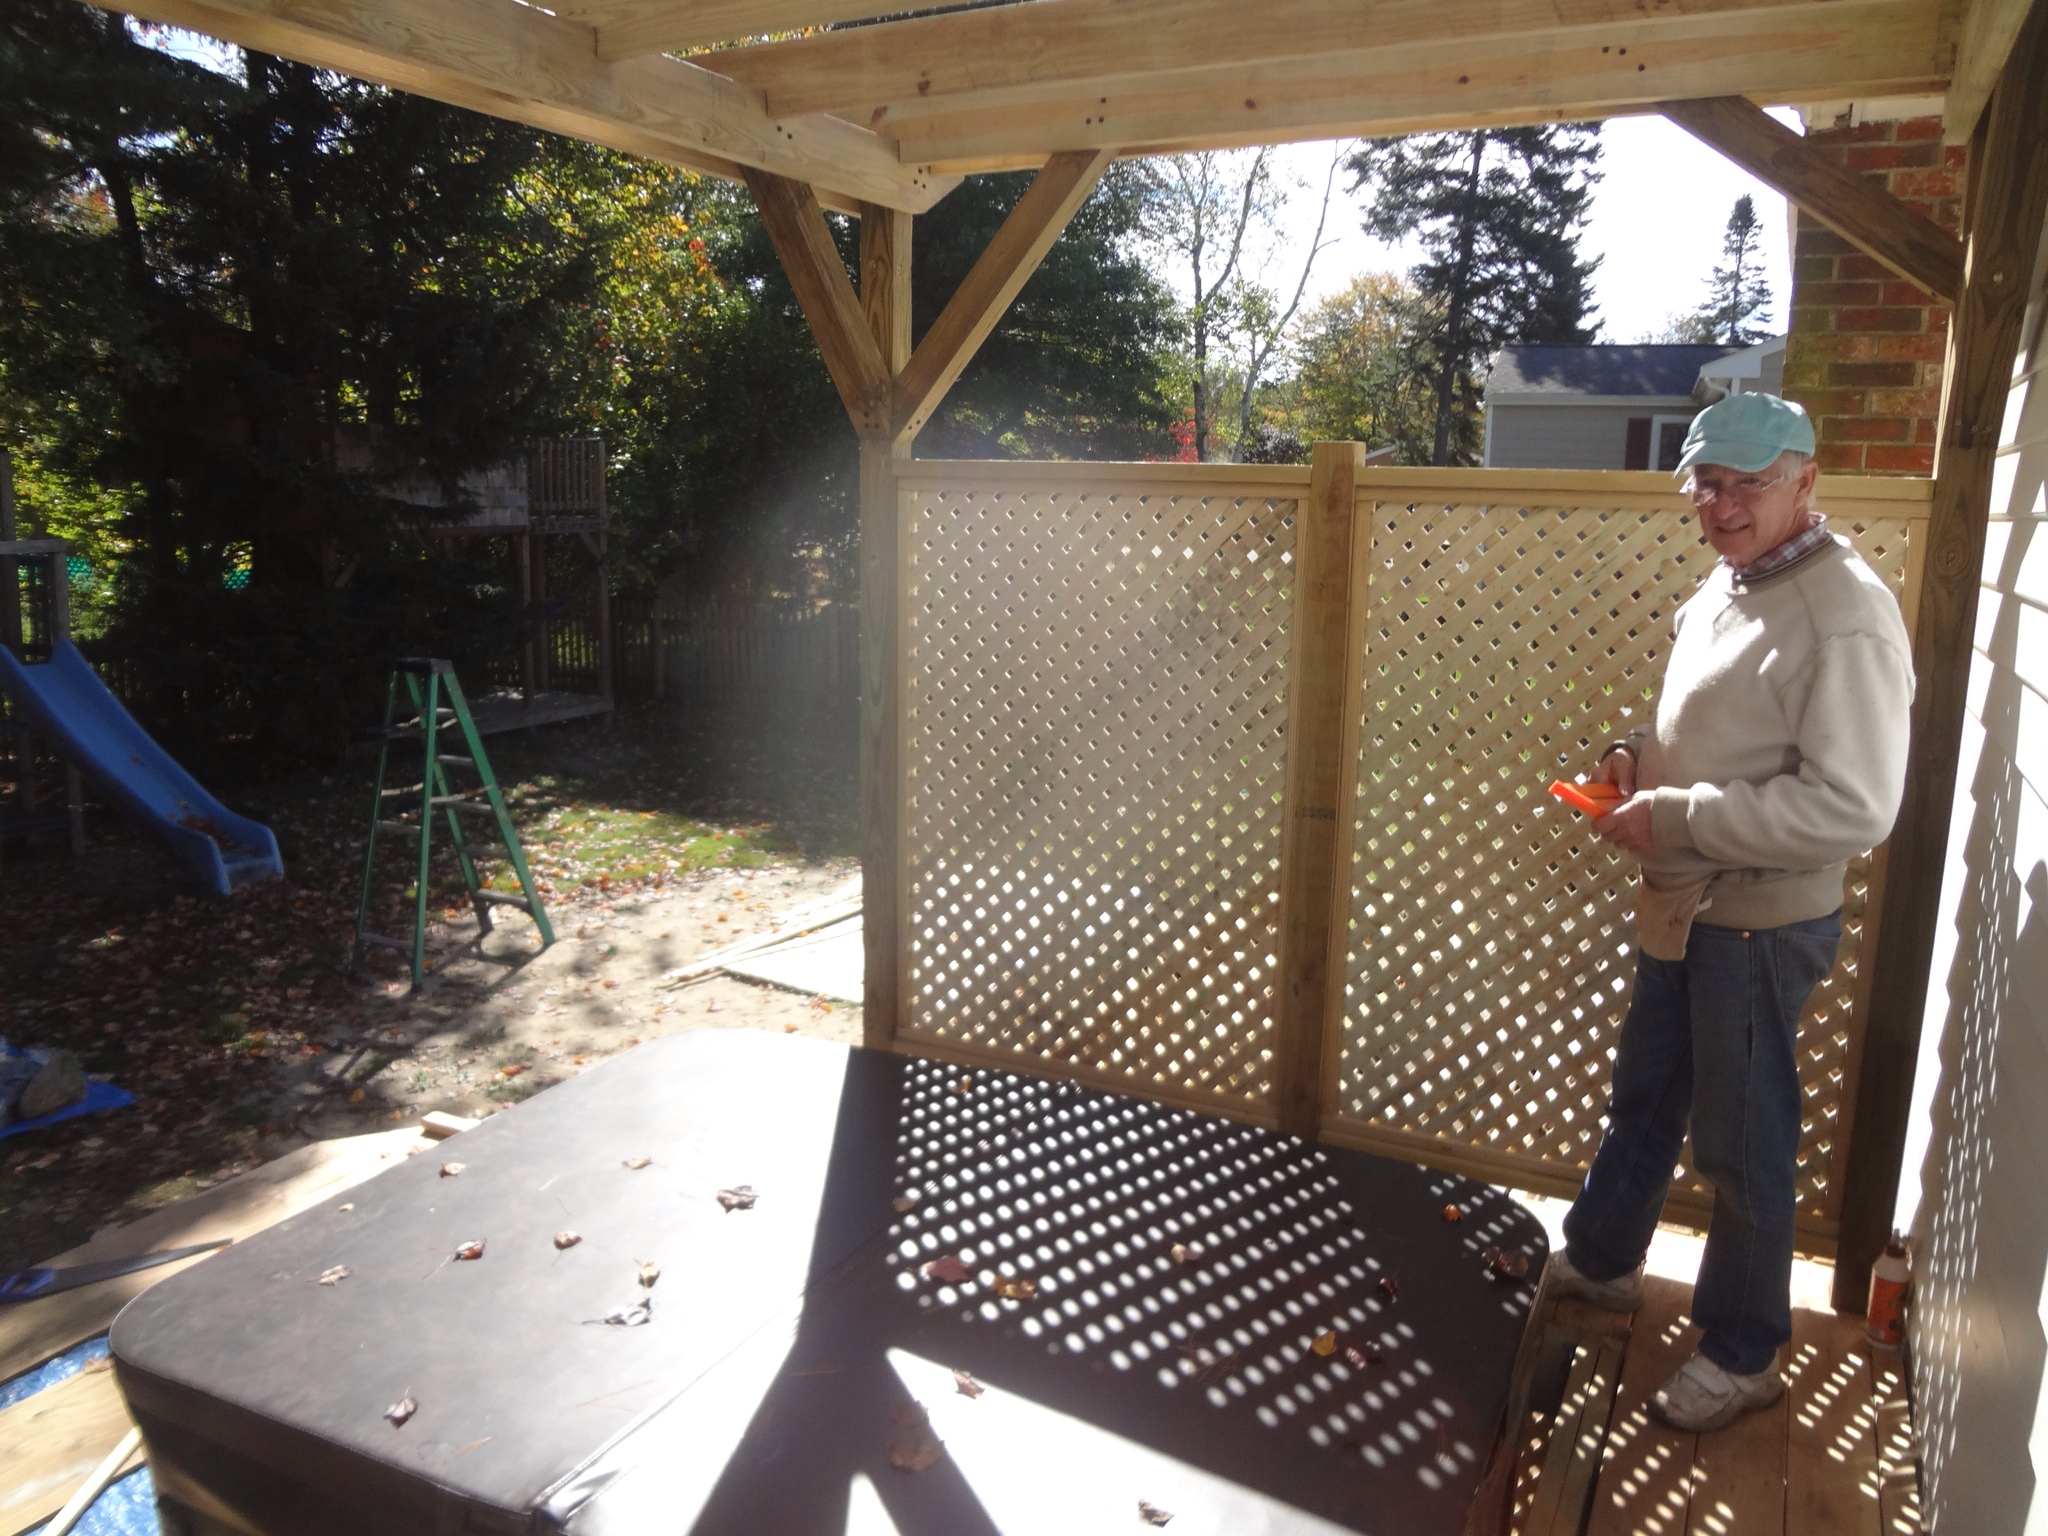
The final, very study product:

Still to do: more stairs, railing and decking around the hot tub.
Curious, Chuck… Do you plan to put some form of covering across the top of the pergola? I helped a friend construct a similar HT setup and he used clear corrugated plastic(?) sheets made by an outfit called Onduline (available at the big-box home improvement stores, I believe). They’ve held up well for some time now. Of course, ideally, your ‘roof’ would need some amount of pitch to it…
Hi Mike – no, I’m planning to just leave it as is with covering. Sounds interesting though – maybe something in the future although the thought of adding anything else to this deck is painful to think about right now. Someday the memory of all this work will fade.
Hope things are going well with you and thanks for keeping up with my blog!