
It's been several weeks since the last update on this project, so I will try to catch up in just a couple of posts. Most of my time for the entire month of September has been spent on this, with a huge and continuing assist from my Dad. The pace has been grueling, and I've learned first-hand how much physical and mental energy it takes to construct something of this complexity. To make it more interesting I threw in a couple of worksite injuries, including a trip to the emergency room to get twelve stitches for a cut on my leg. It forced me to slow down a bit and to move around a lot more carefully as I worked, but I'm thankful it was not more serious and that it's healing up well. Now that the main phase of the project is nearing completion, I can also worry less about other family members getting injured.
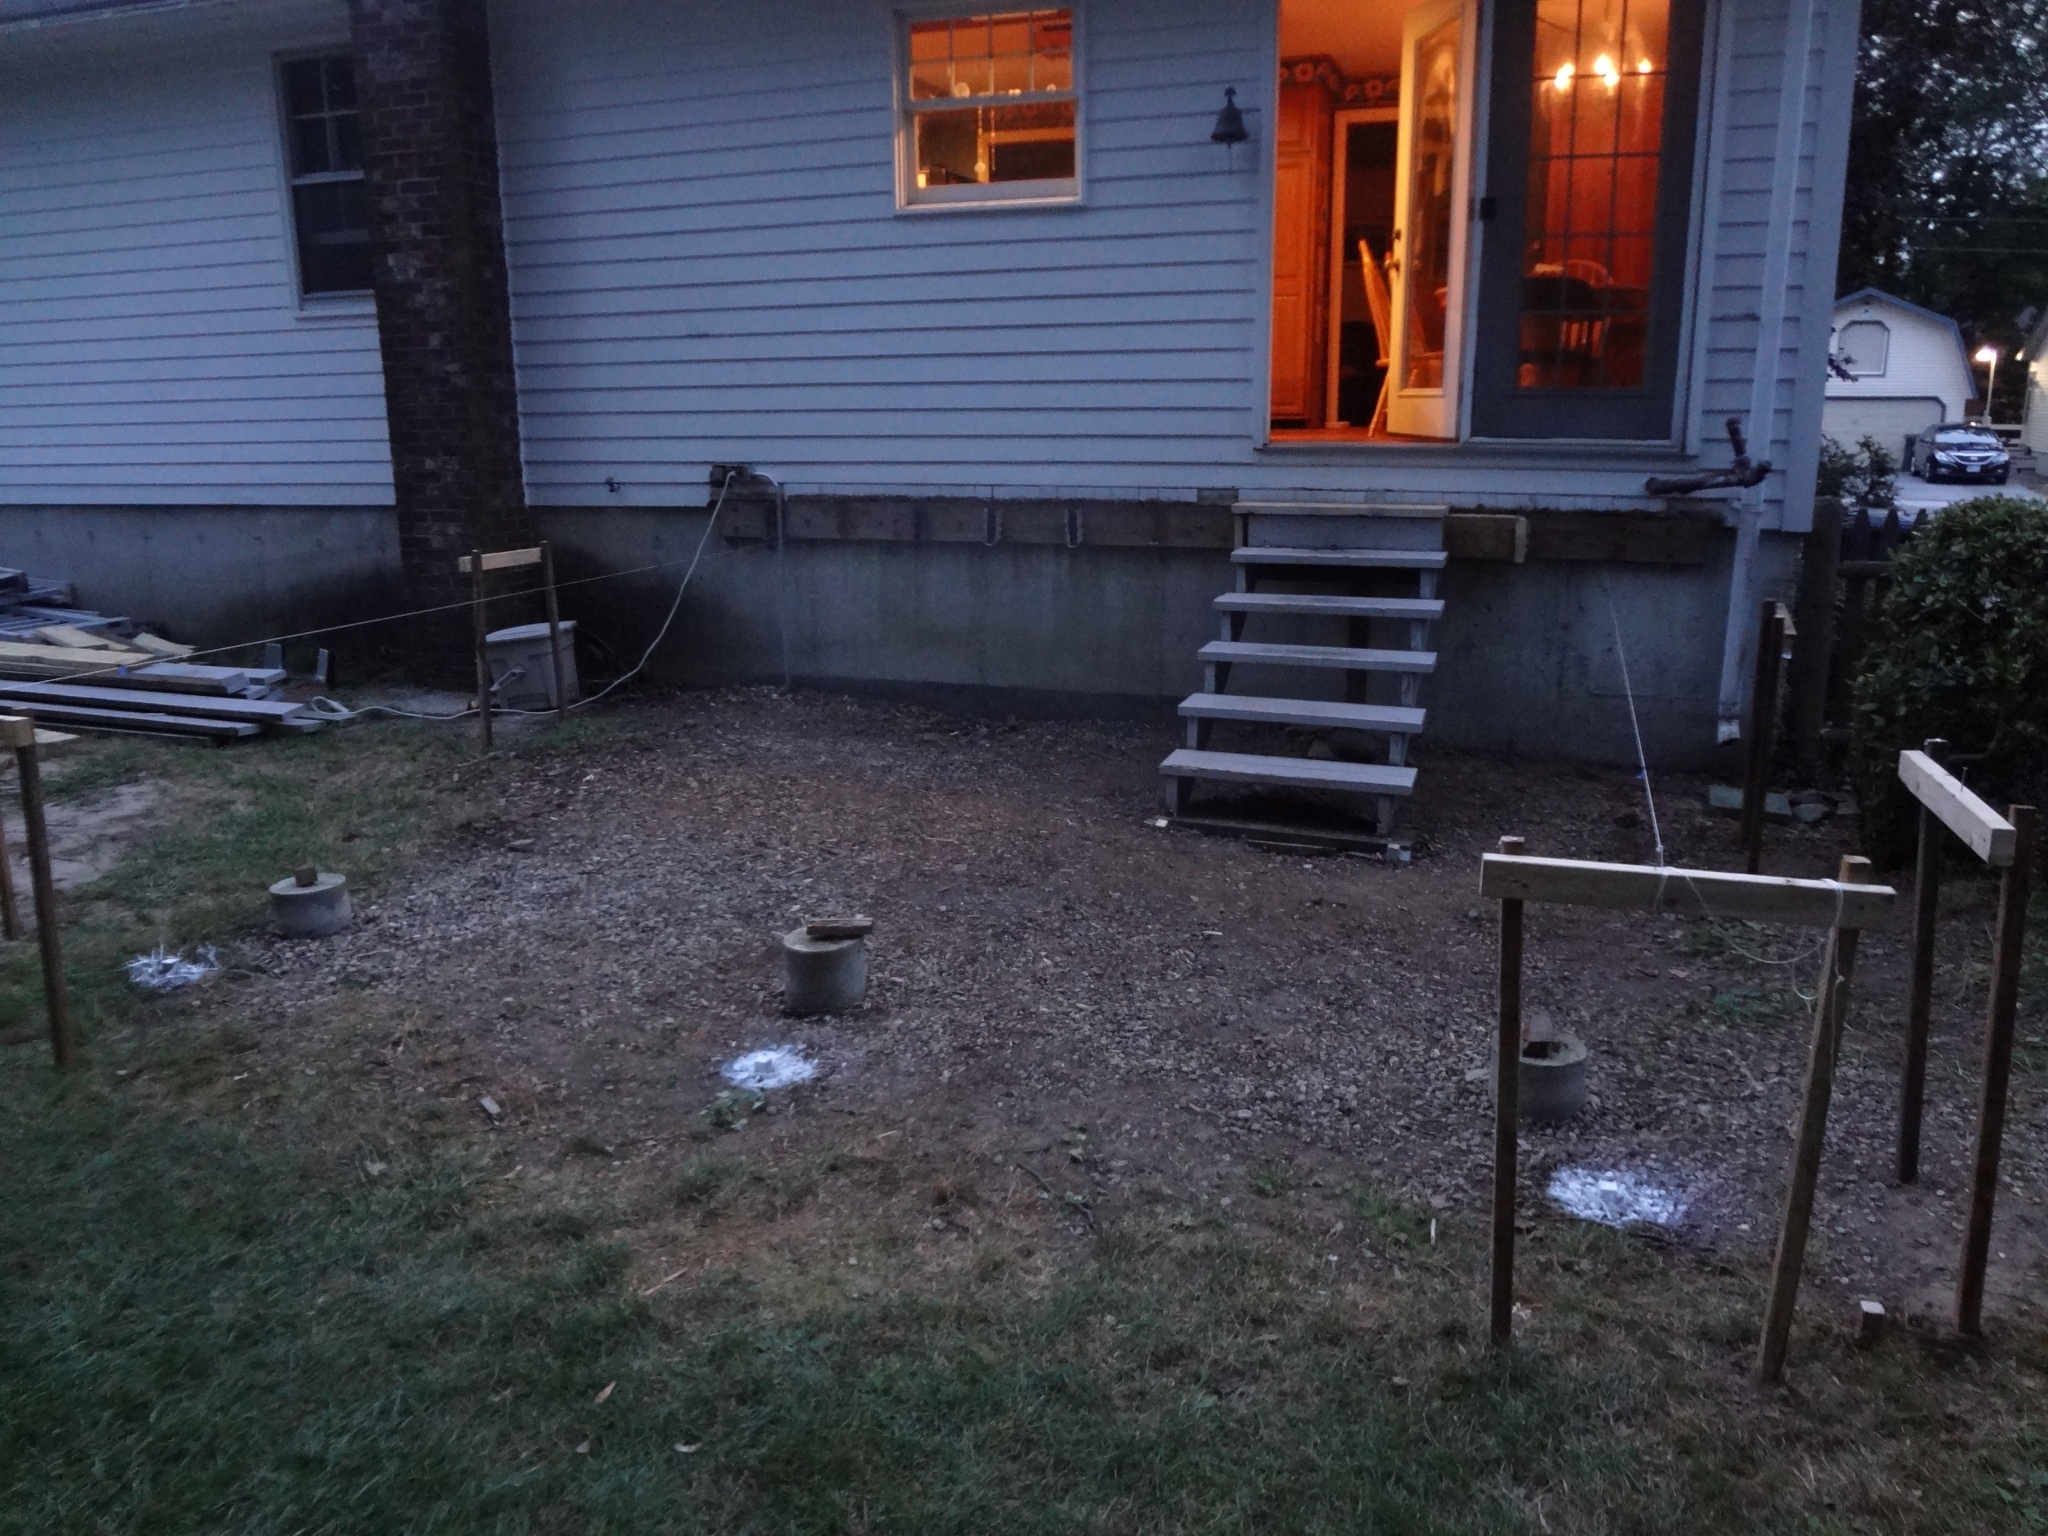
Here's where we left off, back at the end of August. The old deck was gone, and I started the task of marking out the new footings, using batterboards and mason's string:
Once all the footings were marked, the subcontractor showed up to help dig the holes. We rented a two-man auger from Home Depot for the job:
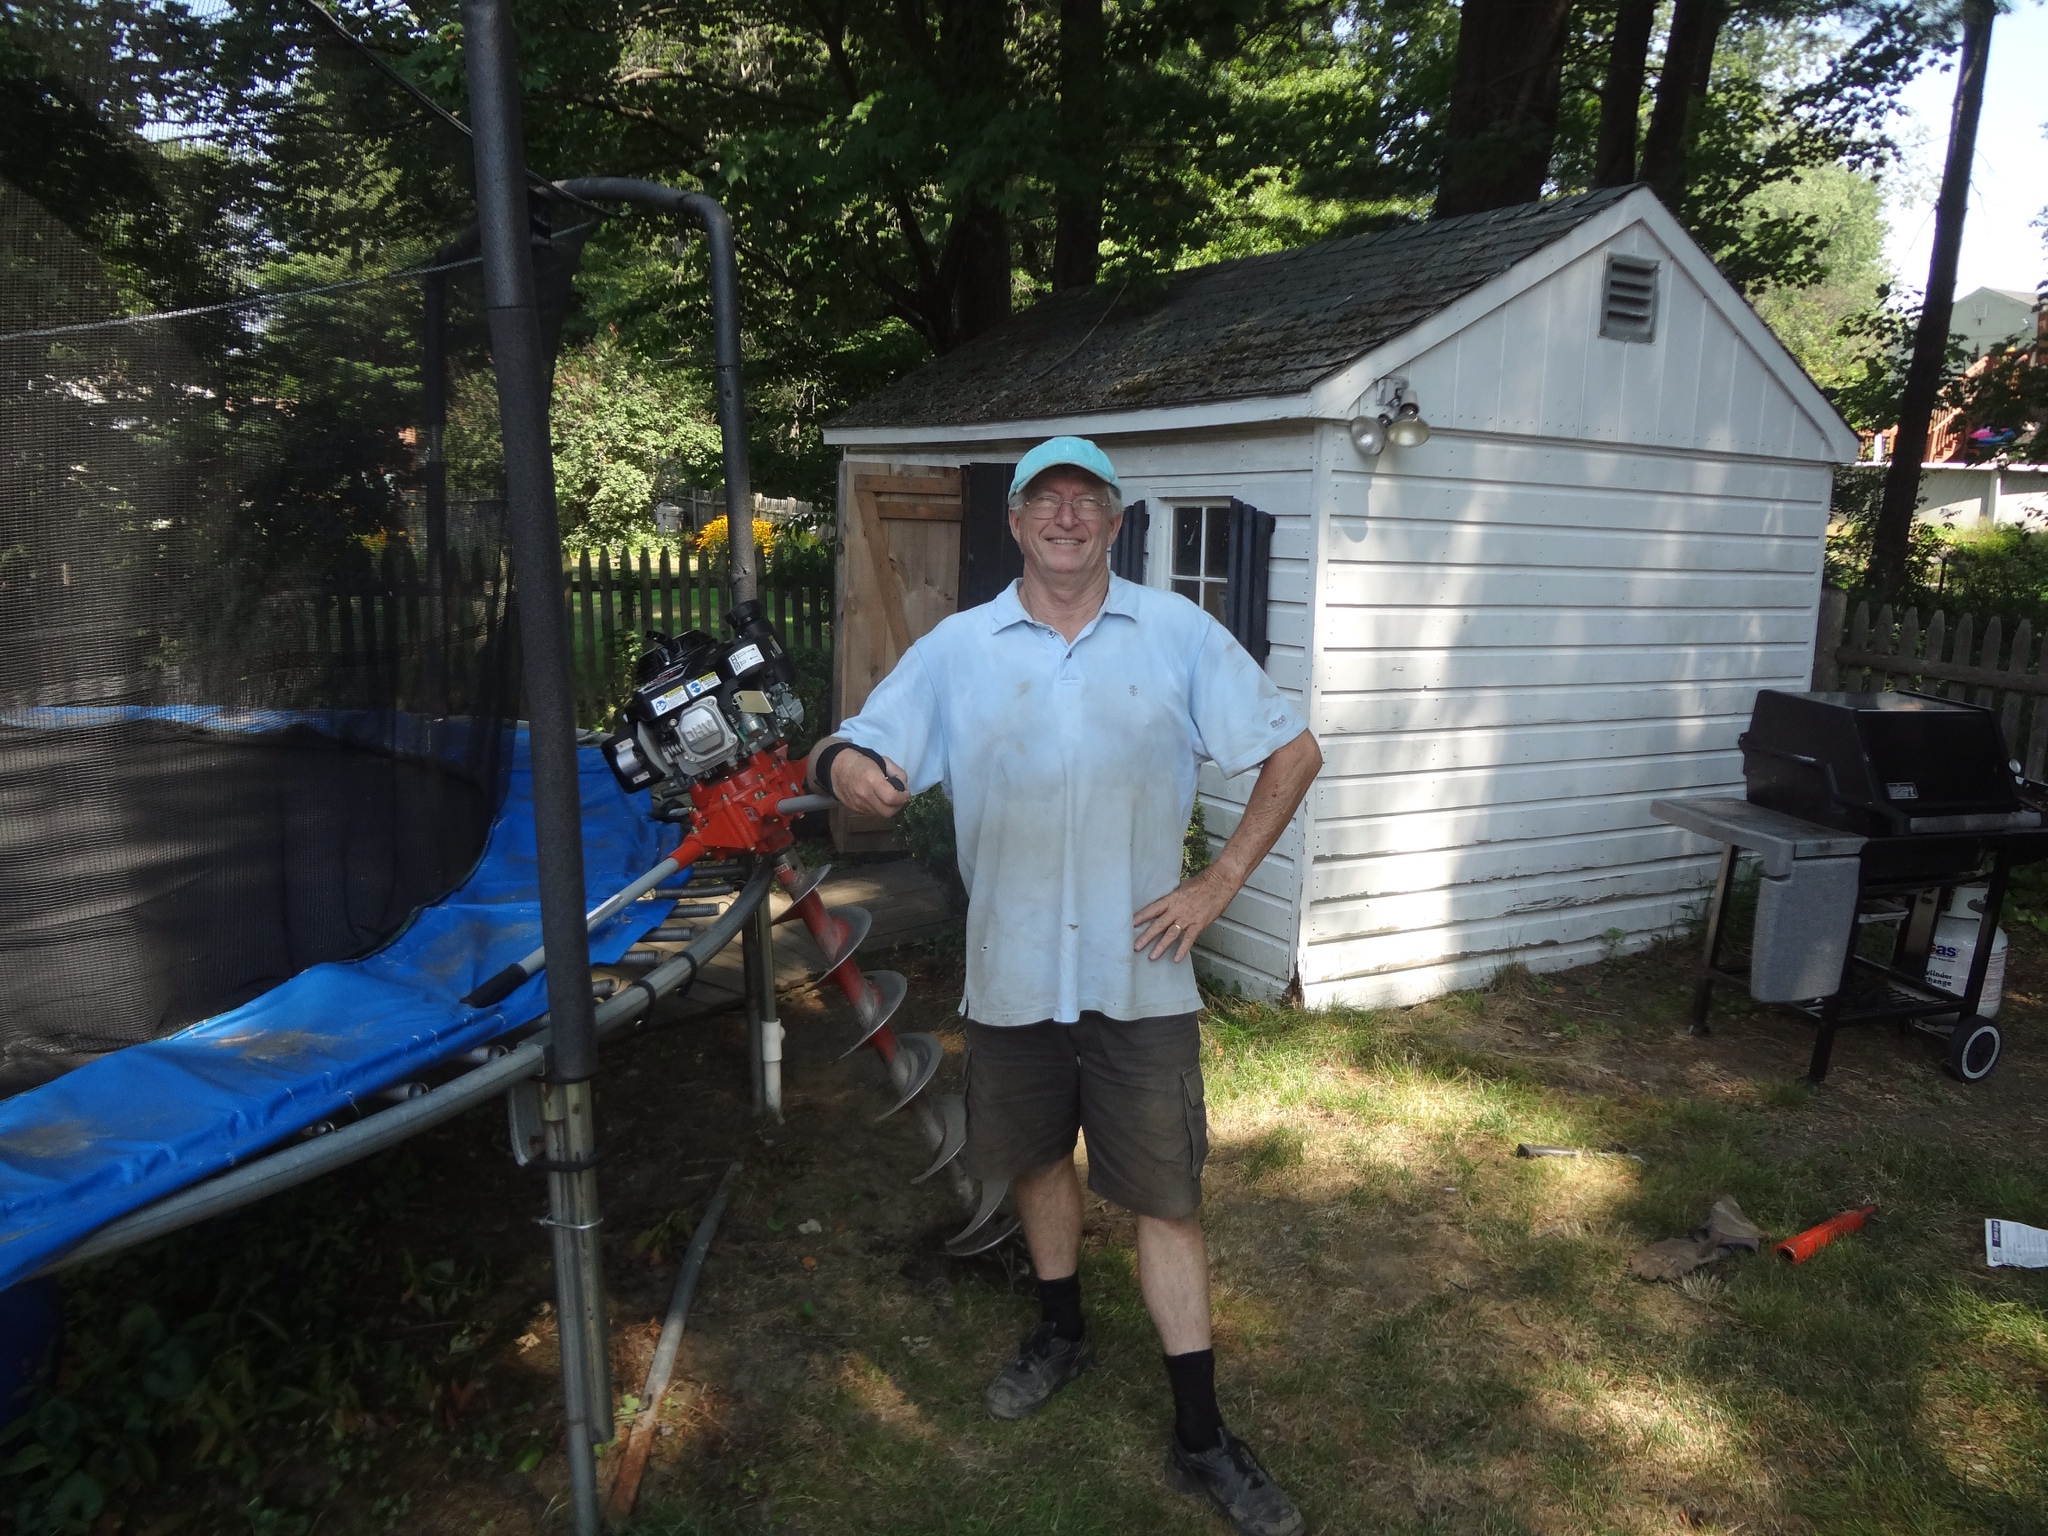
The holes needed to be dug to a depth of four feet. The auger would do about three feet and then would need an extension for the additional foot. We decided to dig all the holes without the extension and then come back for that final foot.
The first pass went pretty well. The auger was tricky to manage, but we really only had a problem in one hole where it got caught under a tree root. We had to dig beside it a few feet to reach the root and cut it out.
Adding the extension made the auger much harder to manage, and on our first hole it sunk into the ground all the way and then would not come back up. We spent a half-hour or so trying to pull it up by pushing boards under it and prying it up but it wouldn't budge. We decided it was probably caught under another root and that we would again have to dig it out. Fortunately, we only had to go down a couple of feet before we found the root and were able to cut it free.
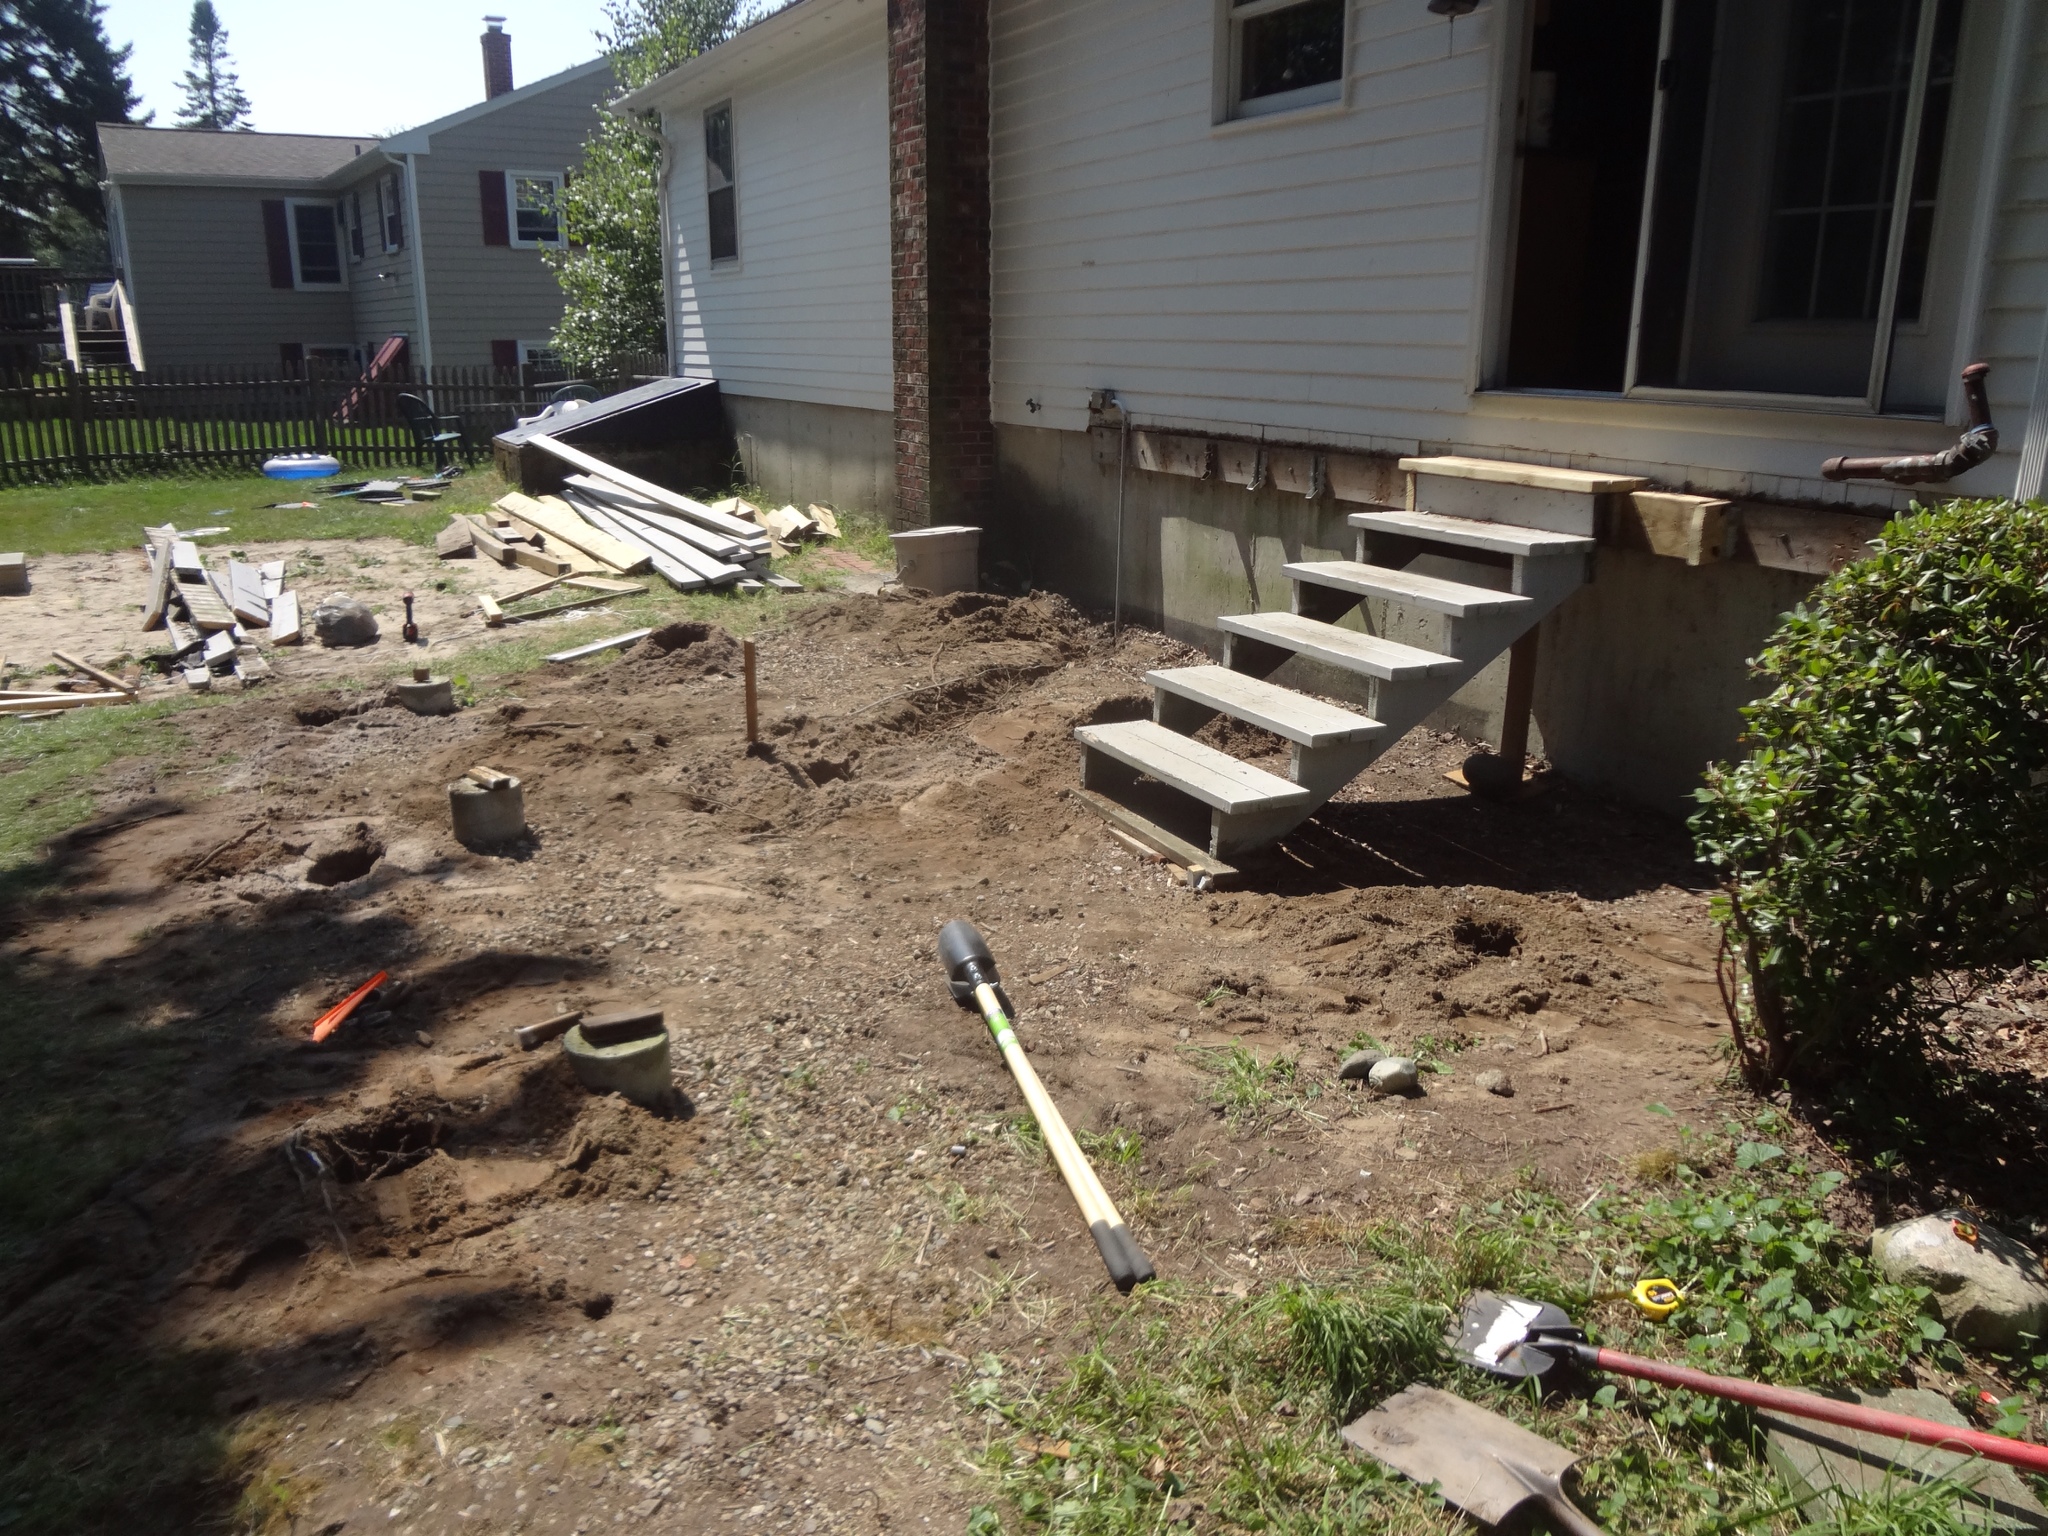
After that we decided to abandon the auger and get that last foot by hand with a post hole digger. Some of the holes went a lot easier than others, but by late afternoon we had them all dug:
Once the holes were set we had to drop in the sonotubes. For the four that would support the hot tub platform we needed to do some careful leveling. Despite our efforts we still ended up with one corner that was off about a half-inch and would need to be addressed later.
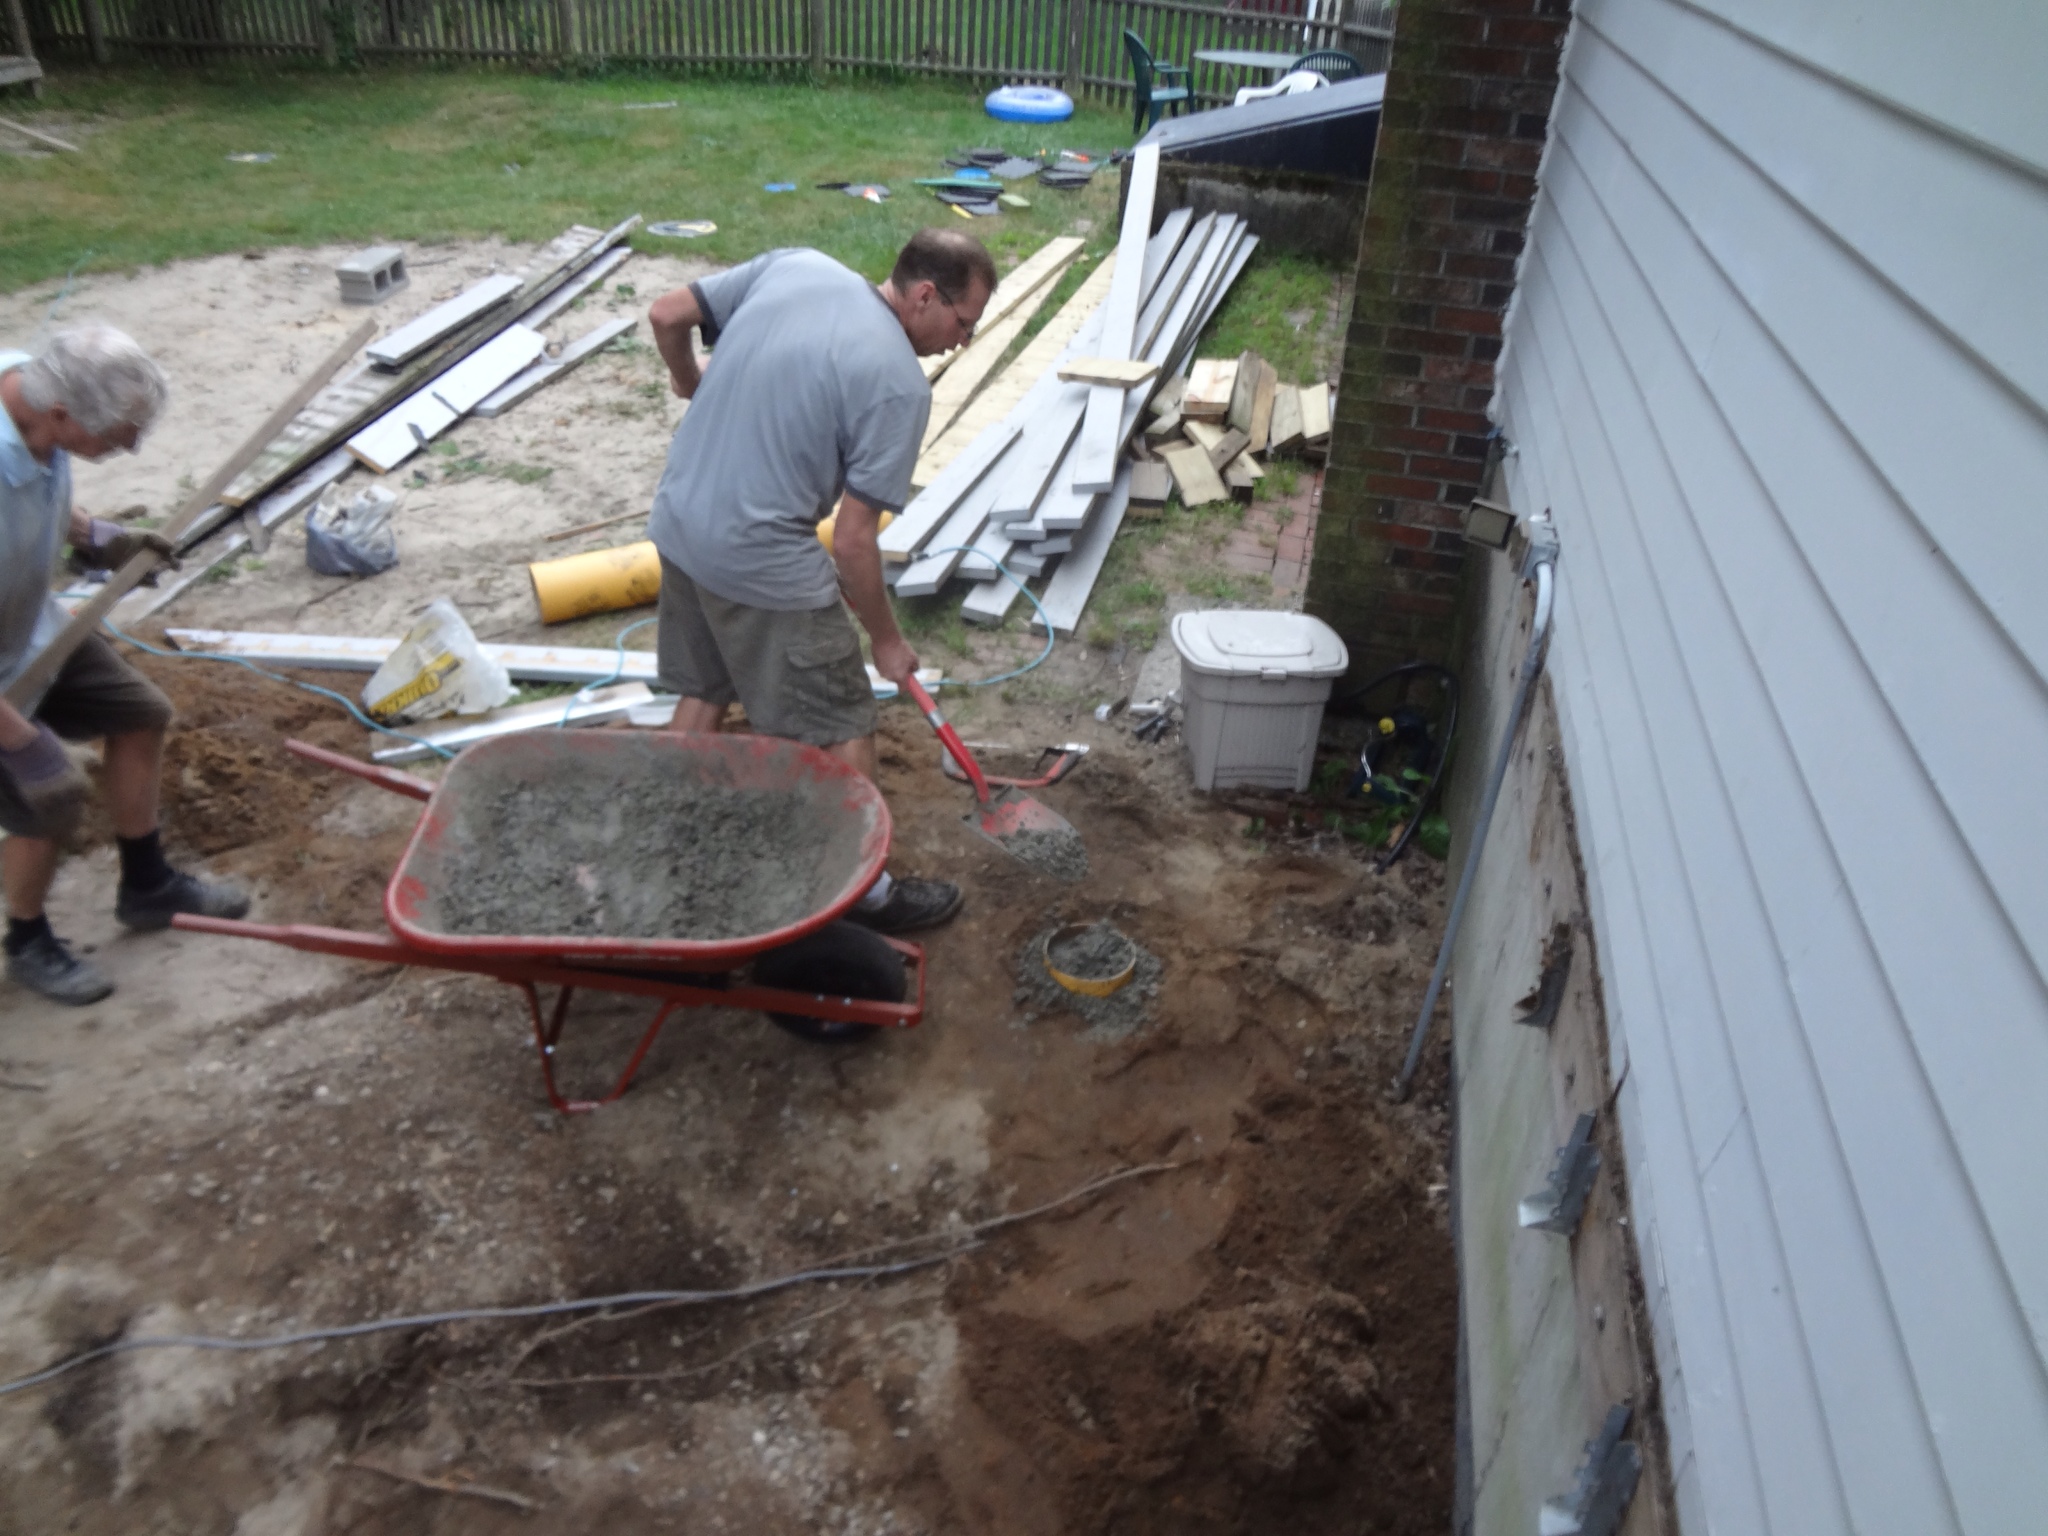
Finally it was time to mix some cement and fill in the tubes:

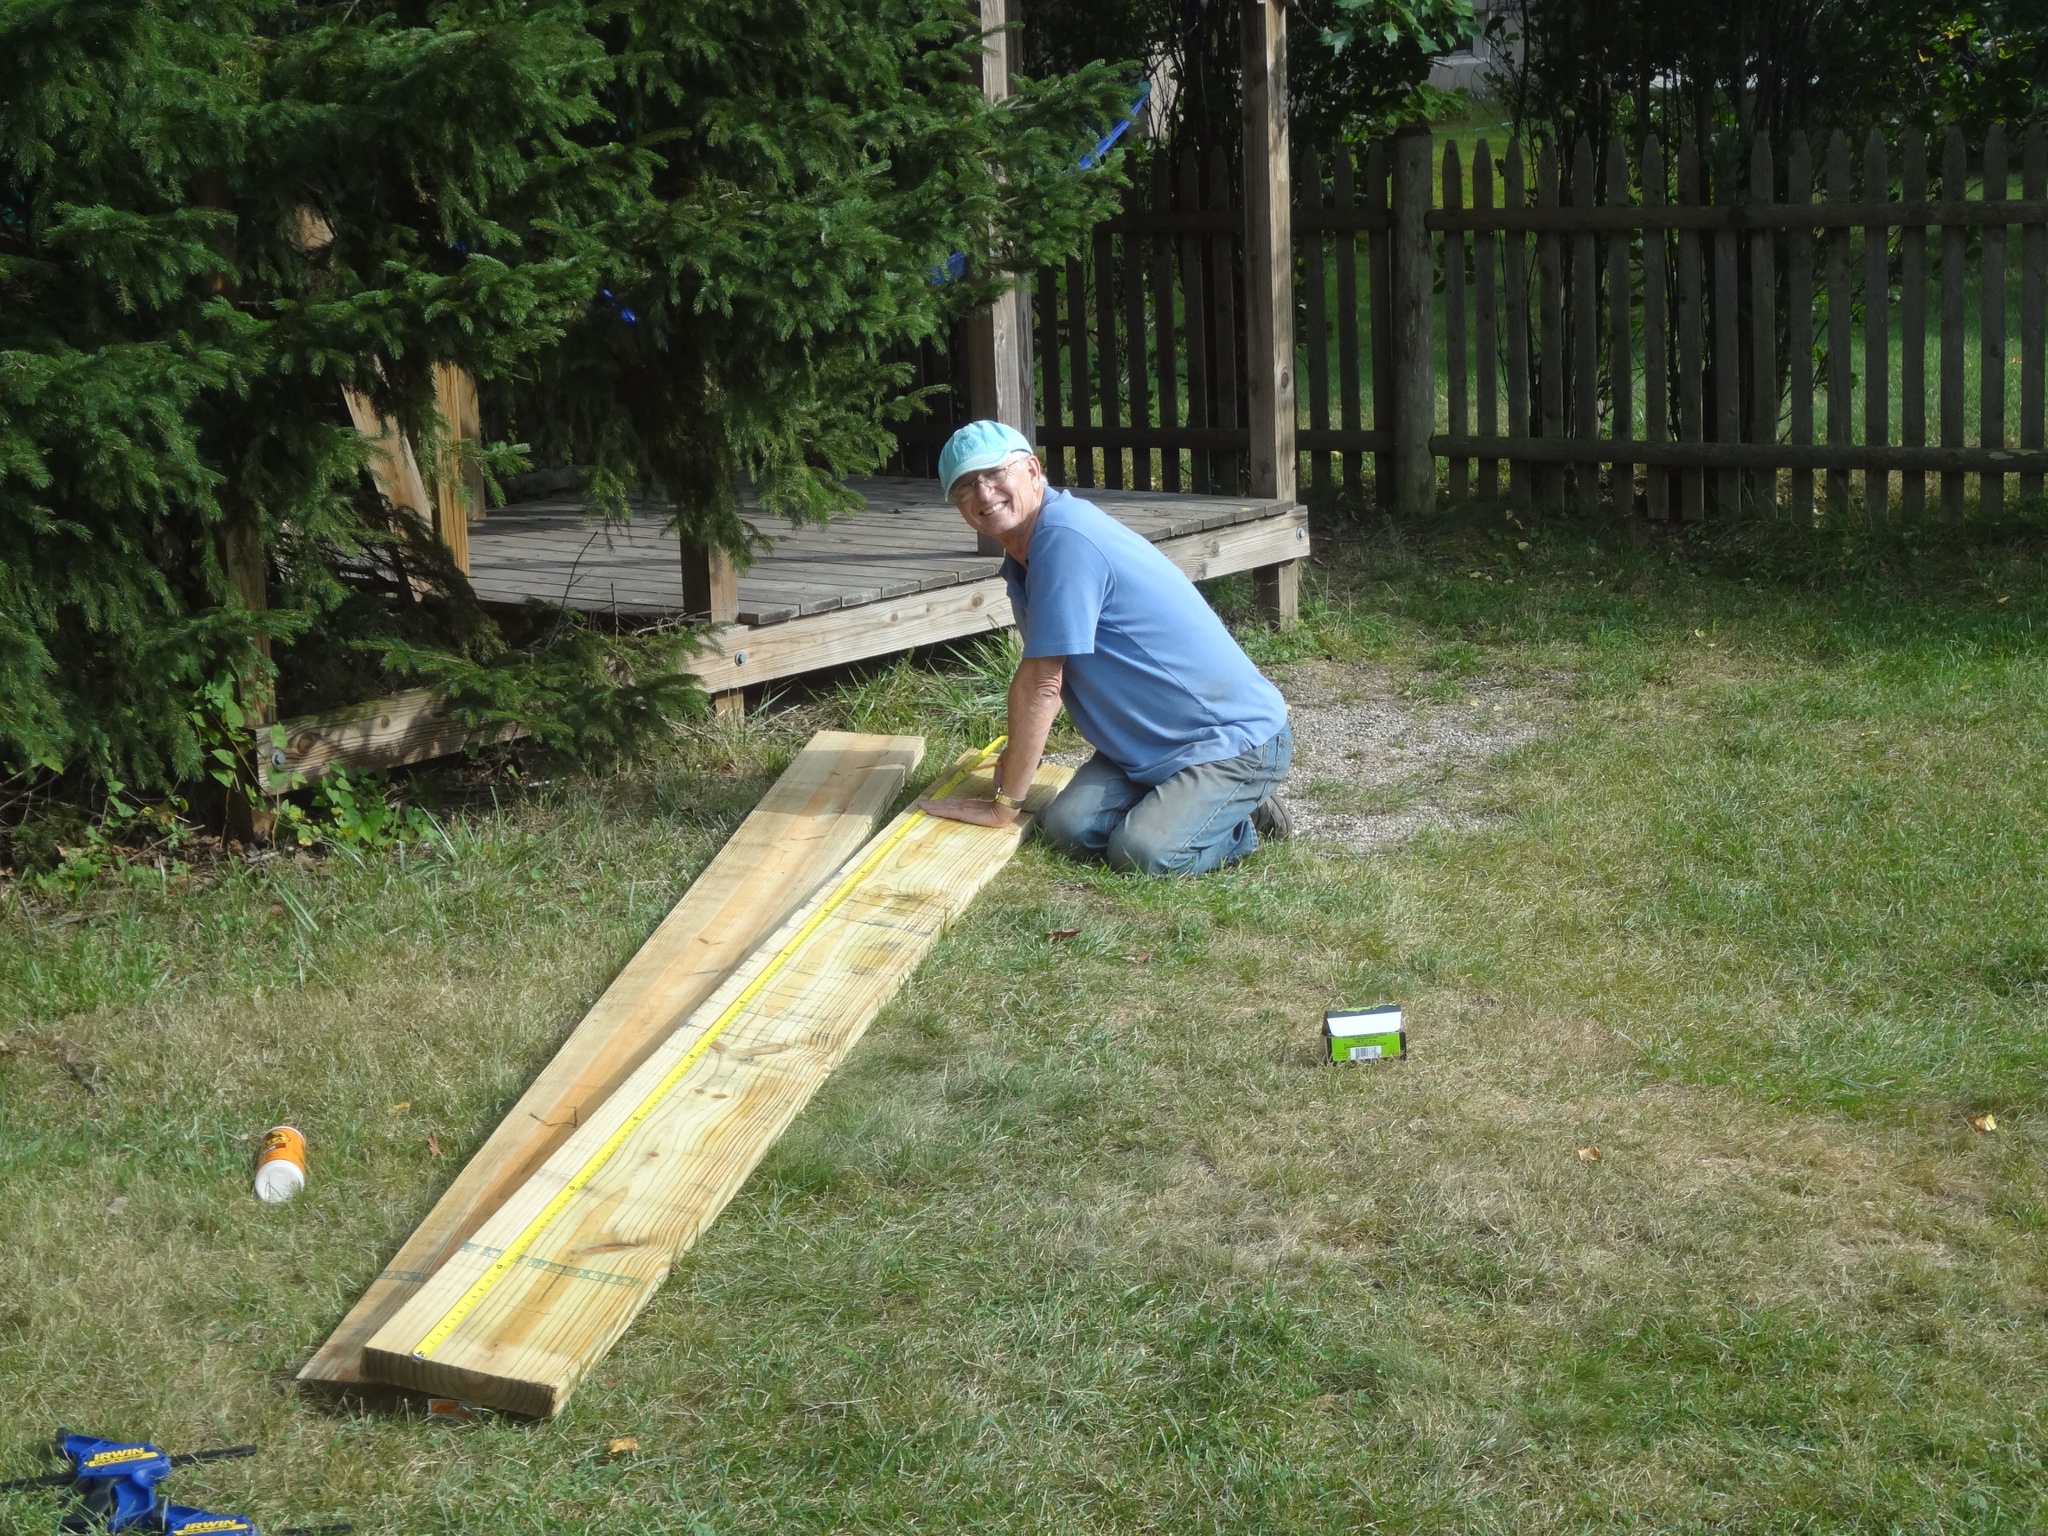
The cement work rolled over into the next day and then we had a day off while it set. The next step was to put in the beams. There would be five all together, two for the hot tub platform, two new ones for the main deck, and one to take advantage of the existing footers from the old deck to provide additional support. All would be constructed by nailing and gluing two 2×8's together and mounting on 4×4 posts or directly to the footings, except the one that would support the two levels of the main deck. There we would use 2×10's and 6×6 posts.
Here's the 2×10 beam getting constructed:
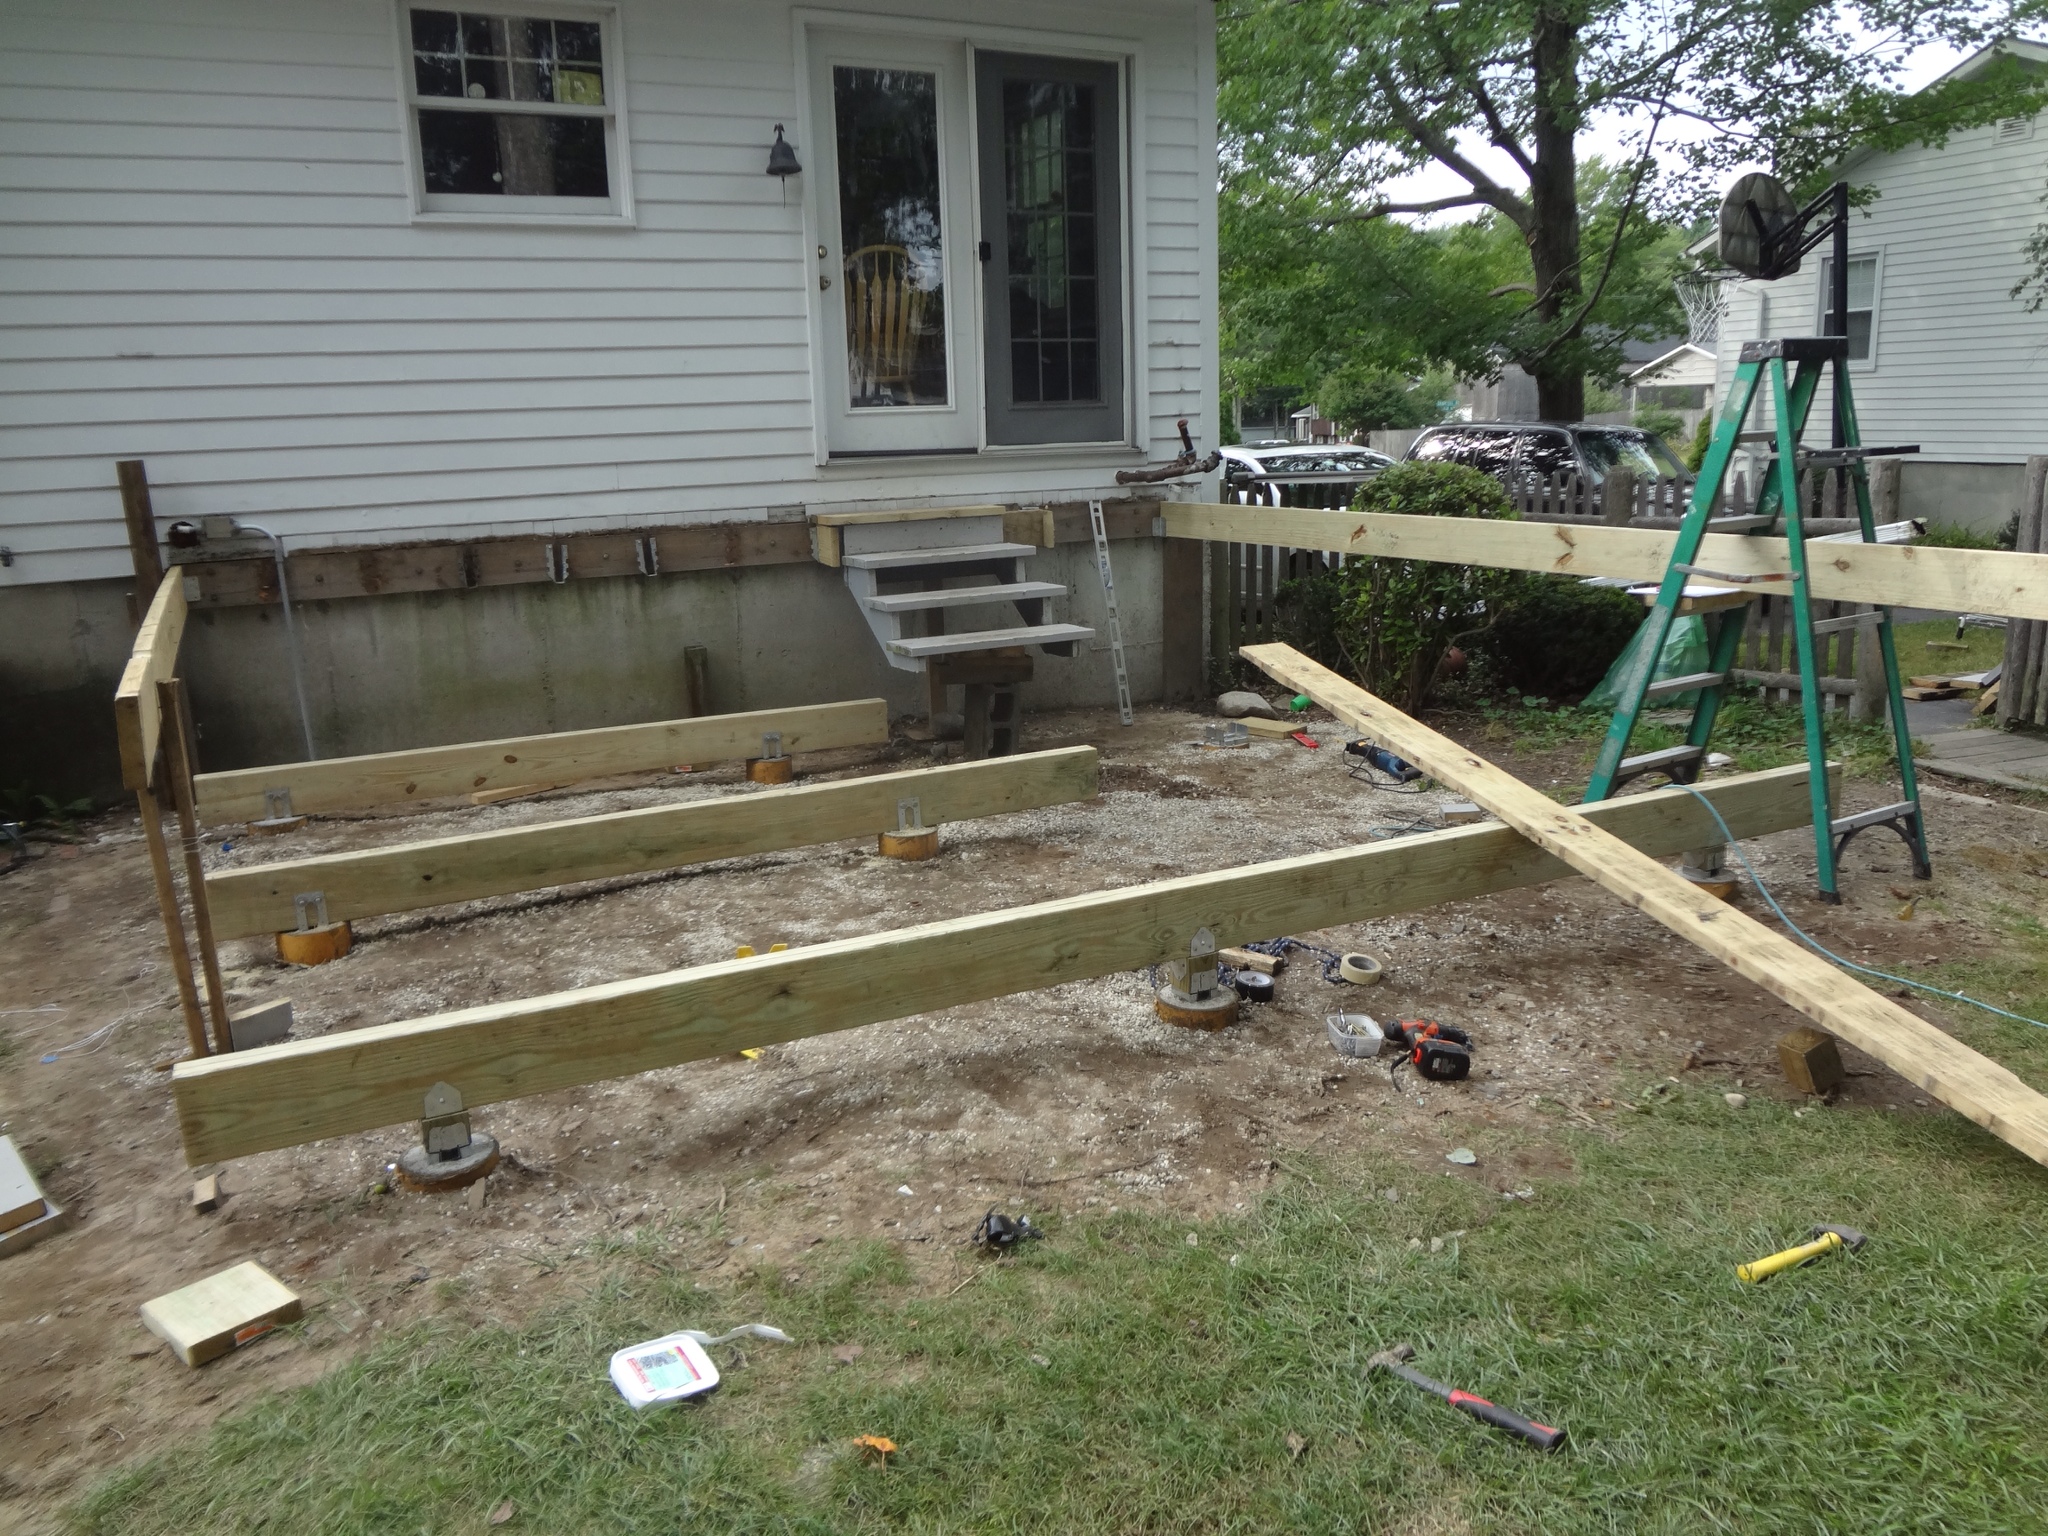
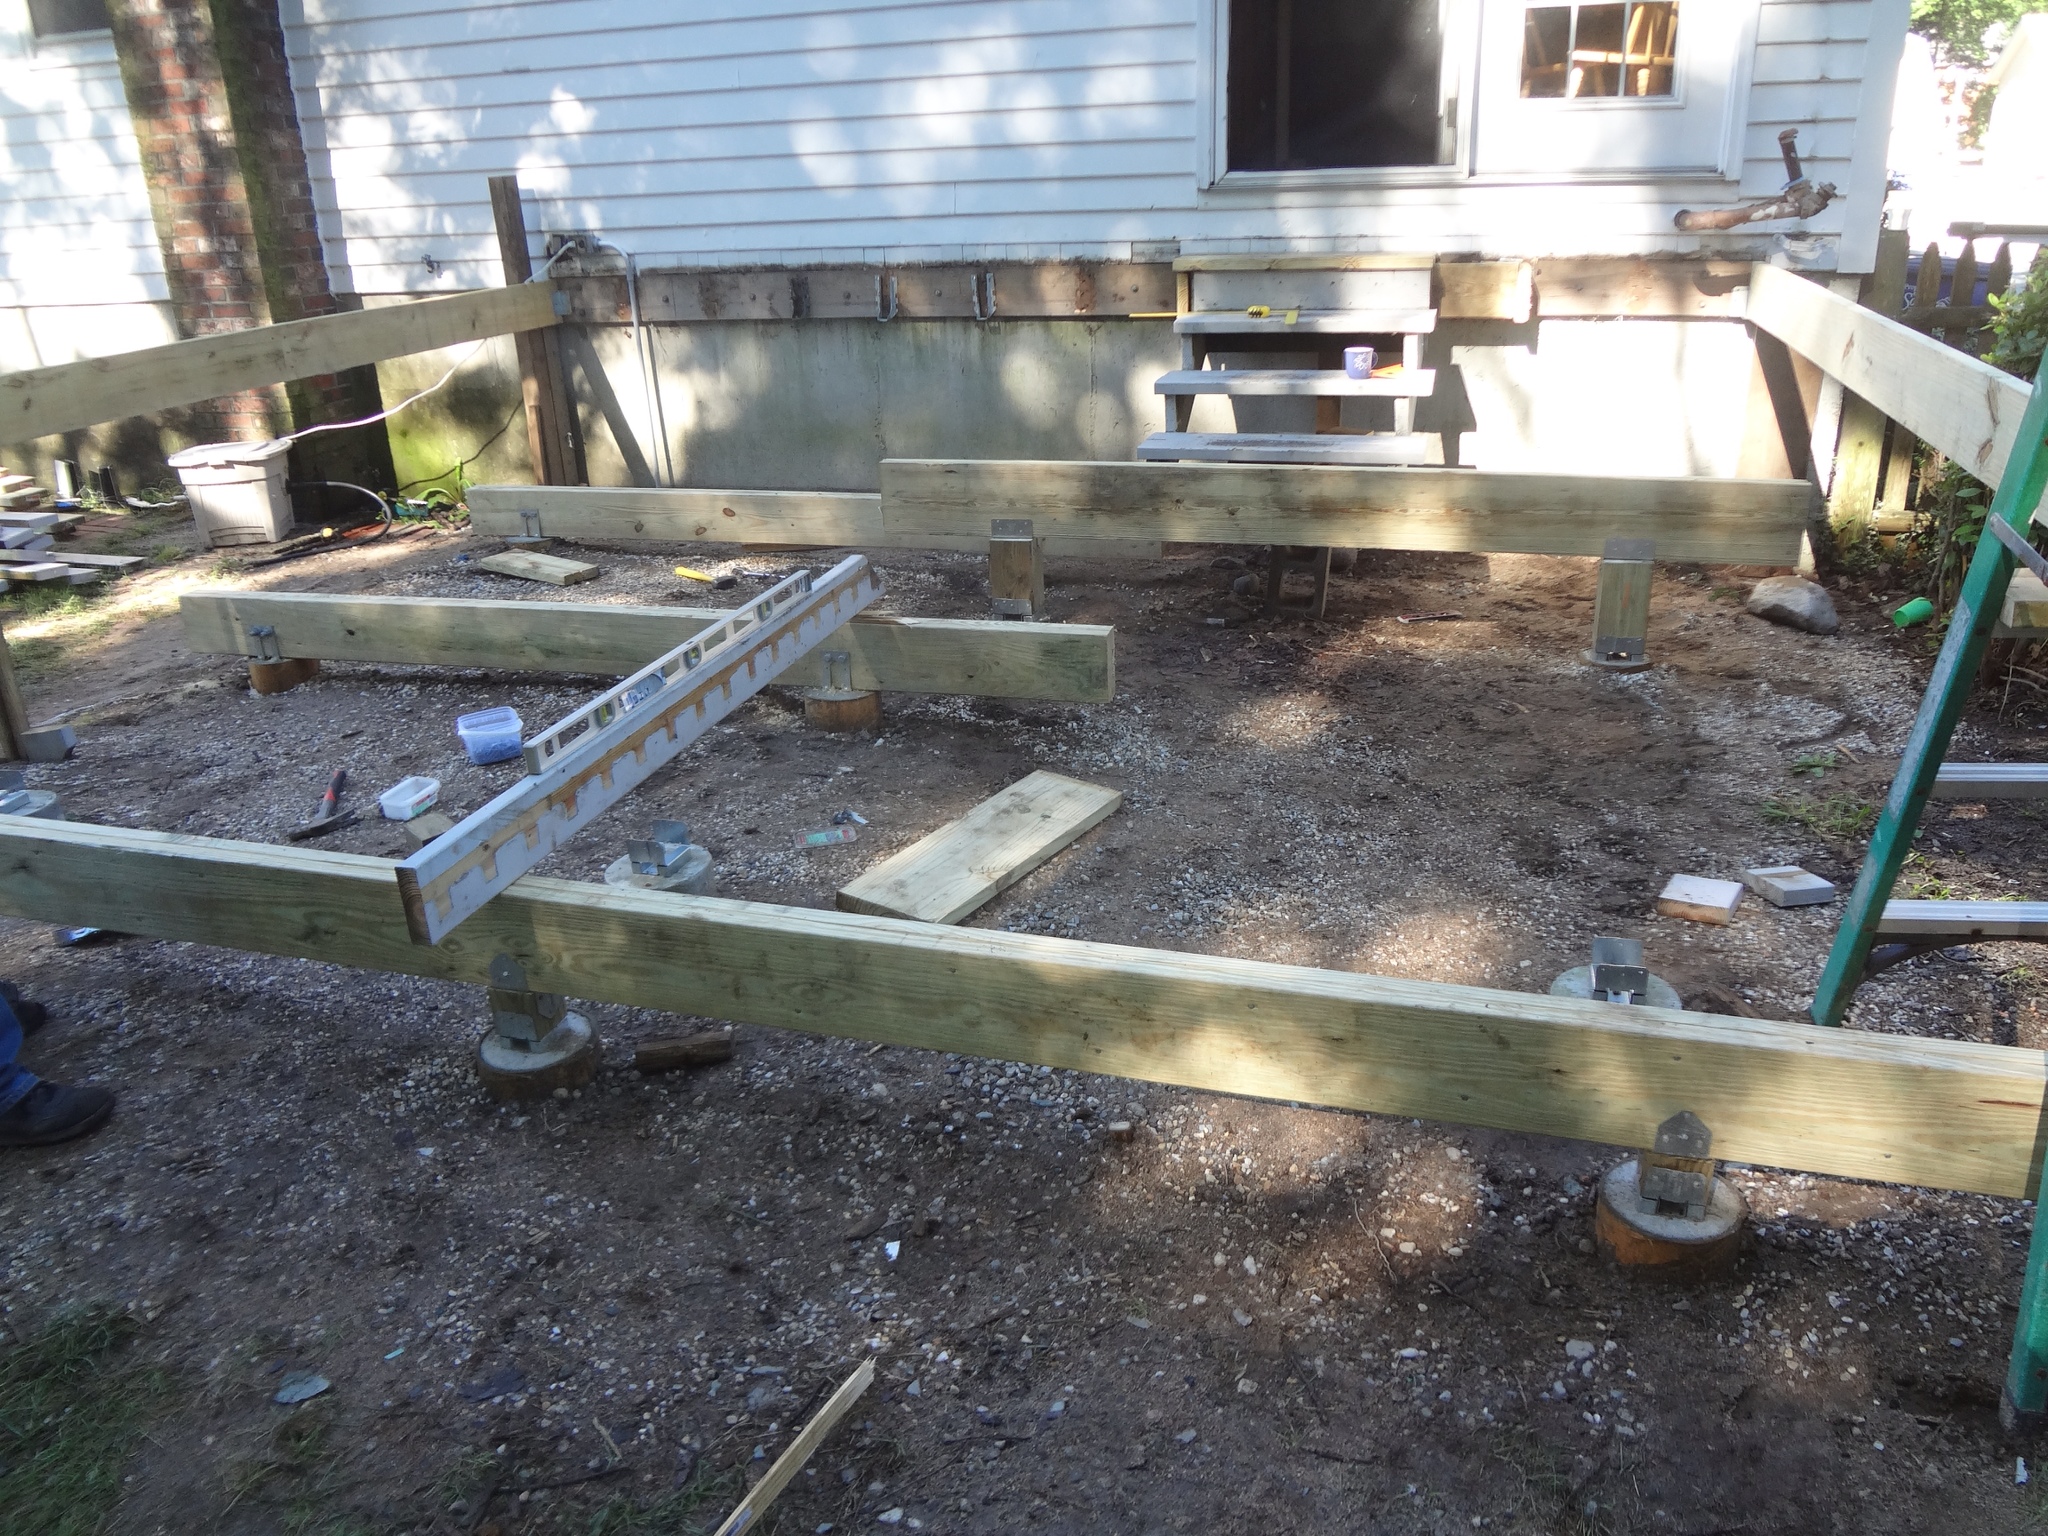
We set up some temporary rim joists to help us position the beams:
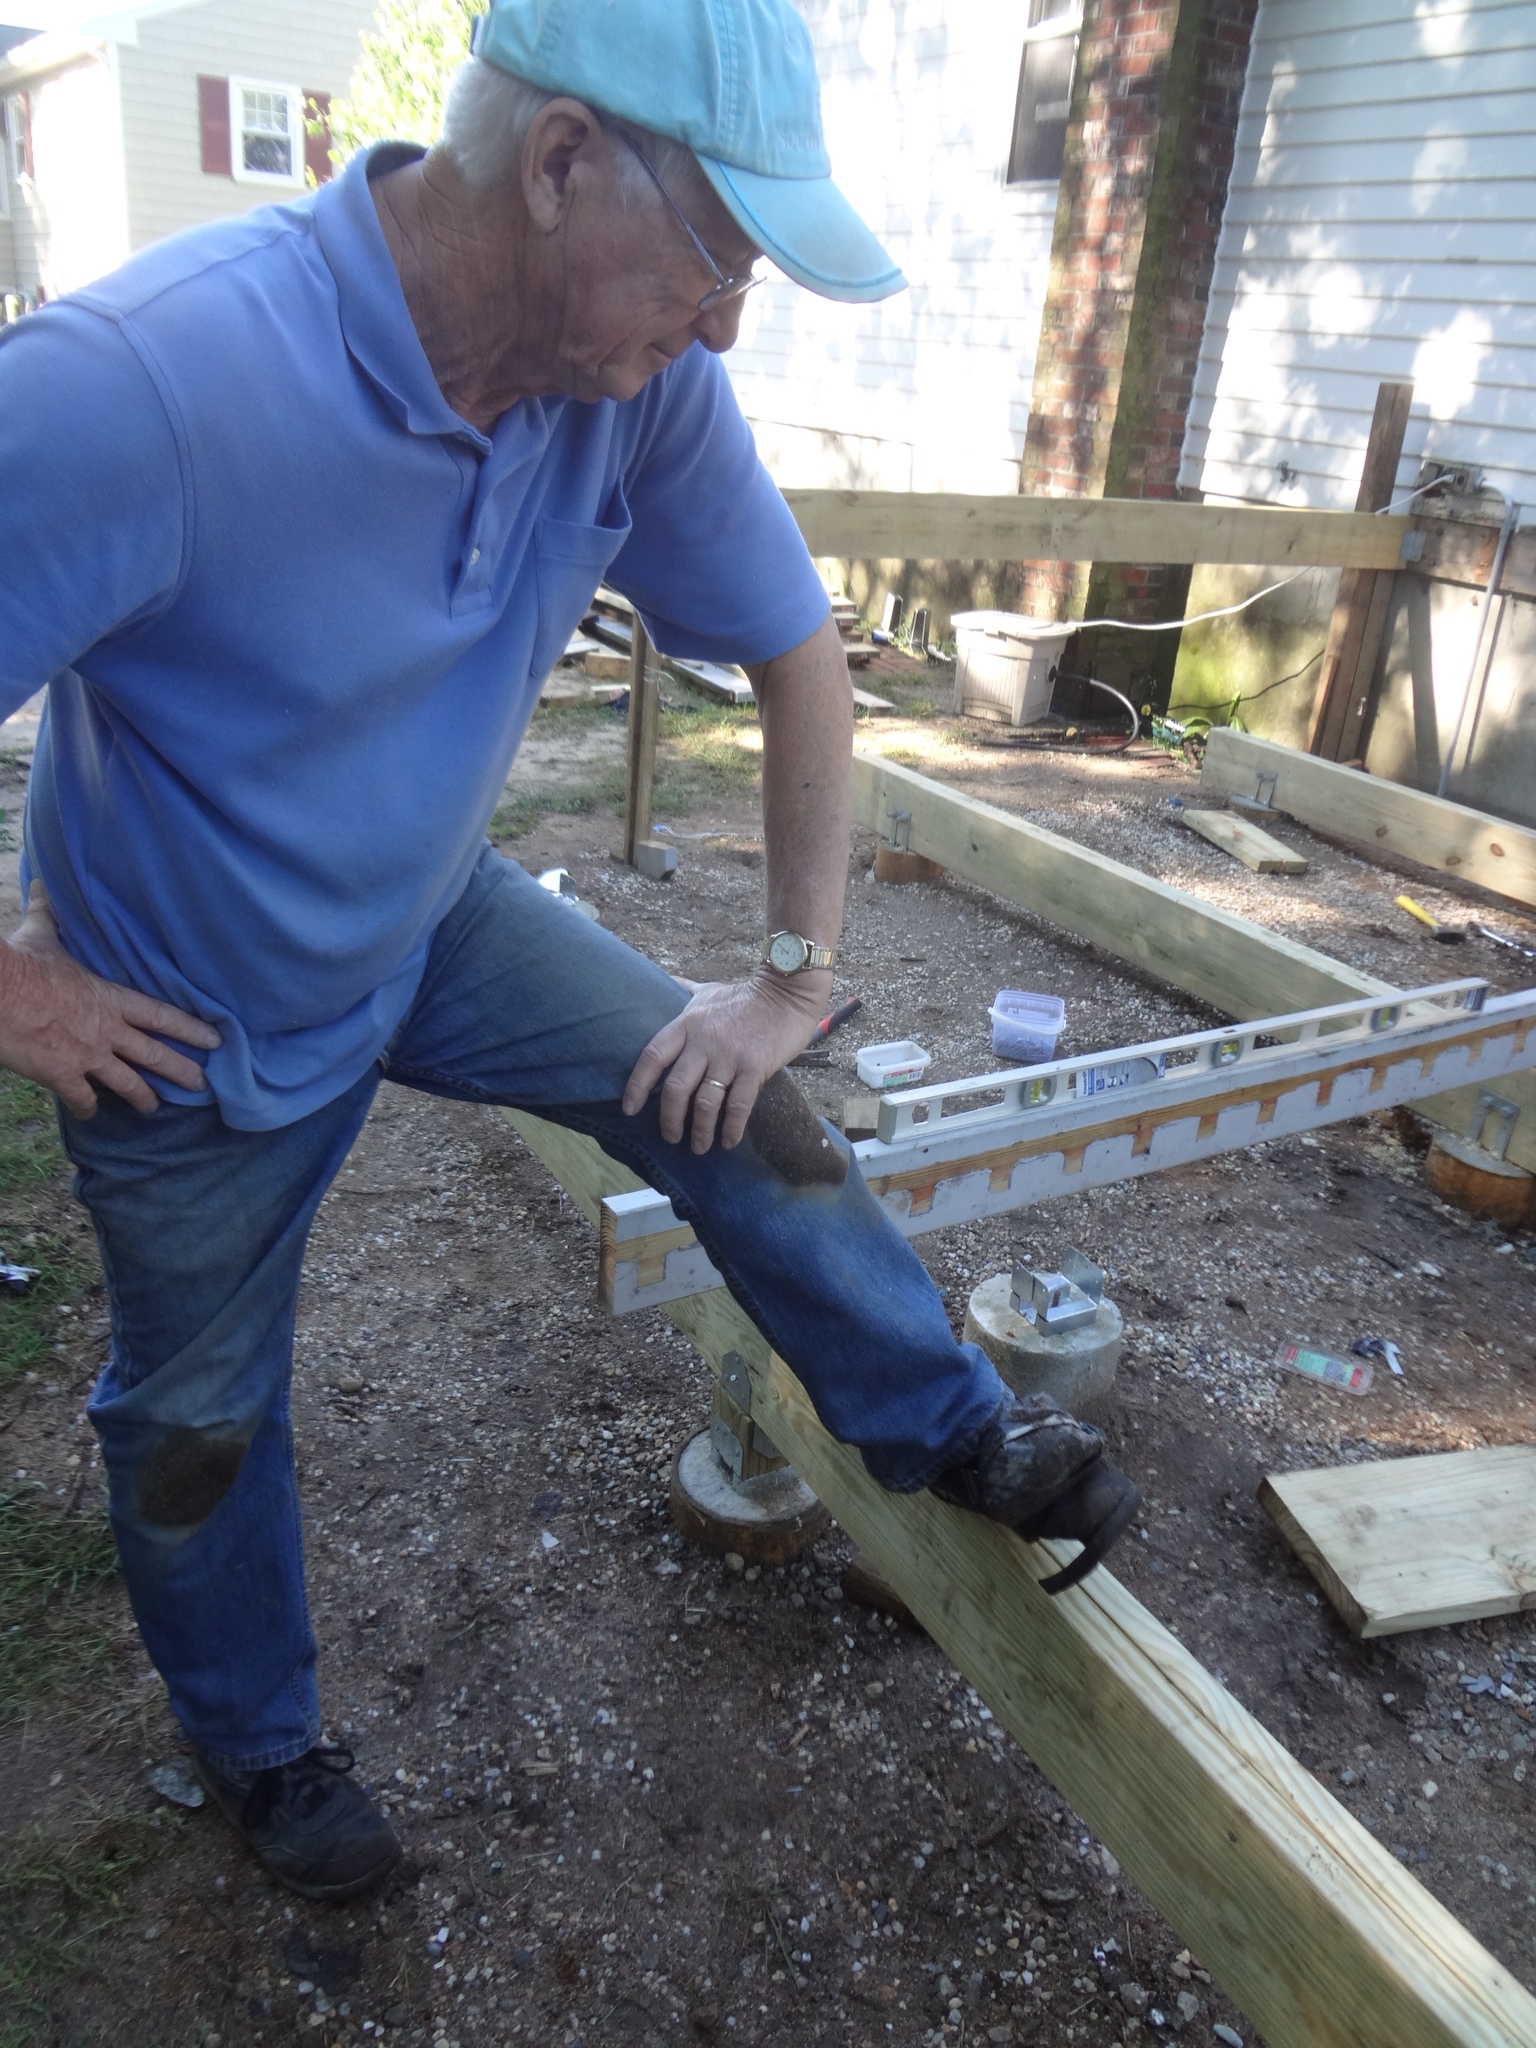
Fortunately the beams worked out better than Dad's duct-tape job on his shoe:
With all the beams done, we got a good start on the joists for the main deck. This looks like a worksite accident waiting to happen, but that came later:
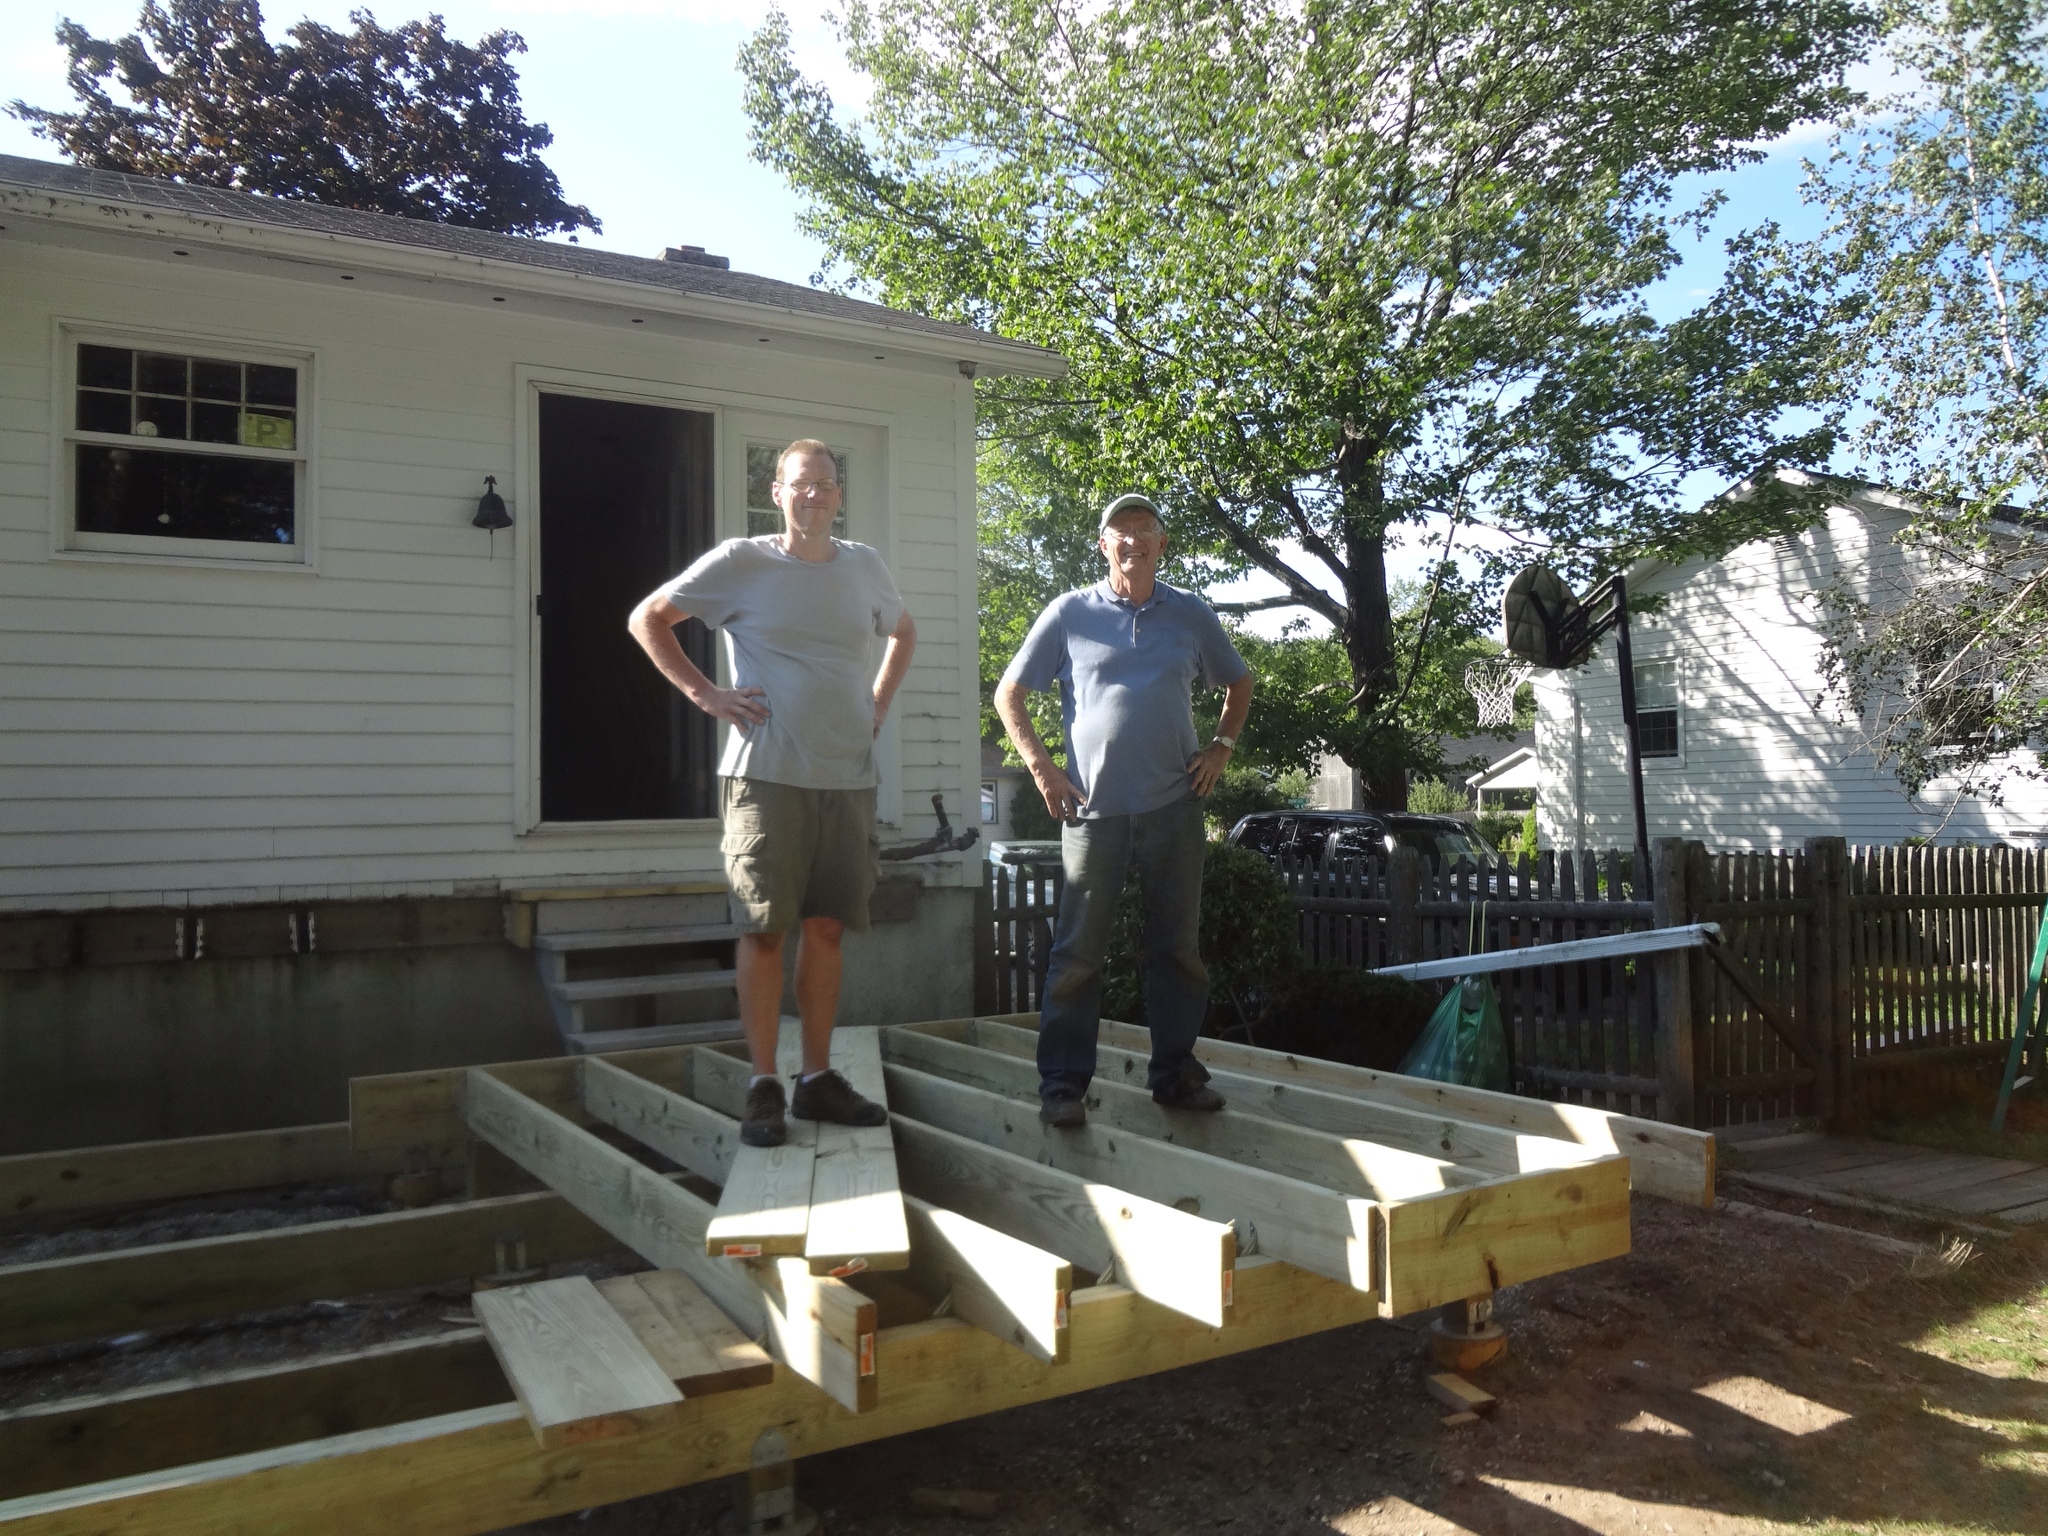
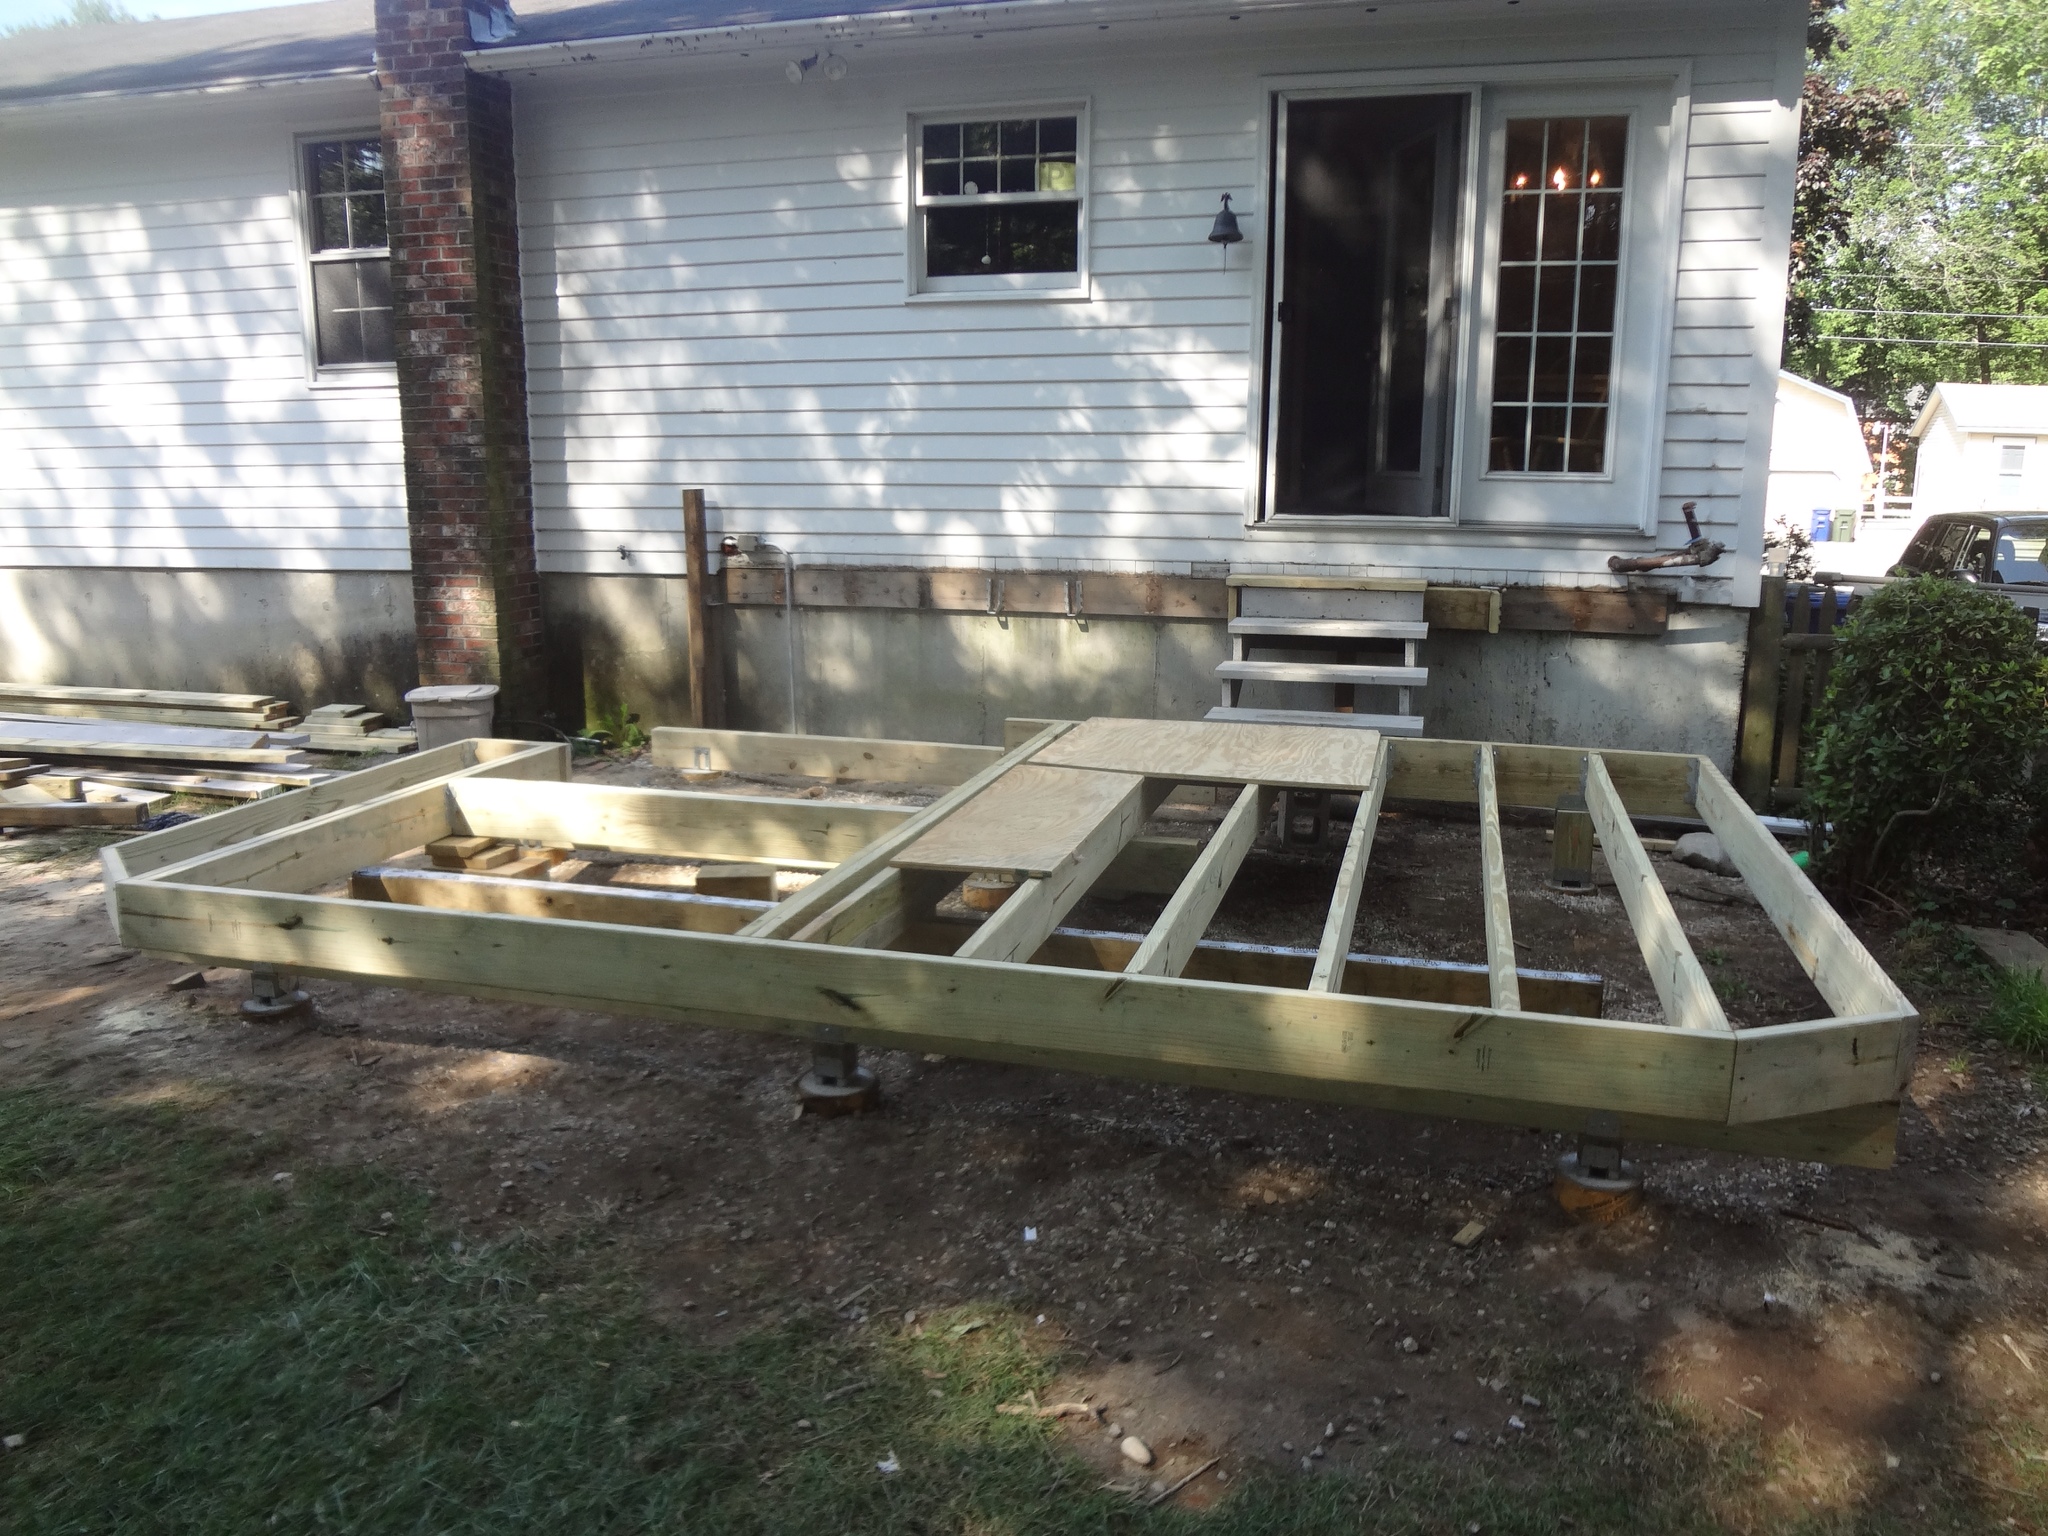
After a few more day's work together and on my own we were able to complete the framing on the lower deck:
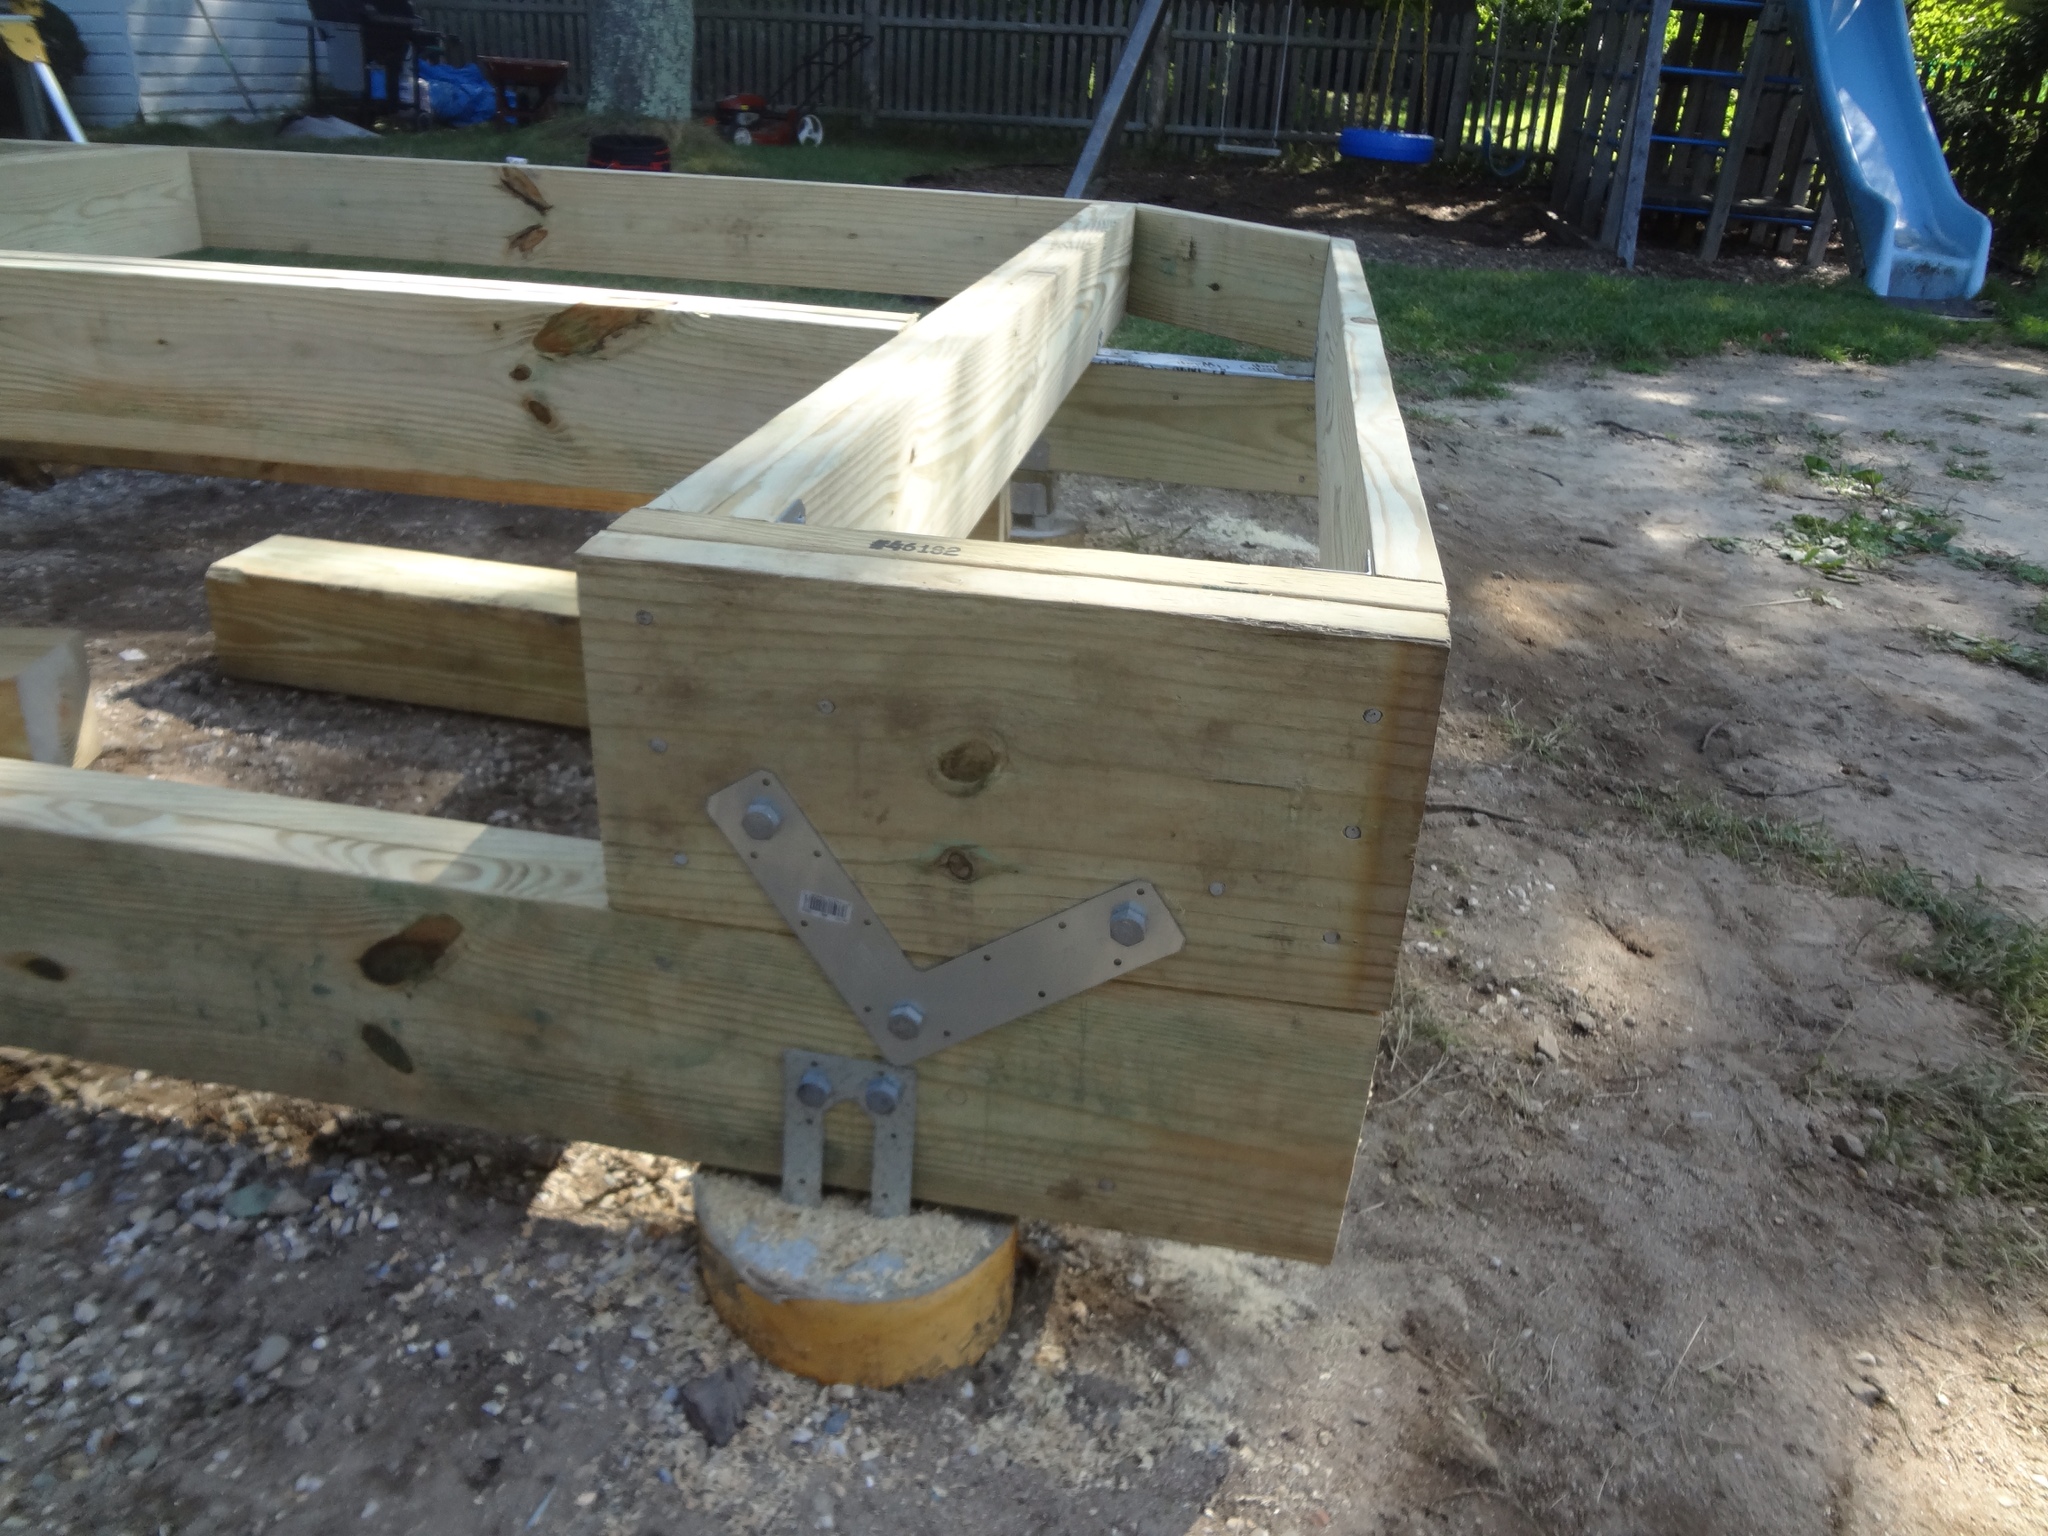
To get the right height on the left corner, I had to build up one of the hot tub deck beams with v-straps on either side:
I originally planned to use all salvaged pressure-treated wood from the old deck to build the hot tub sub-deck, but started second-guessing that decision and ended up just using the best-looking boards and adding some new ones. It should be mostly hidden from view when the deck is done, and what shows will be painted dark brown to match the hot tub. To raise the back-right corner to level I added metal shims between the beam and the footer and again between the platform and the beams.
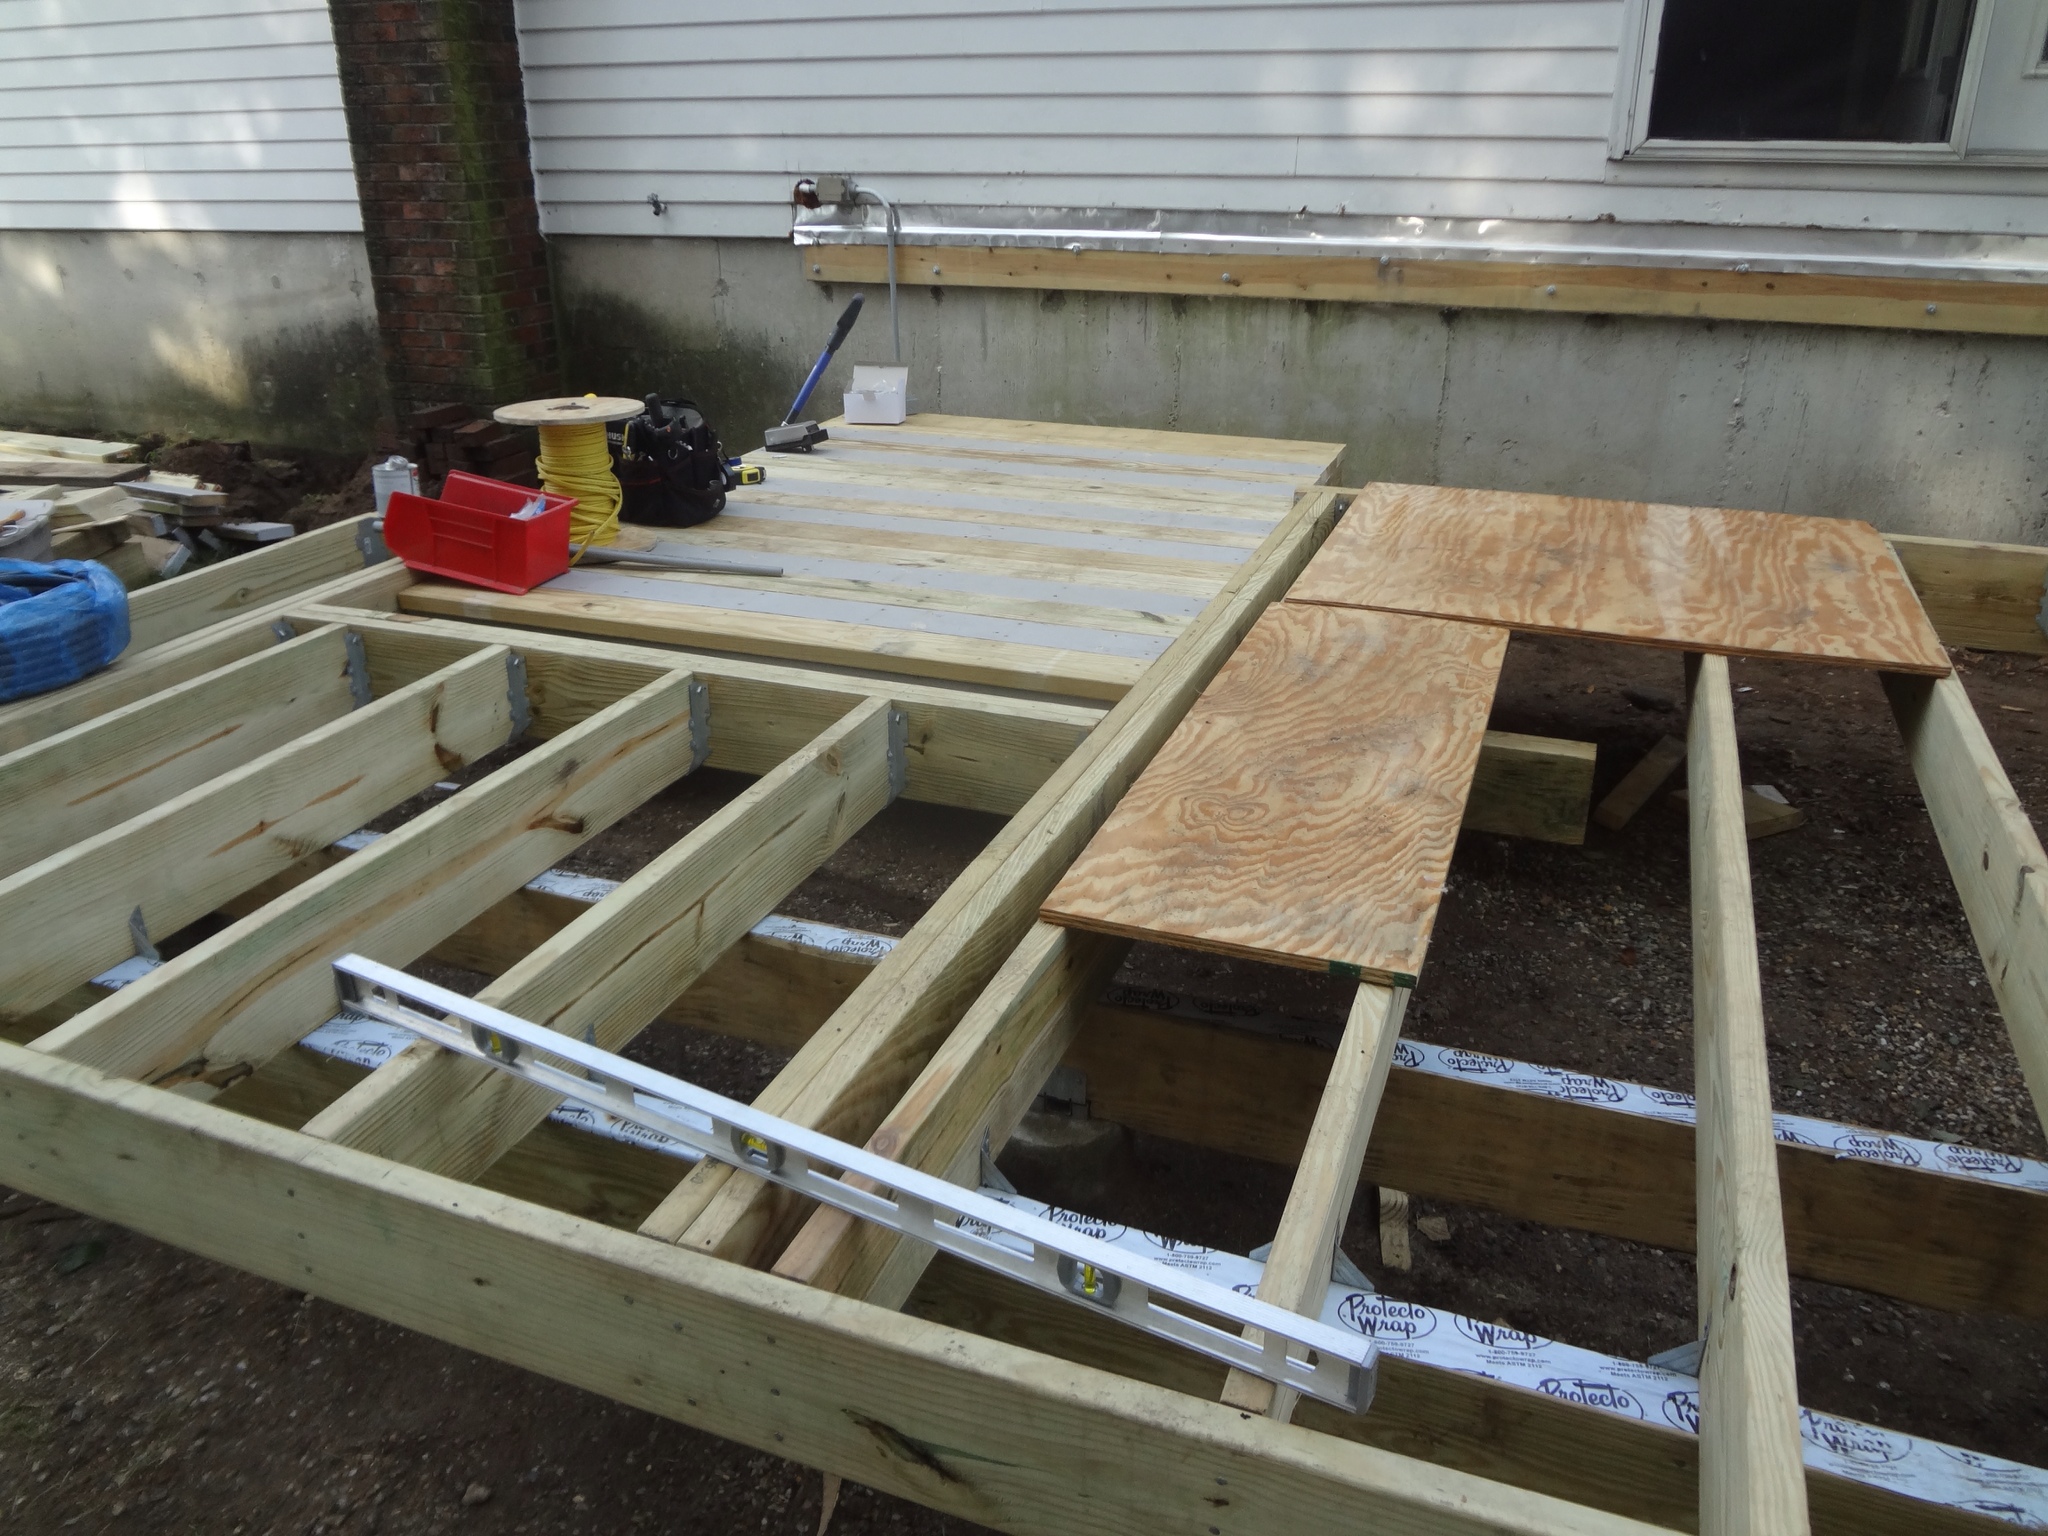
You can see in this picture that the new ledger has been added to the house as well. I hoped to move it up from where the original was to lessen the step-down from the house, but that turned out to not be practical. Installing it required the rental of a hammer drill to make holes in the concrete foundation. Then the ledger was attached with anchor bolts. We also found that there was some rot on the sill over the old ledger, but it turned out to be only in a few places and pretty shallow. We chiseled it out and filled in the resulting gaps with with some strips of pressure-treated wood, then covered it with pieces of beveled siding and flashing.
We got the lower deck framed just in time for the hot tub to be delivered. The electrician arrived at the same time to add a dedicated circuit and move the existing outlet under the ledger.

Maybe someday we'll even get to use it! Next time, framing the upper deck, building the pergola and adding the decking.